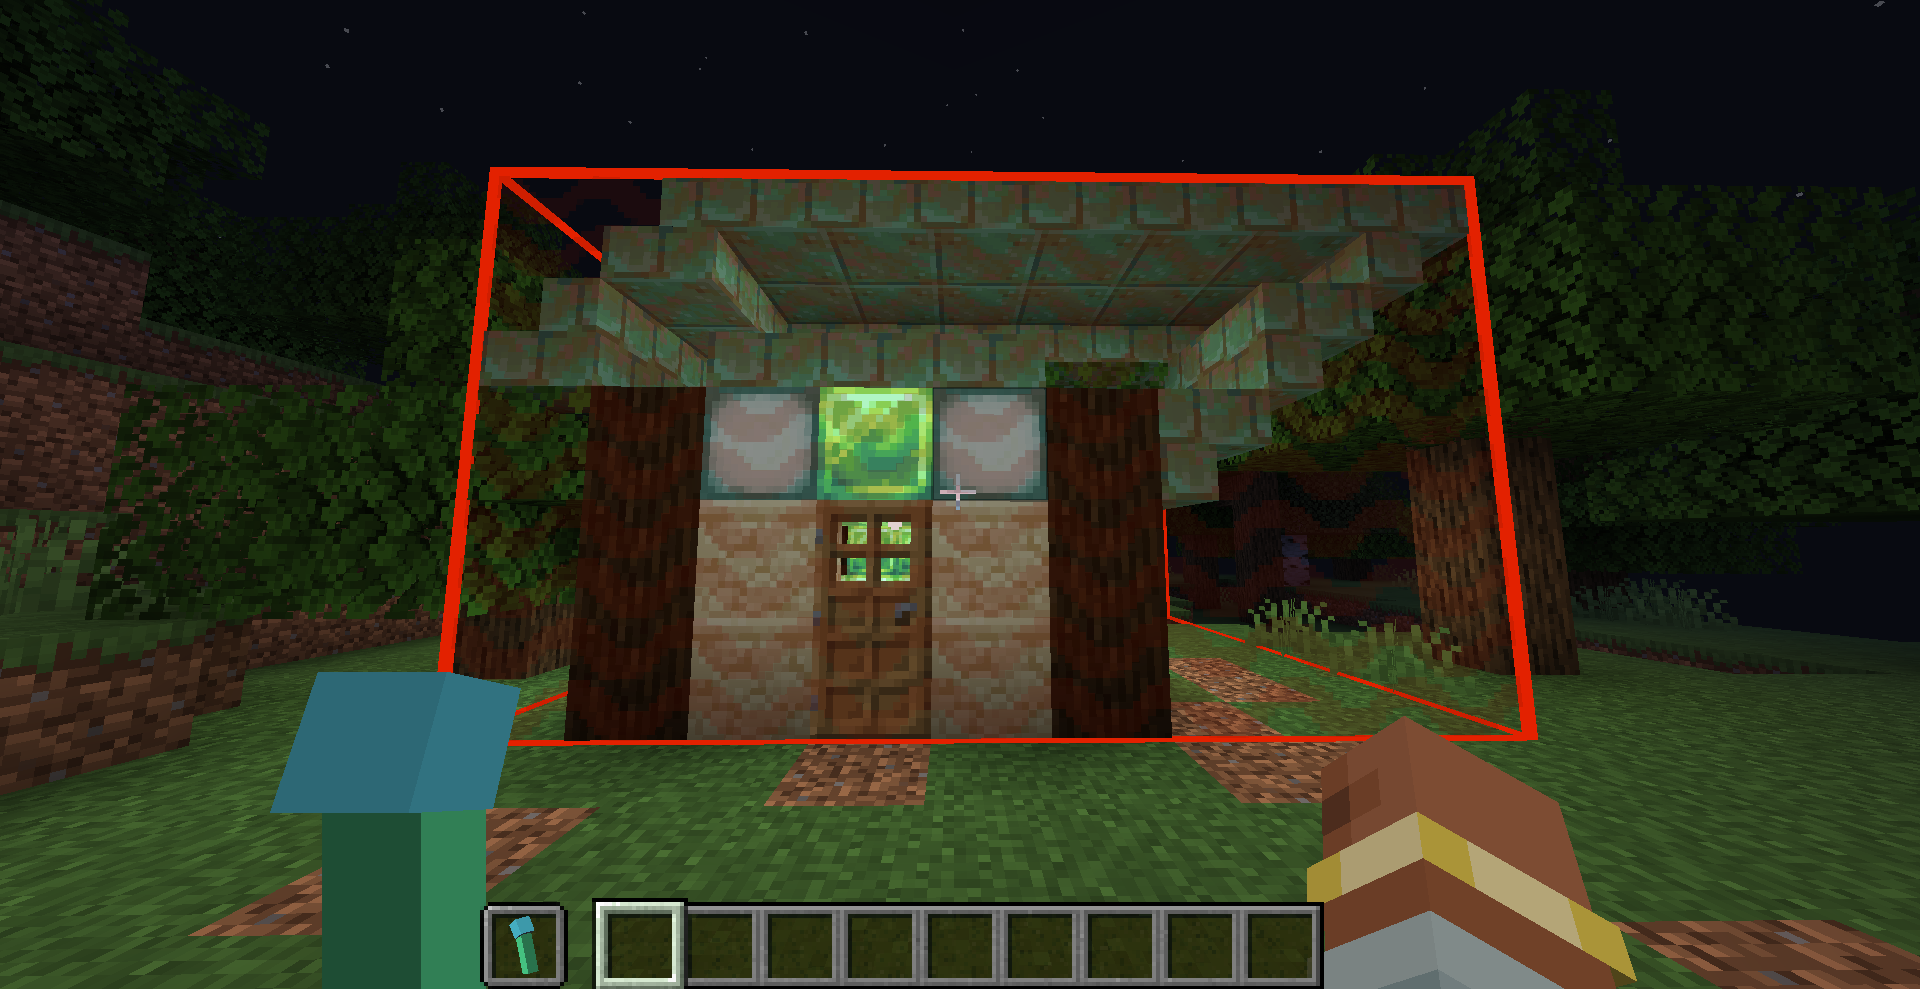

Create Build Gun
No reviews yet
A tool has been added to print blueprints in survival mode. Intended for modpack creation.
Neoforge is a fork of the Minecraft Forge available for versions 1.20.1+ of Minecraft. Many Forge mods are compatible with Neoforge and vice versa.
Community voices
Reviews
Click once to include, again to exclude, again to clear
No reviews yet. Be the first to review this project!
Get it on
Available Platforms
 Modrinth
Compatibility
Supported Environments
About
Project Details
For authors
Embed Badge
If you're the author of this project, you can embed a live badge anywhere that supports HTML or Markdown. It updates automatically whenever ratings change.
Use HTML for any page that supports it, or Markdown for README files and Markdown-based descriptions.
Identifiers
Platform IDs
About
Description
Build Gun: A Create addon [Chinese version 中文介绍]
A tool has been added to print blueprints in survival mode. Right-click to open the menu and select a blueprint. Shift + right-click to deselect the blueprint.
This mod is intended for modpack creation and is not ready to use out of the box. If you do not configure it, the menu will be empty.
Configuration
The configuration file is located at <game directory>/BuildGunData/config.json. If you run this mod for the first time, an empty file will be automatically generated there.
This configuration file specifies which blueprints the Build Gun can use and the categories appear in the menu.
Example Configuration File:
Note: JSON does not support comments. The comments here are for readability only. If you want to use this example configuration file, remove all // comments.
{
  "tabs": [  // This entry defines two categories
    { "id": "tab1", "name": "Class A" },  // 'id' is the unique identifier for the category; make sure it does not duplicate other category IDs. 'name' is the display name in the menu.
    { "id": "tab2", "name": "Class B" }
  ],
  "schematics": [  // This entry defines a blueprint
    {
      "id": "aaa",  // 'id' is the unique identifier for the schematic; it must not duplicate other schematic IDs.
      "name": "Schematic 1",  // 'name' is the display name of the schematic in the menu.
      "file": "s1.nbt",  // 'file' is the path of the schematic file, relative to `<game directory>/schematics`
      "tab": "tab1",  // 'tab1' indicates which category this schematic belongs to in the menu.
      "config": {  // 'config' contains settings for the schematic.
        "stage": 0,  // 'stage' is the minimum required stage for using this schematic. The mod includes a simple stage system (explained later). The schematic will only be available if the current world's stage is equal to or greater than the required stage.
        "description": "It is a schematic for test with a very very very very very very very very very very very very very very very very very very very very very very very very long description.",  // 'description' is the schematic's description, which will be displayed in the menu.
        "cost": [  // 'cost' defines the items required to print this schematic. If no cost is required, set 'cost' to an empty array [].
          {
            "id": "minecraft:emerald_block",  // 'id' is the item ID.
            "count": 16  // 'count' is the quantity required.
          },
          {
            "id": "create:cogwheel",
            "count": 256
          }
        ]
      }
    }
  ]
}
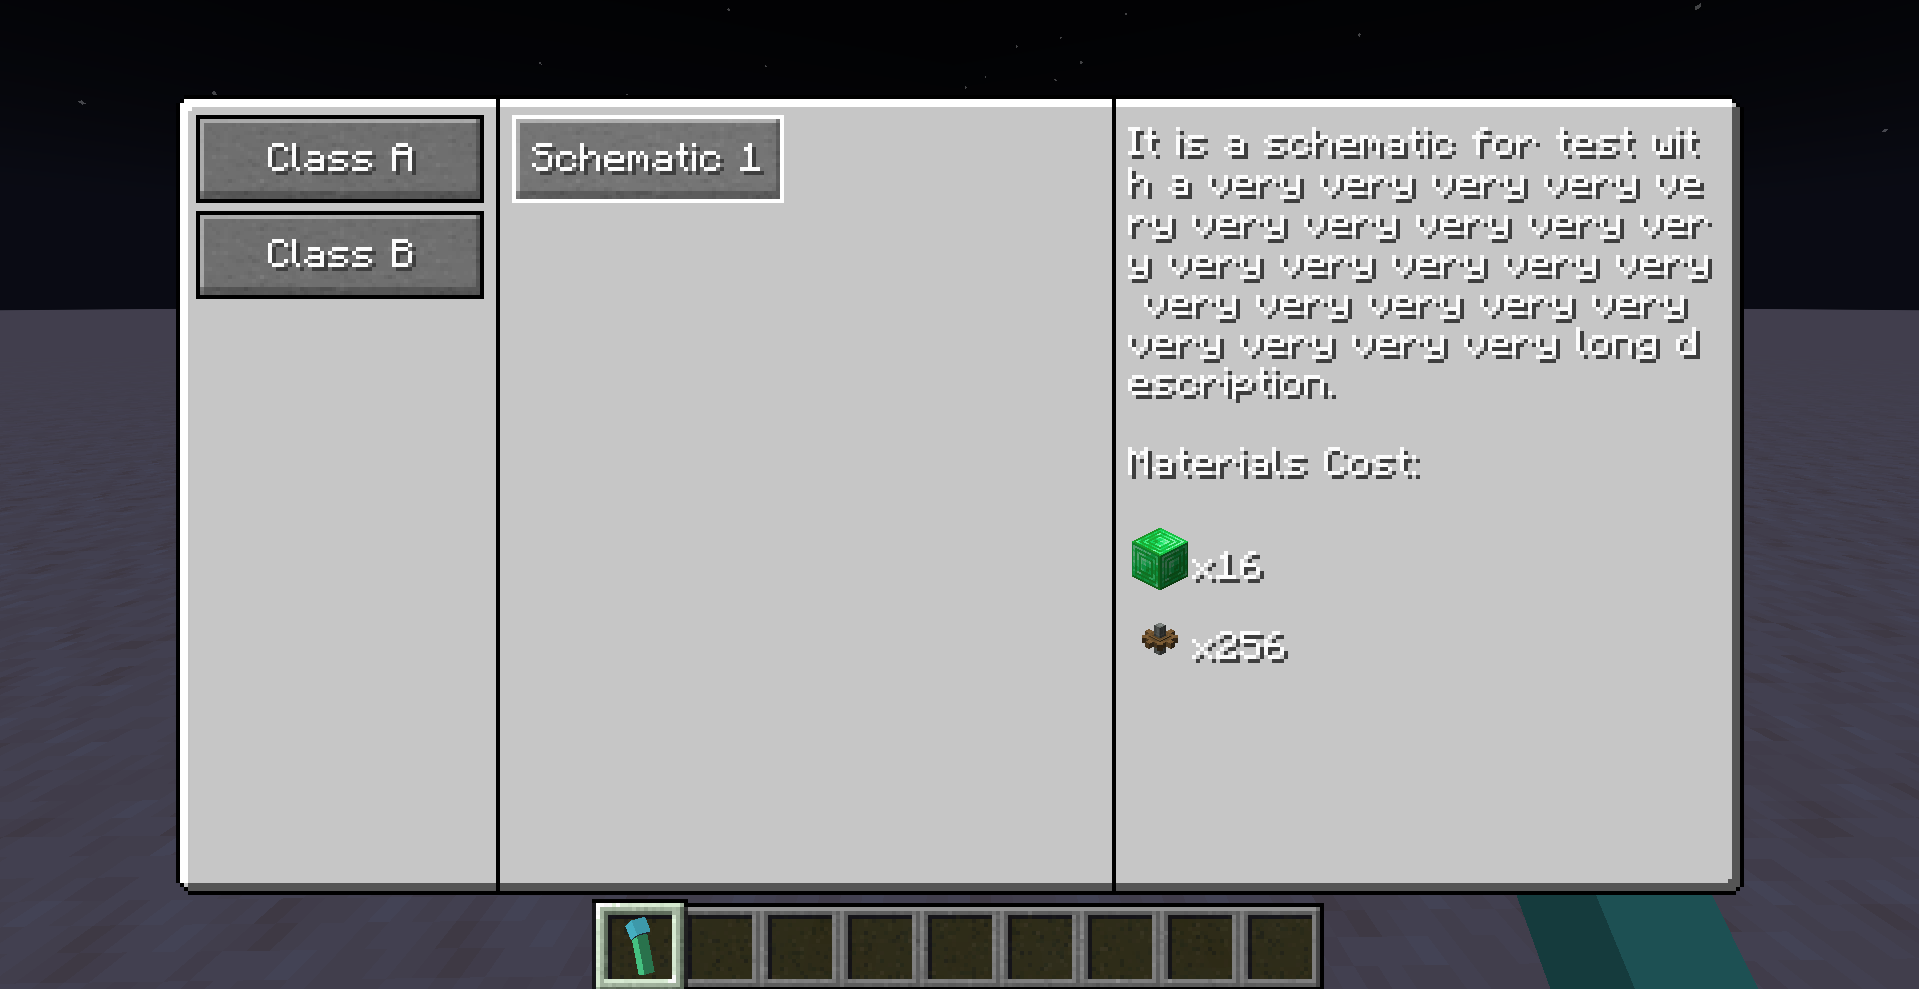
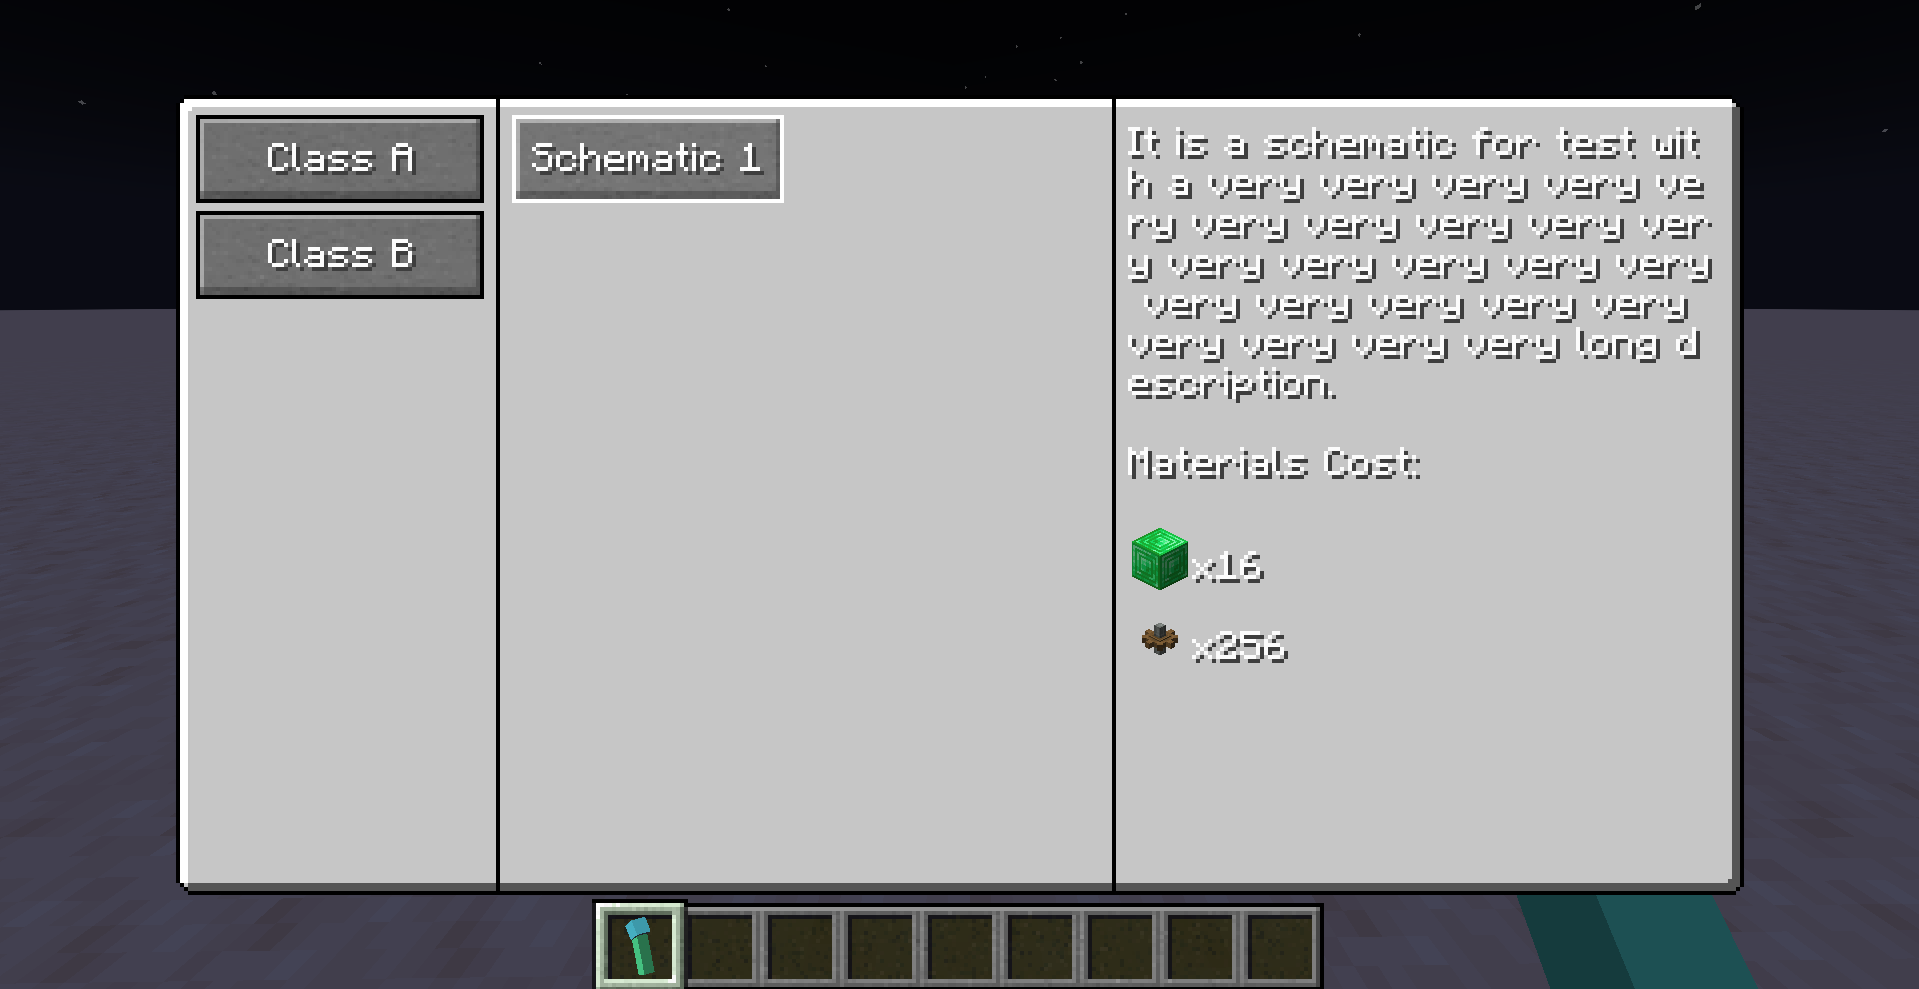
With the above configuration file, you will get the following menu:
Next Steps in Configuration
The above configuration only declares which schematics appear in the menu. Next, you need to place the corresponding schematic files in the <game directory>/schematics directory.
How the Create Mod Finds Schematics?
When attempting to load a schematic named s1.nbt, the Create mod will:
- Load the file
<game directory>/schematics/s1.nbton the client to display the preview. - Load the file
<game directory>/schematics/uploaded/<schematic owner name>/s1.nbton the server to actually print the schematic.
Here, <schematic owner name> depends on the player who uploaded the schematic. However, for the Build Gun in this mod, is always __BuildGun__.
Therefore, you need to place the schematic file in both <game directory>/schematics/ and <game directory>/schematics/uploaded/__BuildGun__/.
If you are configuring a dedicated server, the file technically only needs to be placed in the latter directory. However, if you are unfamiliar with the distinction between Minecraft client and server, placing it in both locations is recommended to avoid issues.
Once placed correctly, your directory structure should look like this:
<game directory>
|_ schematics
  |_ s1.nbt
  |_ uploaded
    |_ __BuildGun__
      |_ s1.nbt
The schematic filename s1.nbt corresponds to "file": "s1.nbt" in the previous section.
If Everything is Configured Correctly
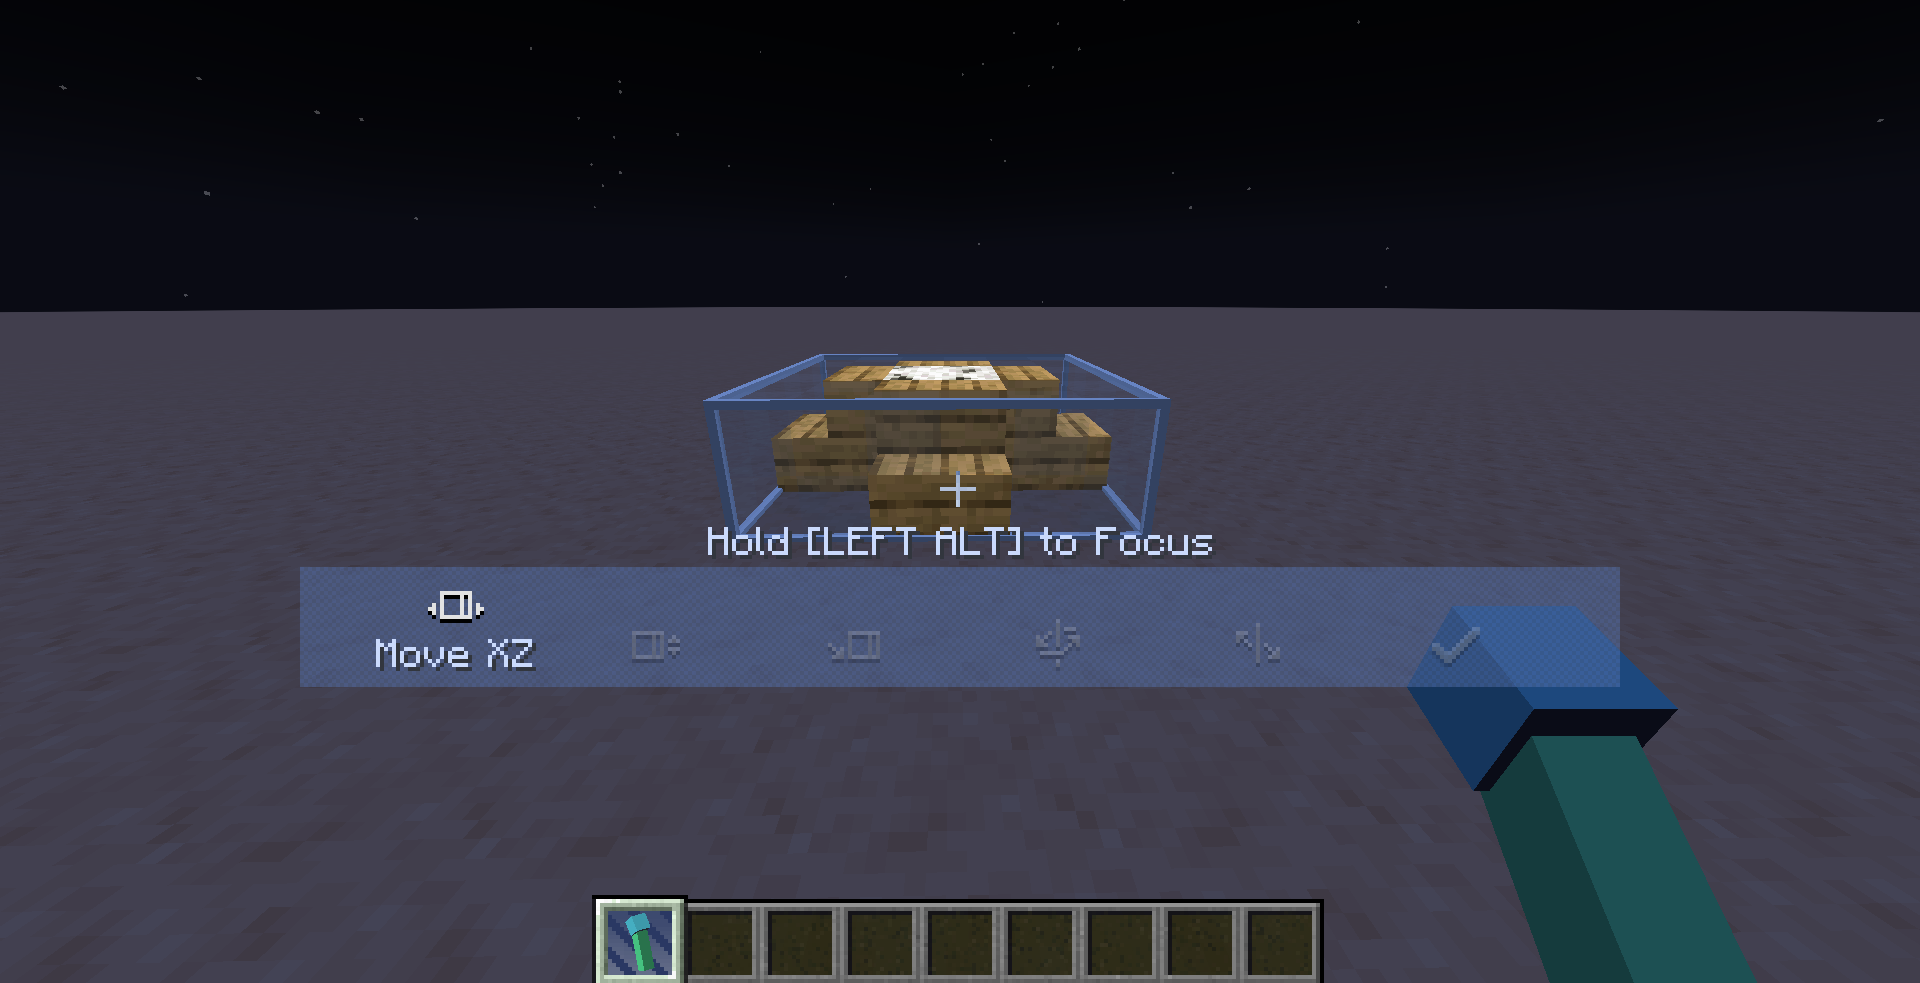
When you right-click to open the menu and click the Schematic 1 button, you can use the Build Gun as a blueprint.
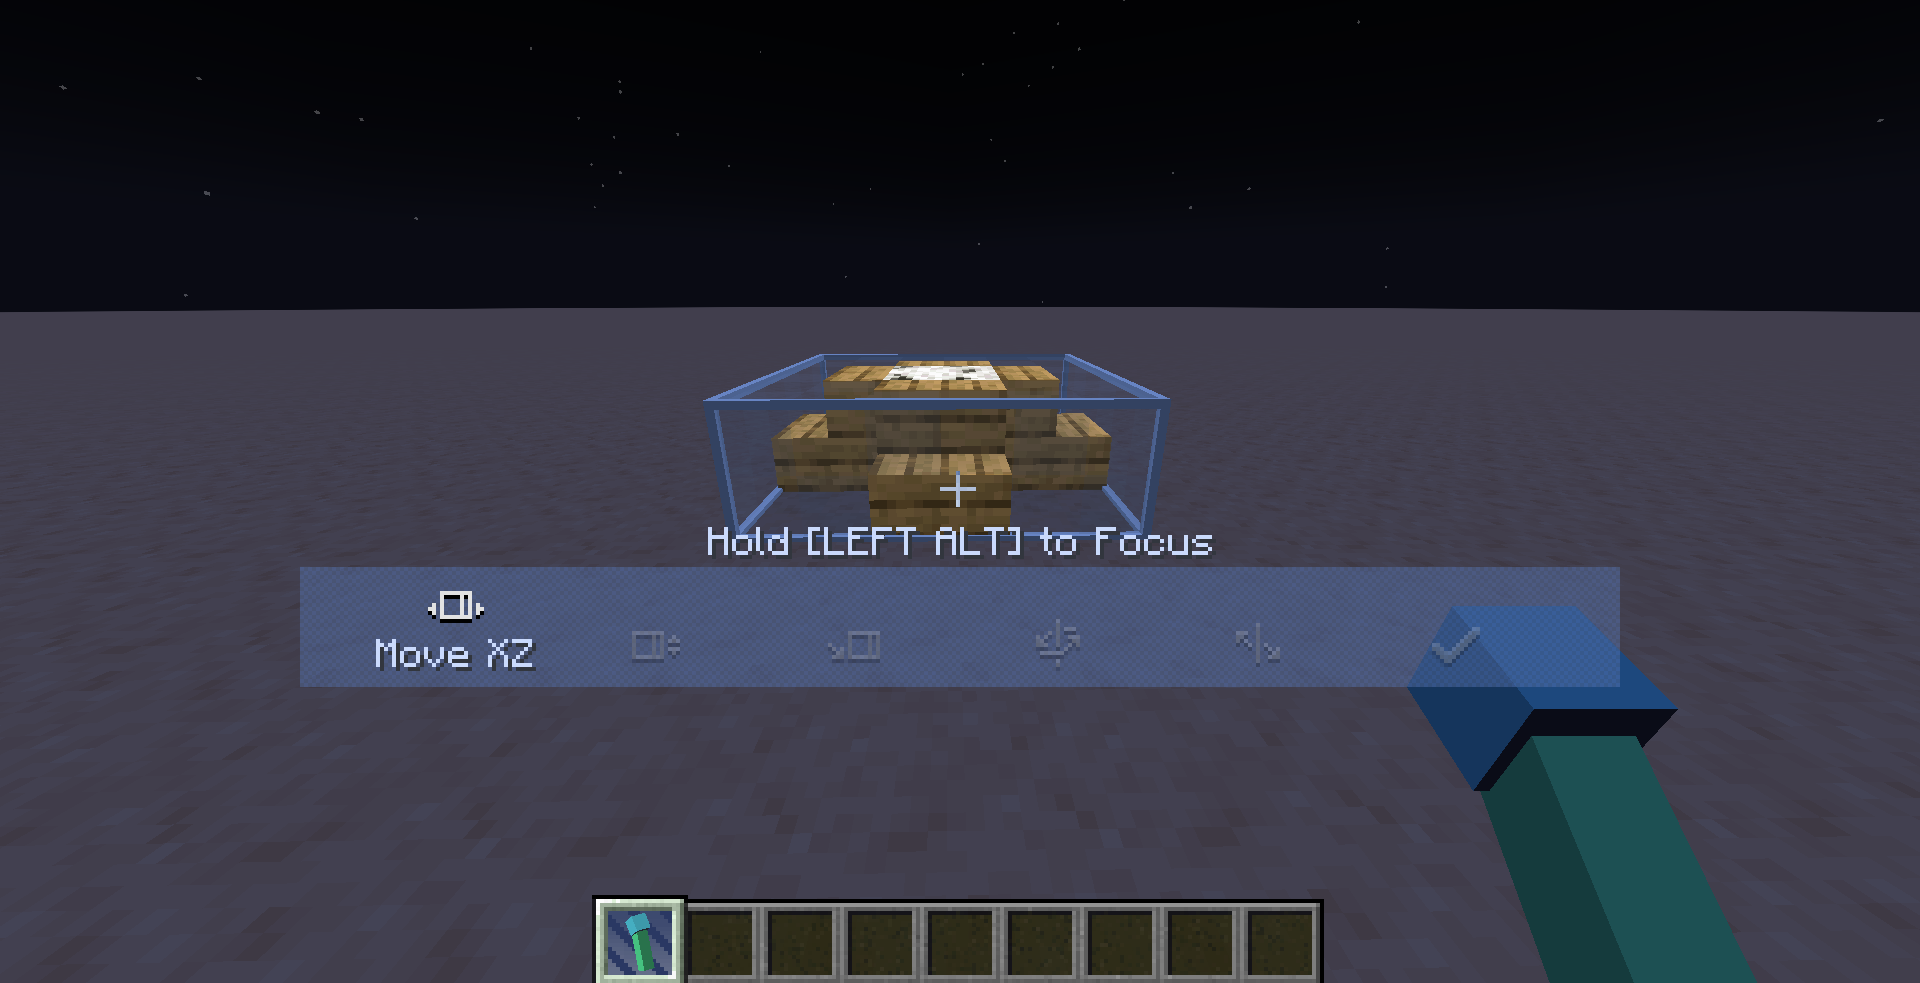
You can deploy, adjust, and print the blueprint.
Additional Tips
- After modifying the configuration file, changes will not take effect immediately. You need to run the /reload command to reload the configuration.
- If you are using a dedicated server + client setup, /reload only reloads the server configuration. To reload the client-side configuration, use F3+T.
- Use
/buildgun stage getto check the current world stage. - Use
/buildgun stage setto set the current world stage. - The "stage" system is simply an integer, and you can define its meaning freely—for example, 0 for the Stone Age, 1 for the Iron Age, 2 for the Industrial Age, etc.
- By setting stage requirements for schematics in the configuration file, you can restrict players from using certain schematics until they reach a specific stage.(e.g., use ftb quest, commit quest, set stage).
- In the configuration file, "name" and "description" are translatable text. You can set them as translation keys, such as "my.modpack.schematic1.name". Then, by adding the corresponding translations in a resource pack, you can easily implement i18n.
Ambiguous Edge Cases?
You might wonder what happens if the server and client configurations do not match.
For example, if you run a dedicated server and an untrustworthy player modifies their client configuration, could they print blueprints that should not be available on the server?
The answer is no. Even if they modify the client configuration to display unauthorized schematics in their menu, the server will still validate the request before printing. The server checks whether the requested schematic exists in its own configuration, whether the required stage is met, and whether the necessary materials are available. If any of these conditions are not met, printing will not proceed.
A Potential Exploit
In an extreme case, an untrustworthy player could exploit the system to print any schematic they want.
Exploit Process:
- Use
__BuildGun__as their username. - Upload a schematic with the same name using a blueprint table or other methods, overwriting the server-side schematic at
<game directory>/schematics/uploaded/__BuildGun__/. - This would allow them to use the Build Gun to print any schematic they uploaded.
A simple fix for this exploit is to ban players with the username __BuildGun__.
New Features in Version 0.0.3
When the Build Gun is held in the off-hand, it enters demolition mode, allowing you to remove constructed blueprints by right-clicking.
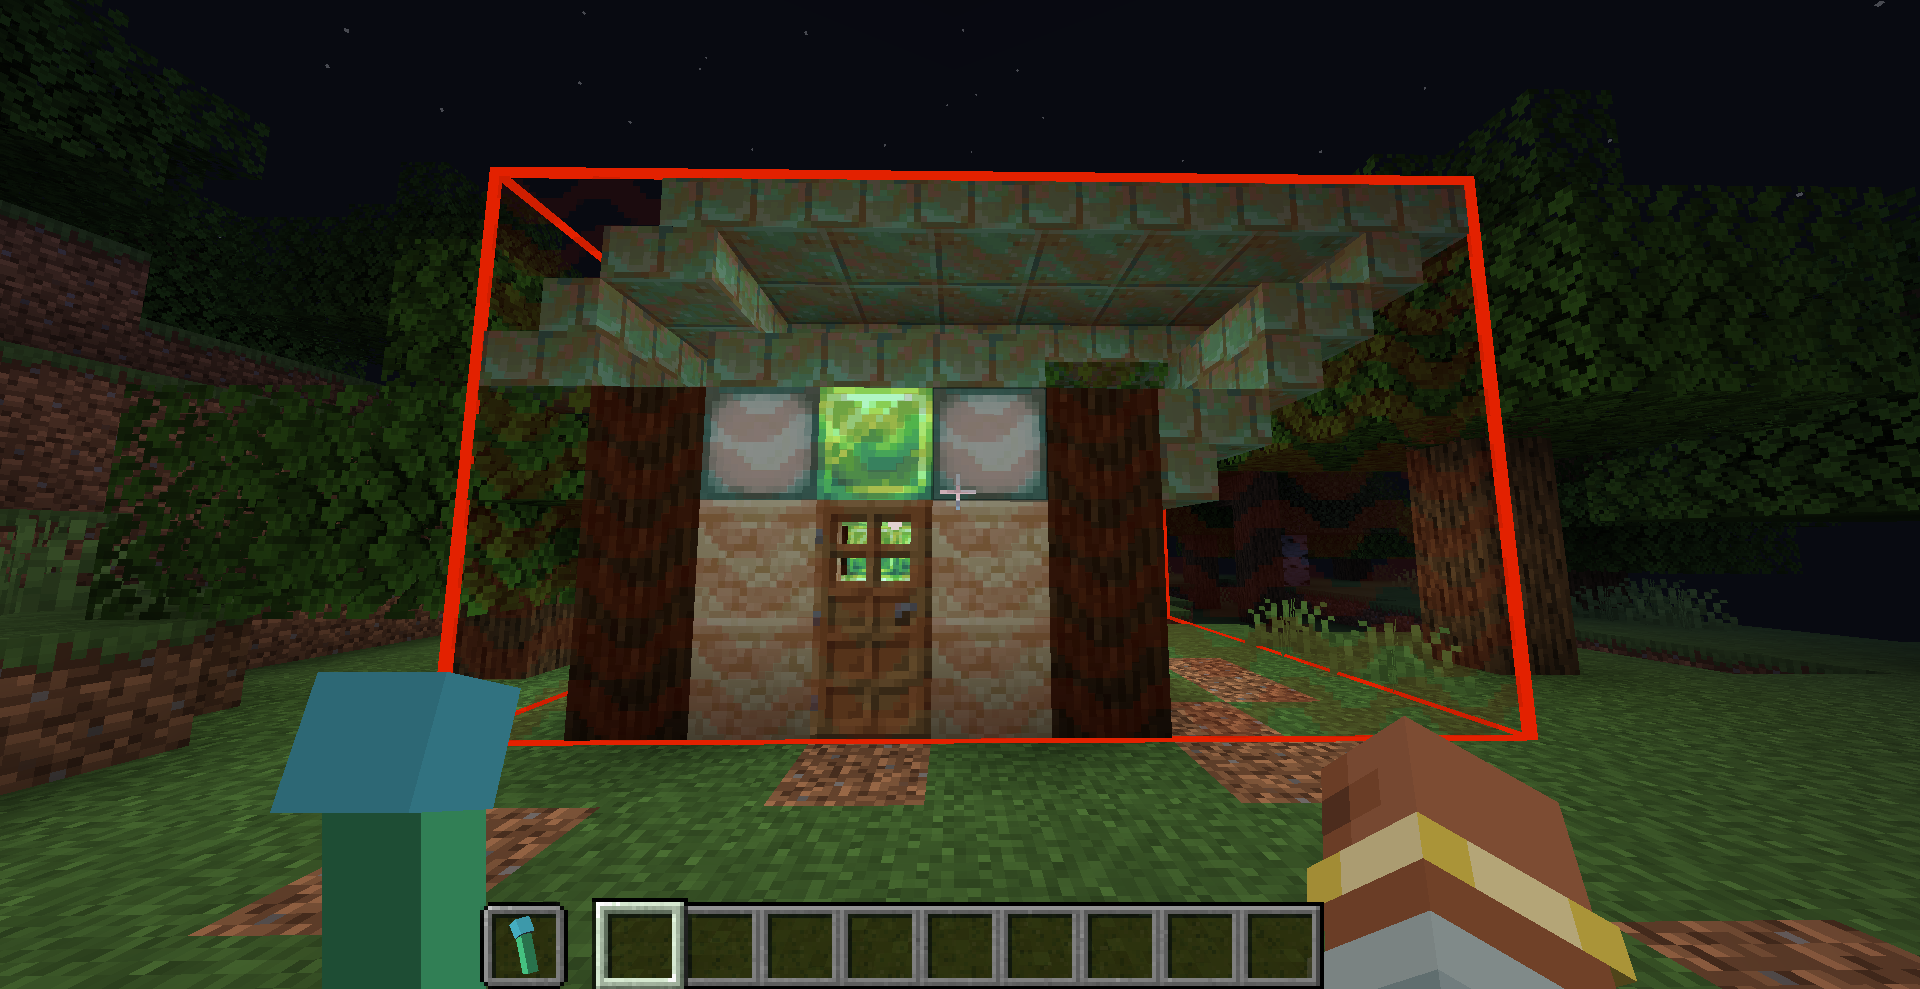
You can specify in the configuration file whether a schematic can be removed.
The demolition logic checks each block within the range against the schematic. If a block matches the schematic, it is removed; otherwise, it remains.
As a result, any manually added blocks or blocks that have changed state after construction will be preserved.
The necessary information for demolition is generated at the time of construction. Therefore, if "removable": true was not set in the configuration during construction, modifying the configuration later will not allow the structure to be removed.
In this version removing buildings will not return materials. It may be added in future versions.
A Potential Exploit in Demolition Mode
Since there is no validation of the distance between the player and the structure being demolished, an untrustworthy player could forge packets to remove buildings from any distance.
0.0.4 Changelog
Fixed a bug that the building bounding box was incorrectly positioned when placed with rotation and mirroring.
0.0.5 Changelog
Fixed the issue where buildings could not be removed cleanly or would produce additional drops when removed.
Screenshots
Gallery
Versions
Files
Relations
Project Relations
More like this
Similar Mods
Suggestions use data such as tags, dependencies, dependents, descriptions, titles, and more to rank how much they overlap with this mod.
On ModDex
Community snapshot
By the numbers
Statistics

Want to reach Minecraft players?
We're looking for a server hosting partner to feature here and other parts of the site. Interested? Send us a message!
Get in touchGet it on
Available Platforms
On ModDex
Community snapshot
By the numbers