Community listing page, reviews may not be monitored by the author.
The Obfuscation (THE BROKEN SCRIPT)

No reviews yet
A terrifying modpack that combines horror, medieval fantasy structures, and the official Broken Script mod with shaders ready out of the box.

Community voices
Reviews
No reviews yet. Be the first to review this project!
Get it on
Available Platforms
About
Project Details
For authors
Embed Badge
If you're the author of this project, you can embed a live badge anywhere that supports HTML or Markdown. It updates automatically whenever ratings change.
Use HTML for any page that supports it, or Markdown for README files and Markdown-based descriptions.
Identifiers
Platform IDs
Resources
External Links
About
Description
READ BELOW FOR SETUP INSTRUCTIONS
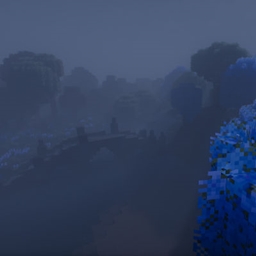
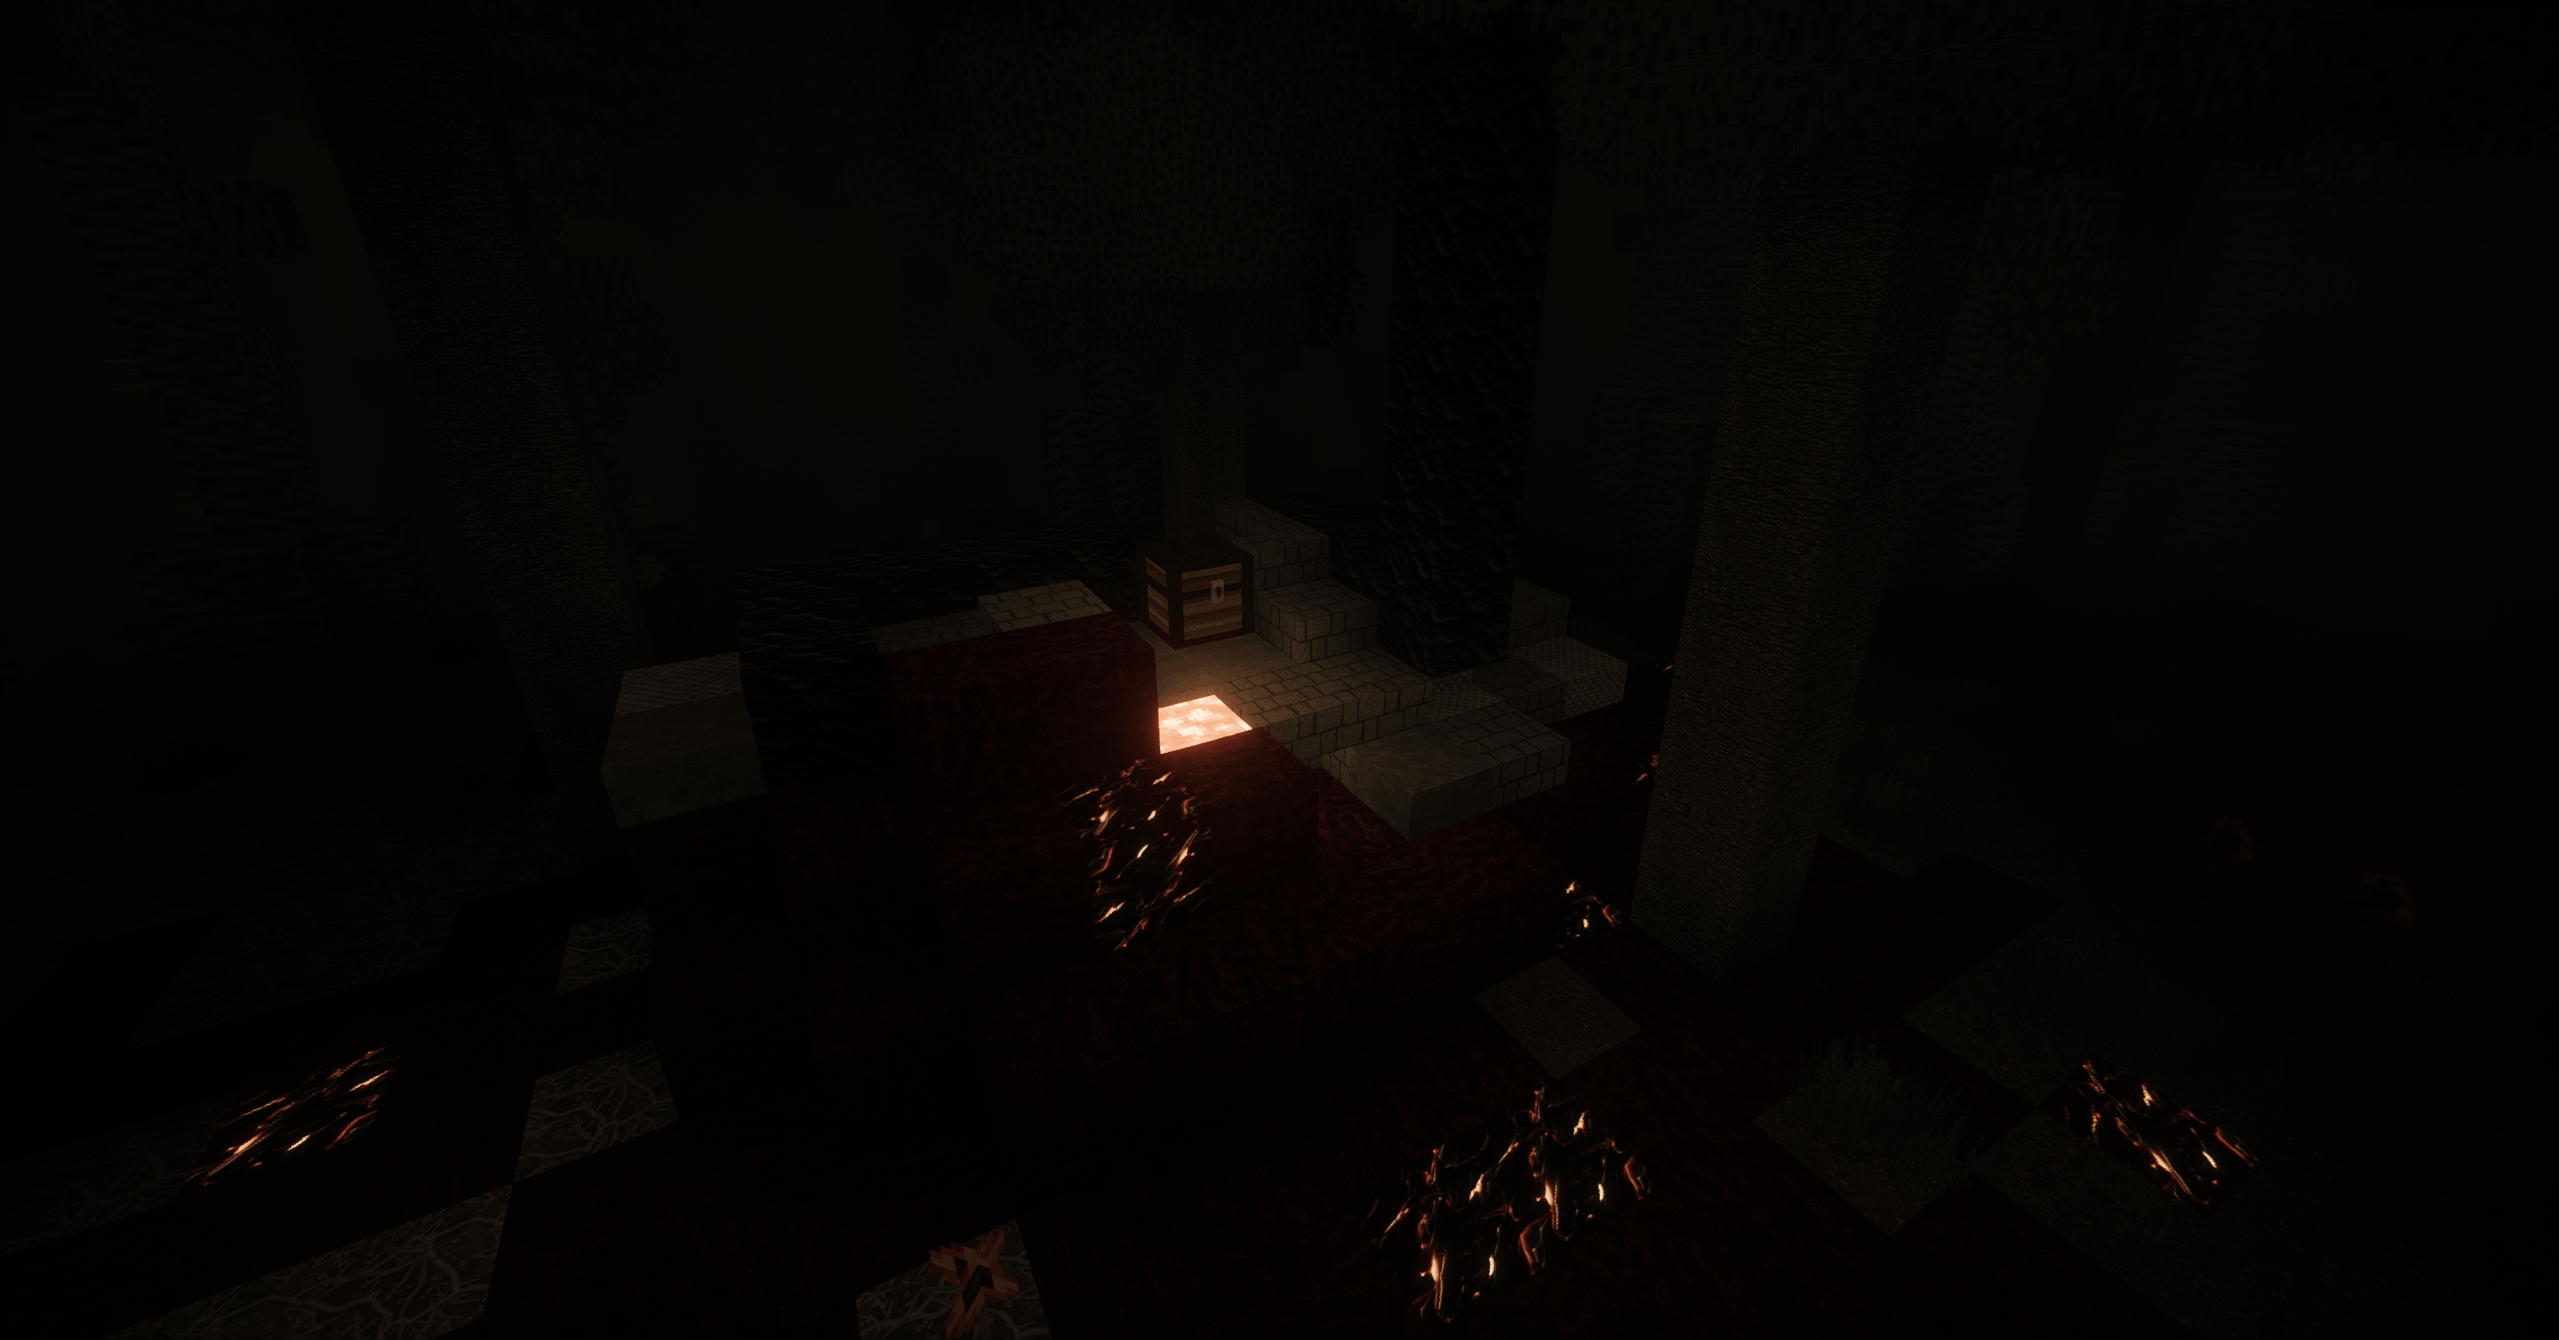
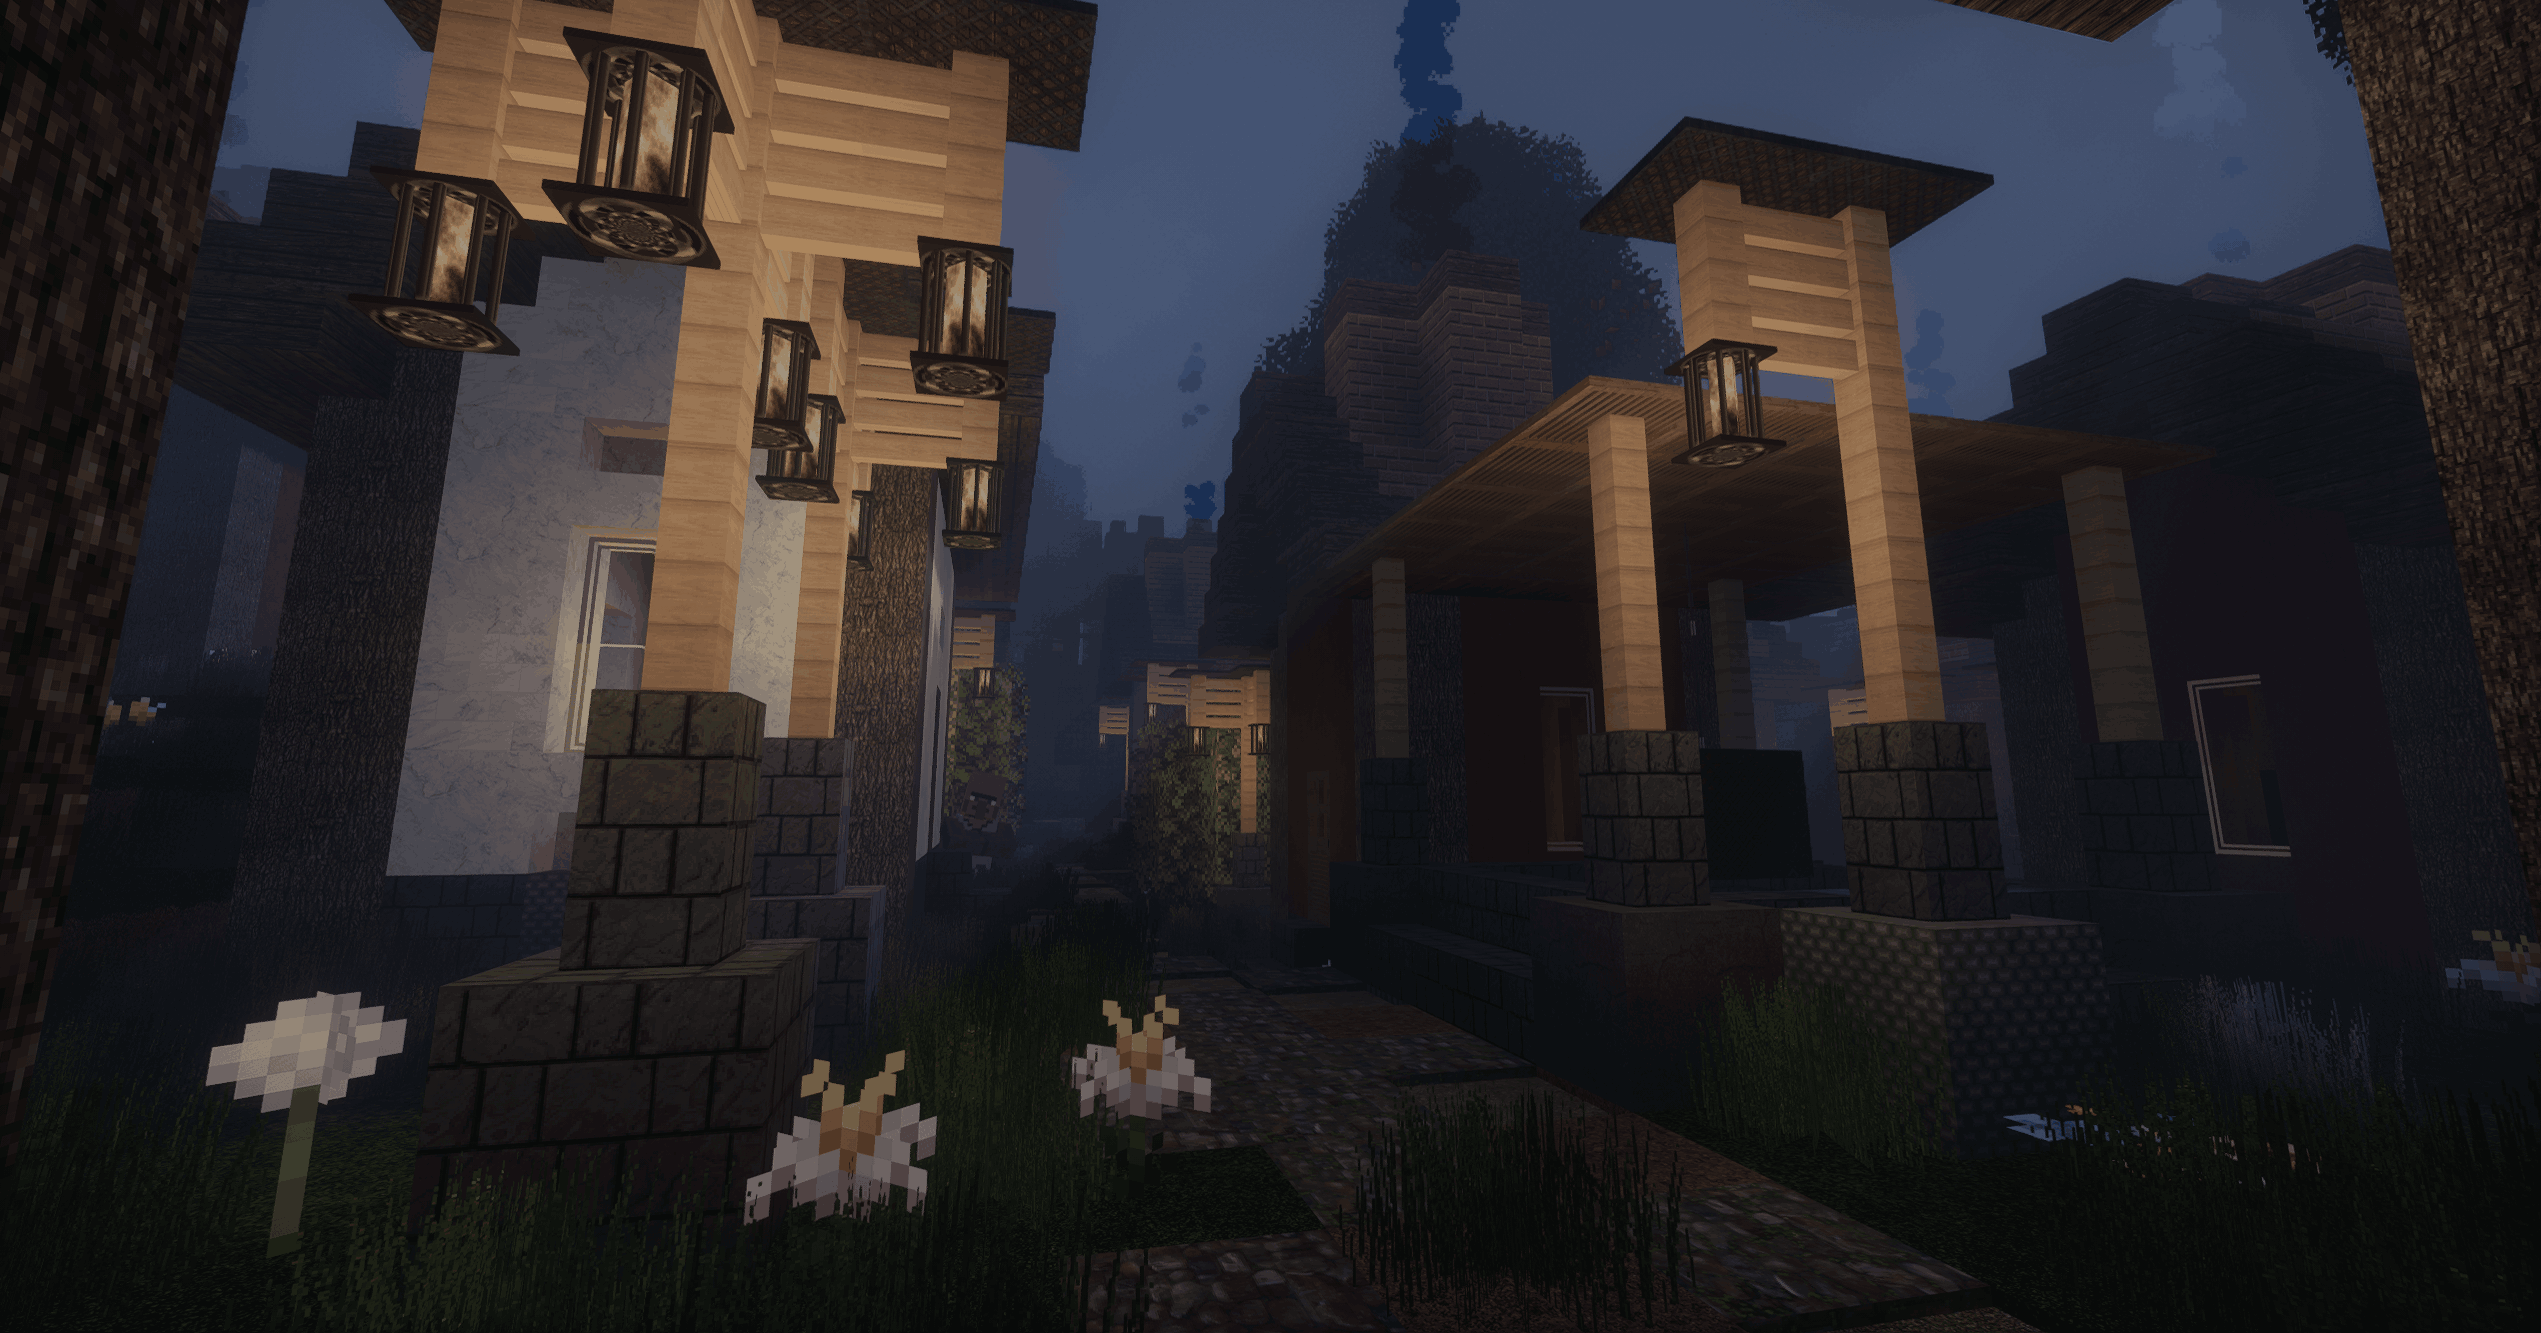
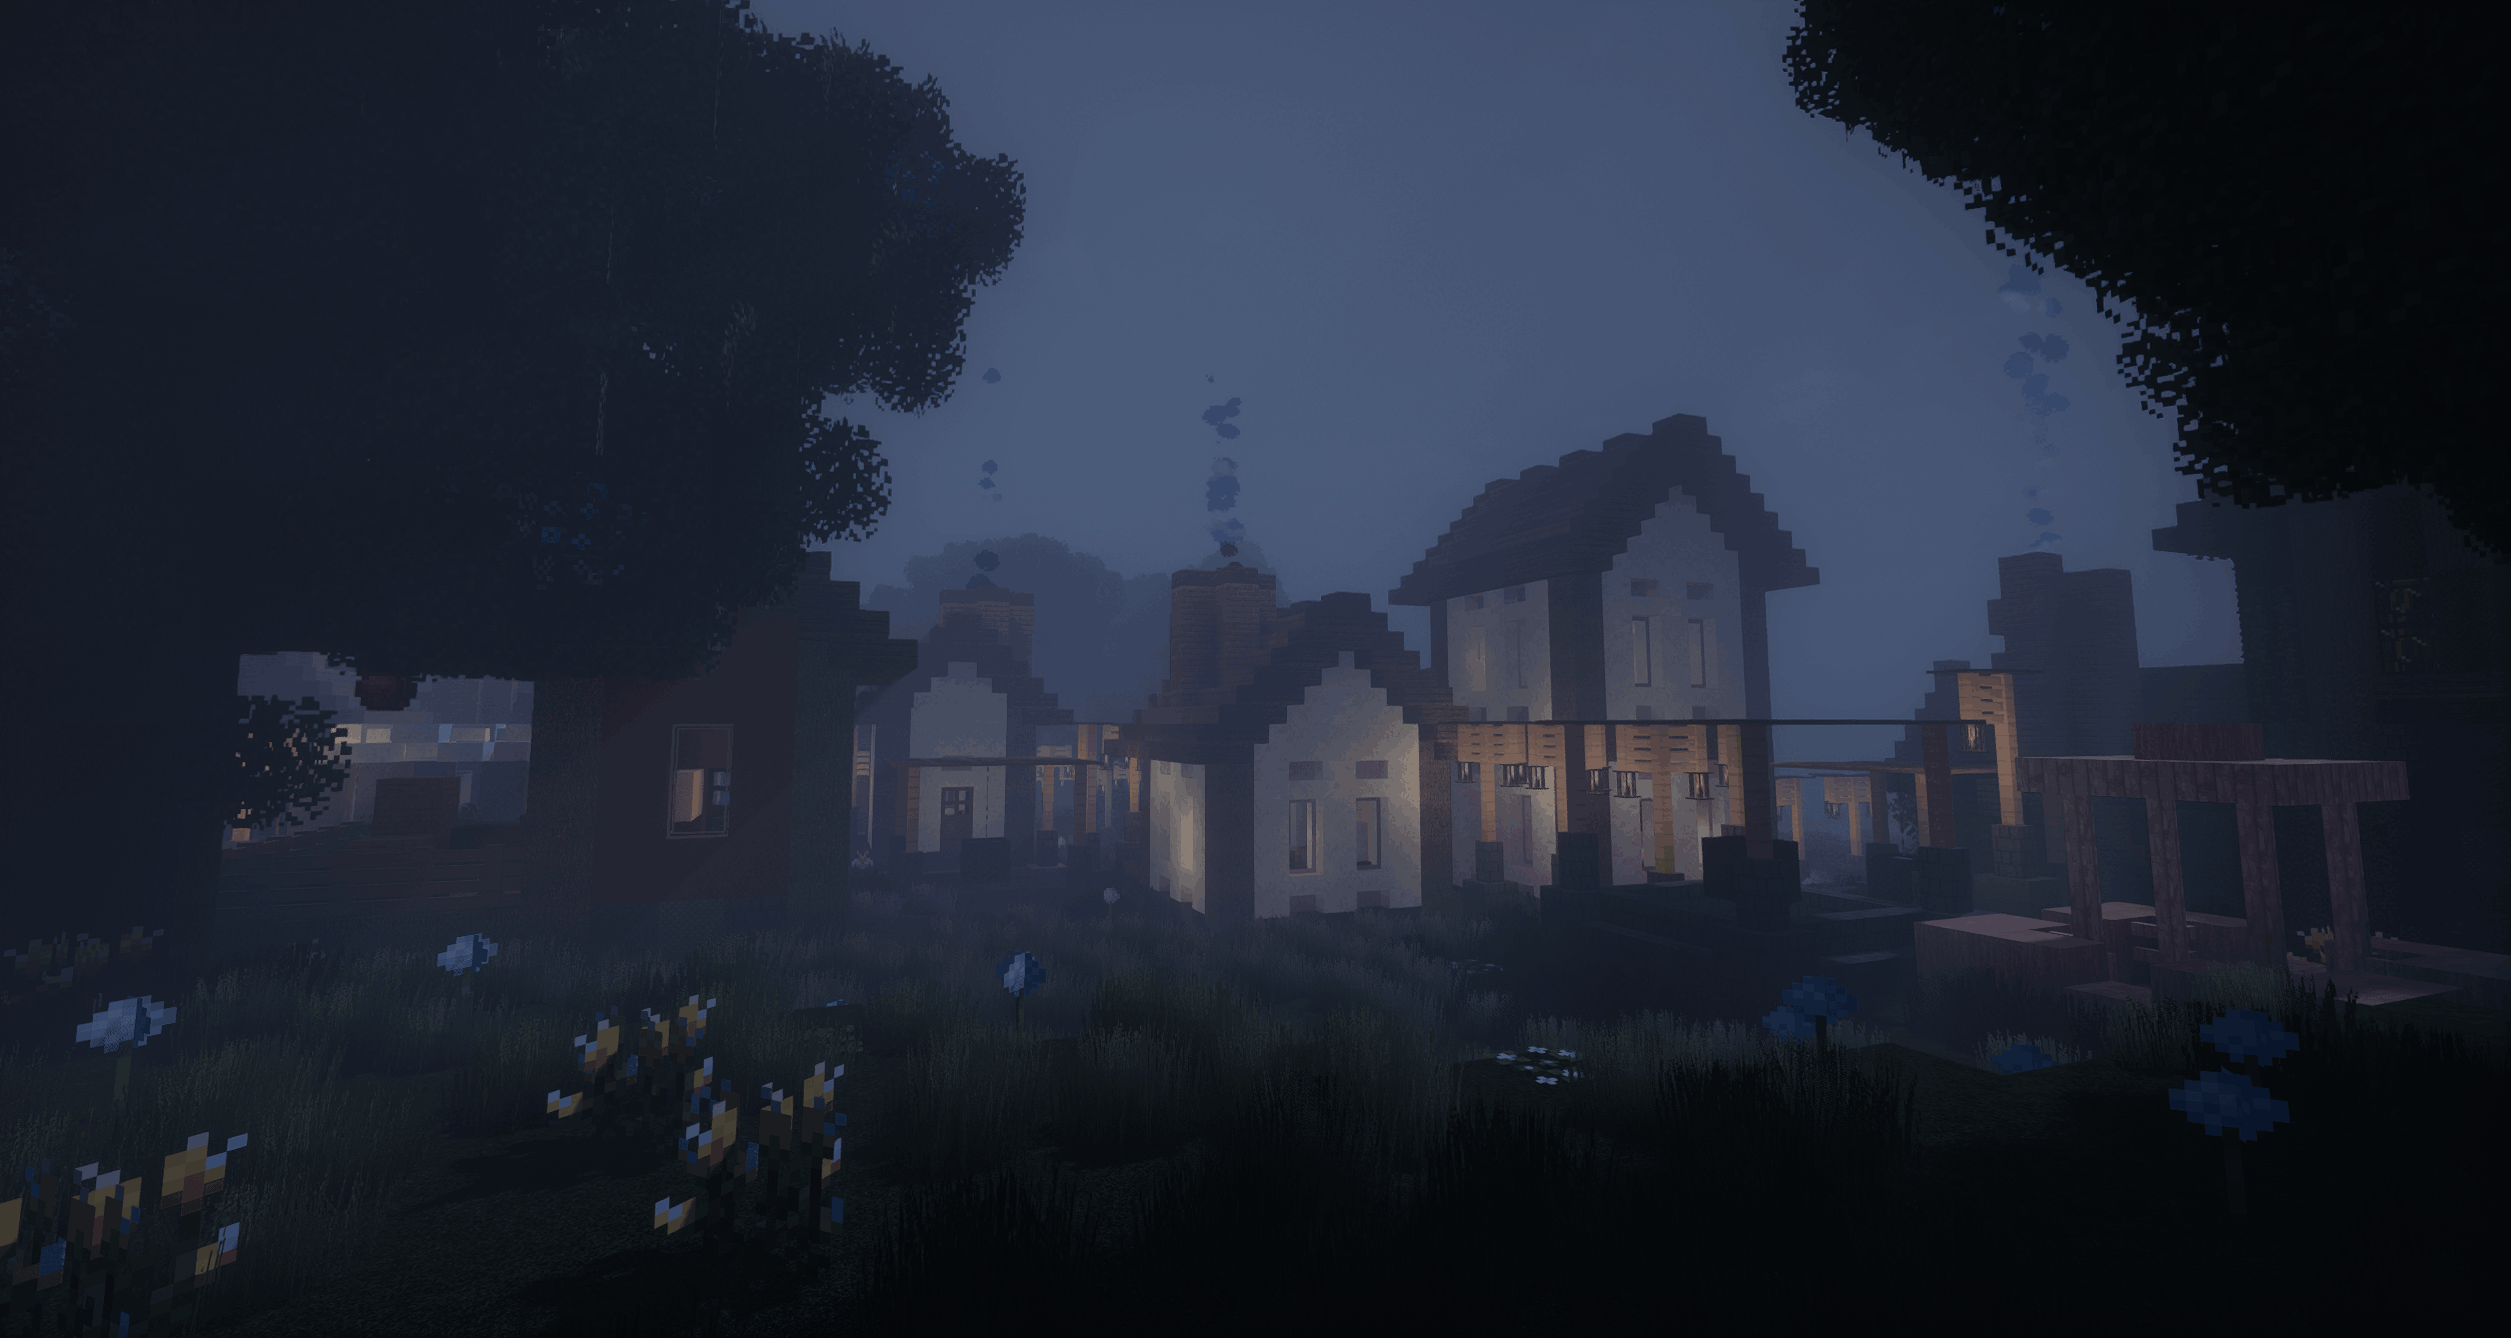
The Obfuscation is a horror-fantasy modpack built around the official Broken Script mod, with a strong medieval atmosphere. The world is filled with hand-crafted and generated fantasy structures — castles, ruins, dungeons, and villages that feel alive but unsettling.
The pack is designed to be immersive right from the start. Shaders, textures, and settings come preloaded, so you don’t need to spend time adjusting options — everything looks and feels the way it’s meant to out of the box.
This is a survival experience with a dark twist: exploration is dangerous, the environment feels oppressive, and every structure tells its own story. If you enjoy a mix of fantasy and horror, The Obfuscation will keep you on edge as you uncover what lies within its world.
✦ Features
-
🕯 The Broken Script mod – official integration at the core of the experience
-
🏰 Medieval & fantasy structures – castles, ruins, villages, and dungeons to explore
-
🌑 Horror atmosphere – sound, lighting, and ambience tuned for tension
-
🎨 Preloaded shaders & resource packs – no setup required, just launch and play
-
⚔️ Survival-focused gameplay – dangerous exploration with a dark fantasy twist
-
📖 Config tweaks & settings included in instructions – balanced for immersion and performance
HOW TO SETUP:
VIDEO SETTINGS
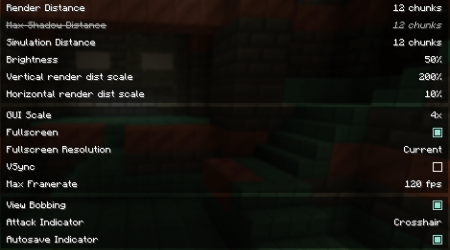 I would recommend these settings. Make sure Vsync is OFF and make sure your fps limit is set to your monitor's refresh rate, if you dont know what it is you can google a tutorial.
SHADERS
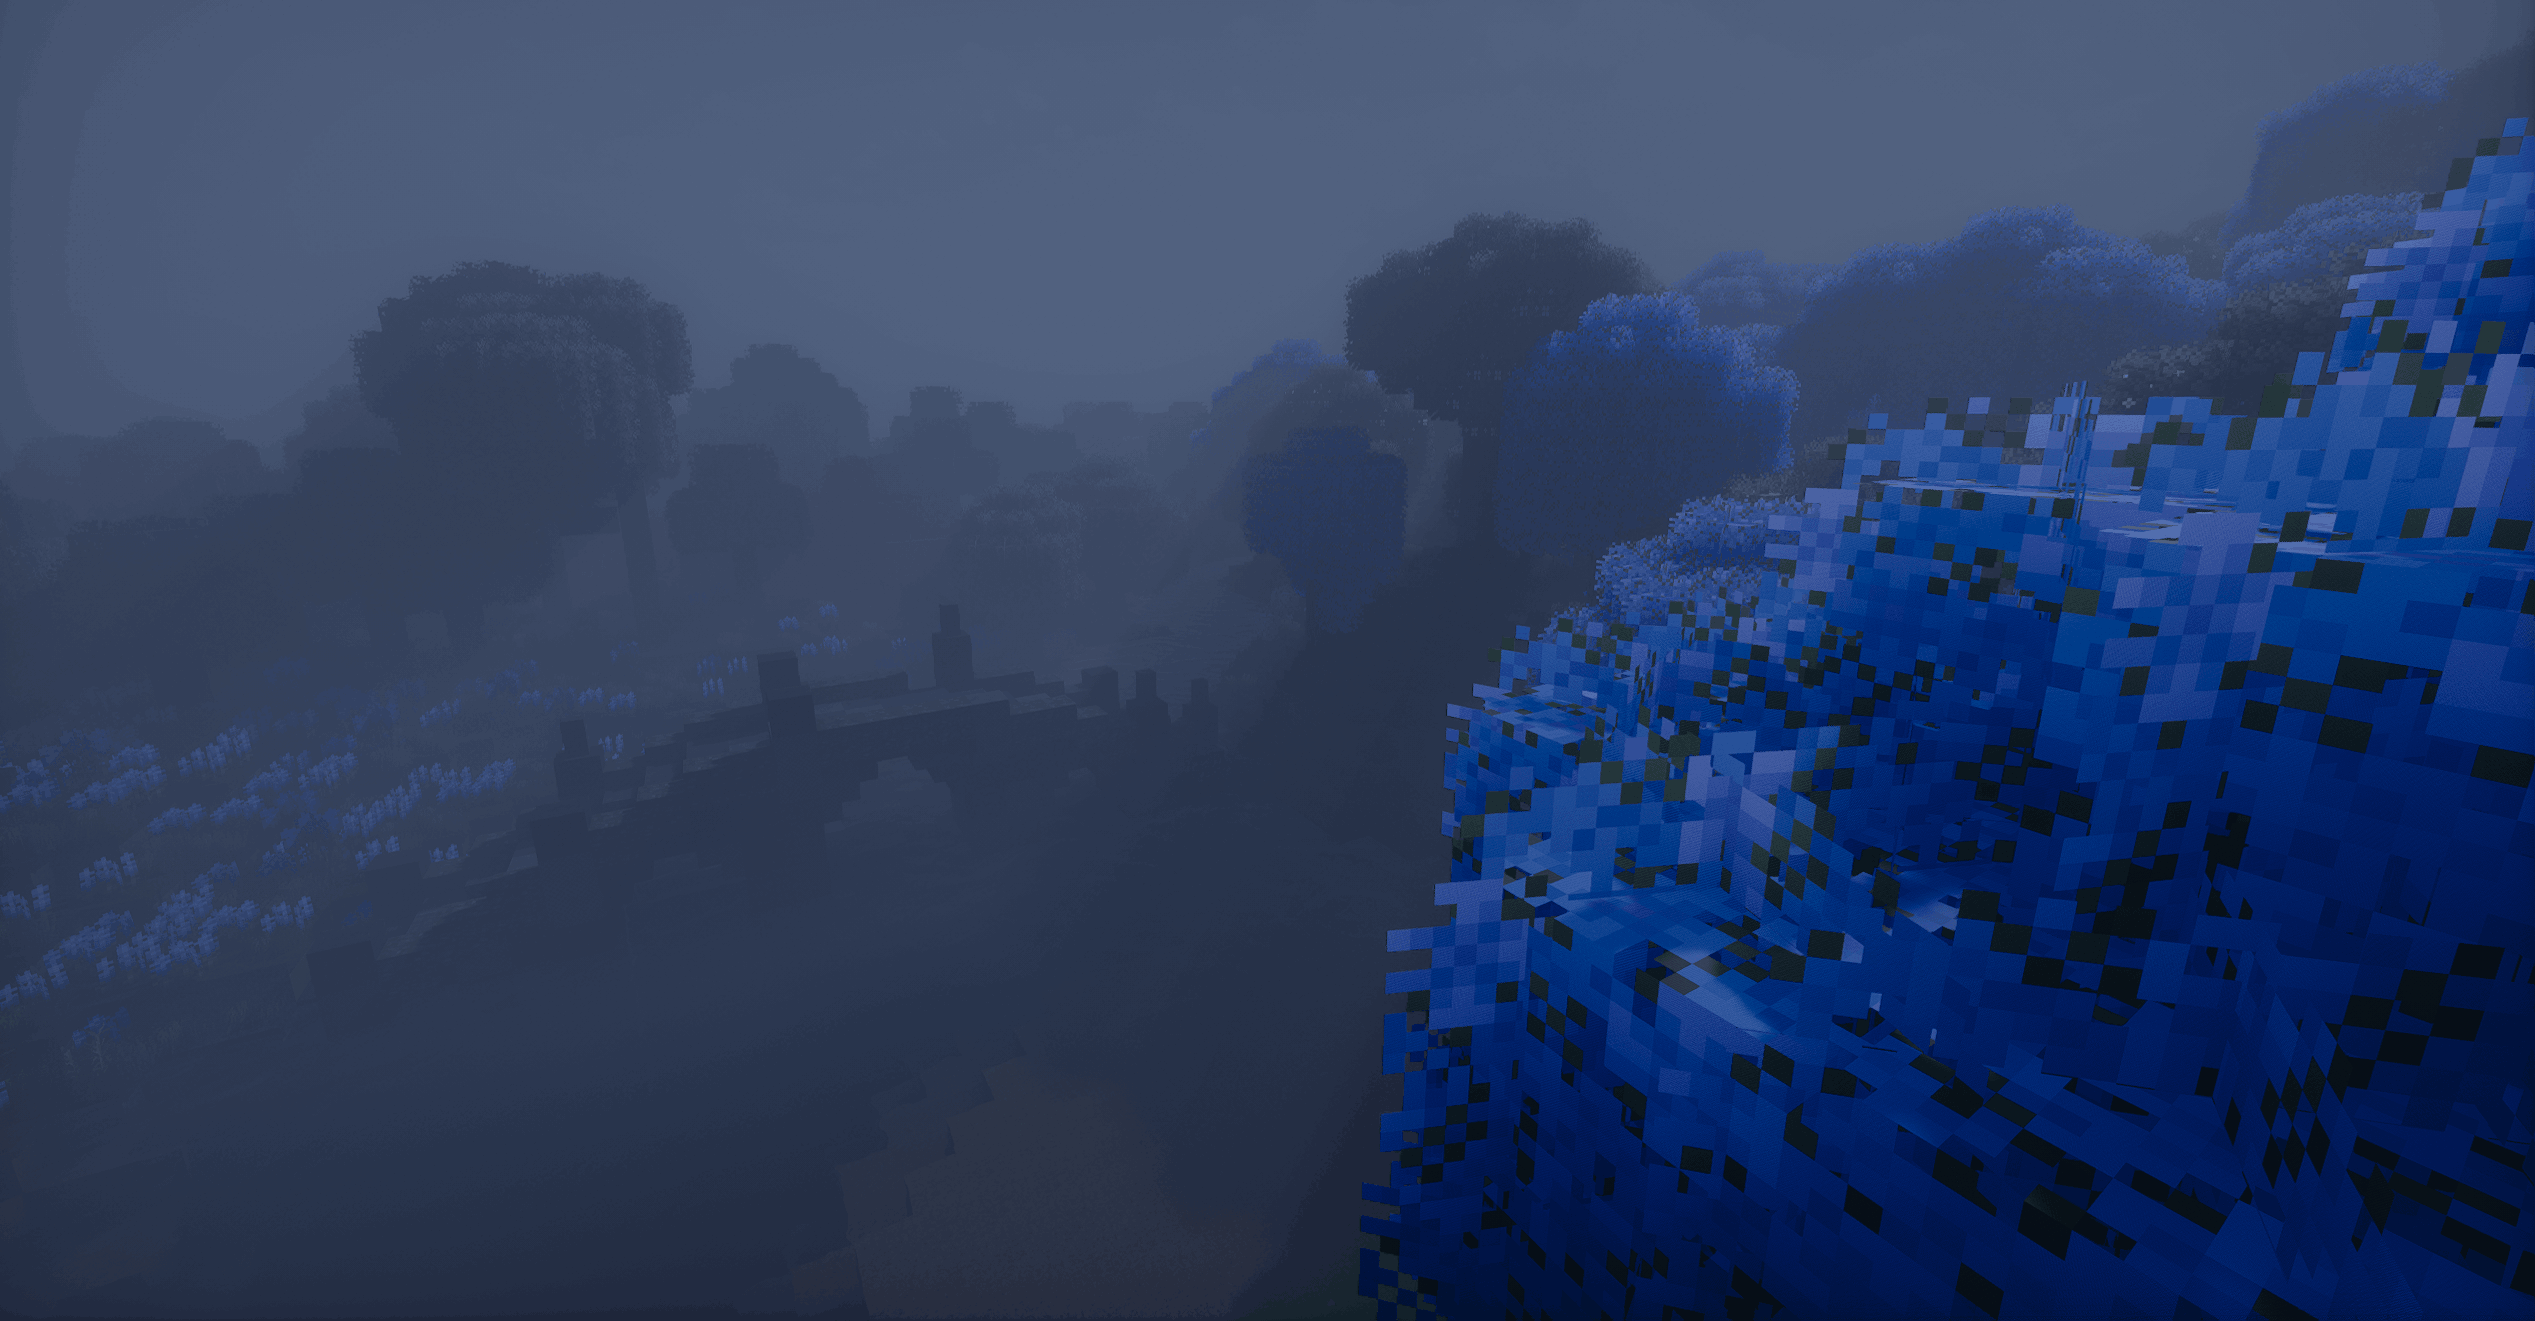
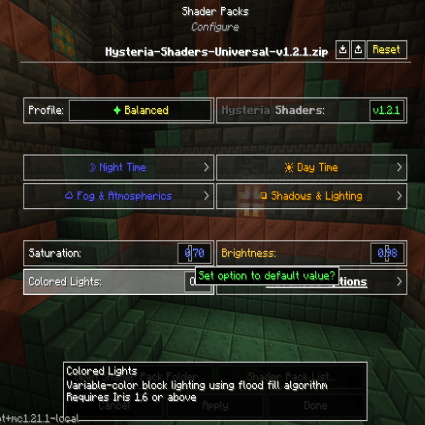 In your settings, click on Iris and choose what shader you would like to use, generally if you dont have a very good PC then it's recommended to use BSL, if you have a higher end pc like an RTX 3070 or RX 6800 and above then using Hysteria is generally ok.
Once you have chosen the shader you will use look at the tutorial below on how to setup the shader you chose.
HYSTERIA SHADERS
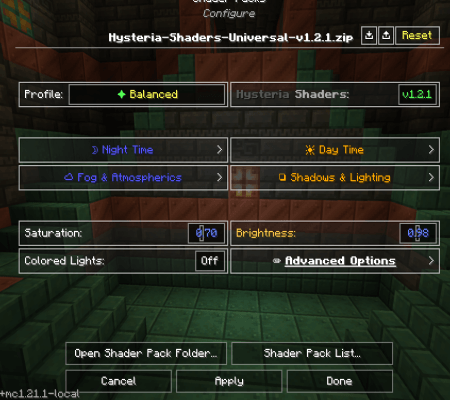 For Hysteria shaders I recommend you choose these settings. Click on Shadows & Lighting, go to Light Sources and then click on Sunlight Color, Click on Morning and turn Red and Green down, then turn Blue up. It doesnt really matter how intense you make it as long as it fits your preference, then do the same to Noon and Evening. Once you are done, click on Back and choose Blocklight Color, turn Blue down to about 40-45 to make the light look more natural. If it is too dark for you, you can always turn Brightness UP until it meets your personal preference. Once you are done with everything continue with the tutorial.
BSL SHADERS
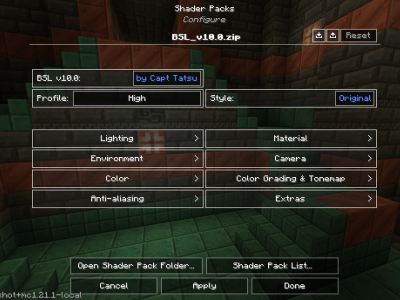 For BSL, these are the settings I recommend. Click on Colour, then go to Lighting Color, choose Light (Morning). Turn Blue all the way up to about 180-220, and Green and Red to 80-100. Do the same thing for Day, Evening and Night. Once you have done that, go back and click Blocklight Color, turn Green and Red to around 200-220 and Blue goes down to 90-100, this makes the lights from Torches, Lanterns and Light coming from blocks look more natural and warm. Once you have done that continue with the tutorial.
TEXTURE PACKS
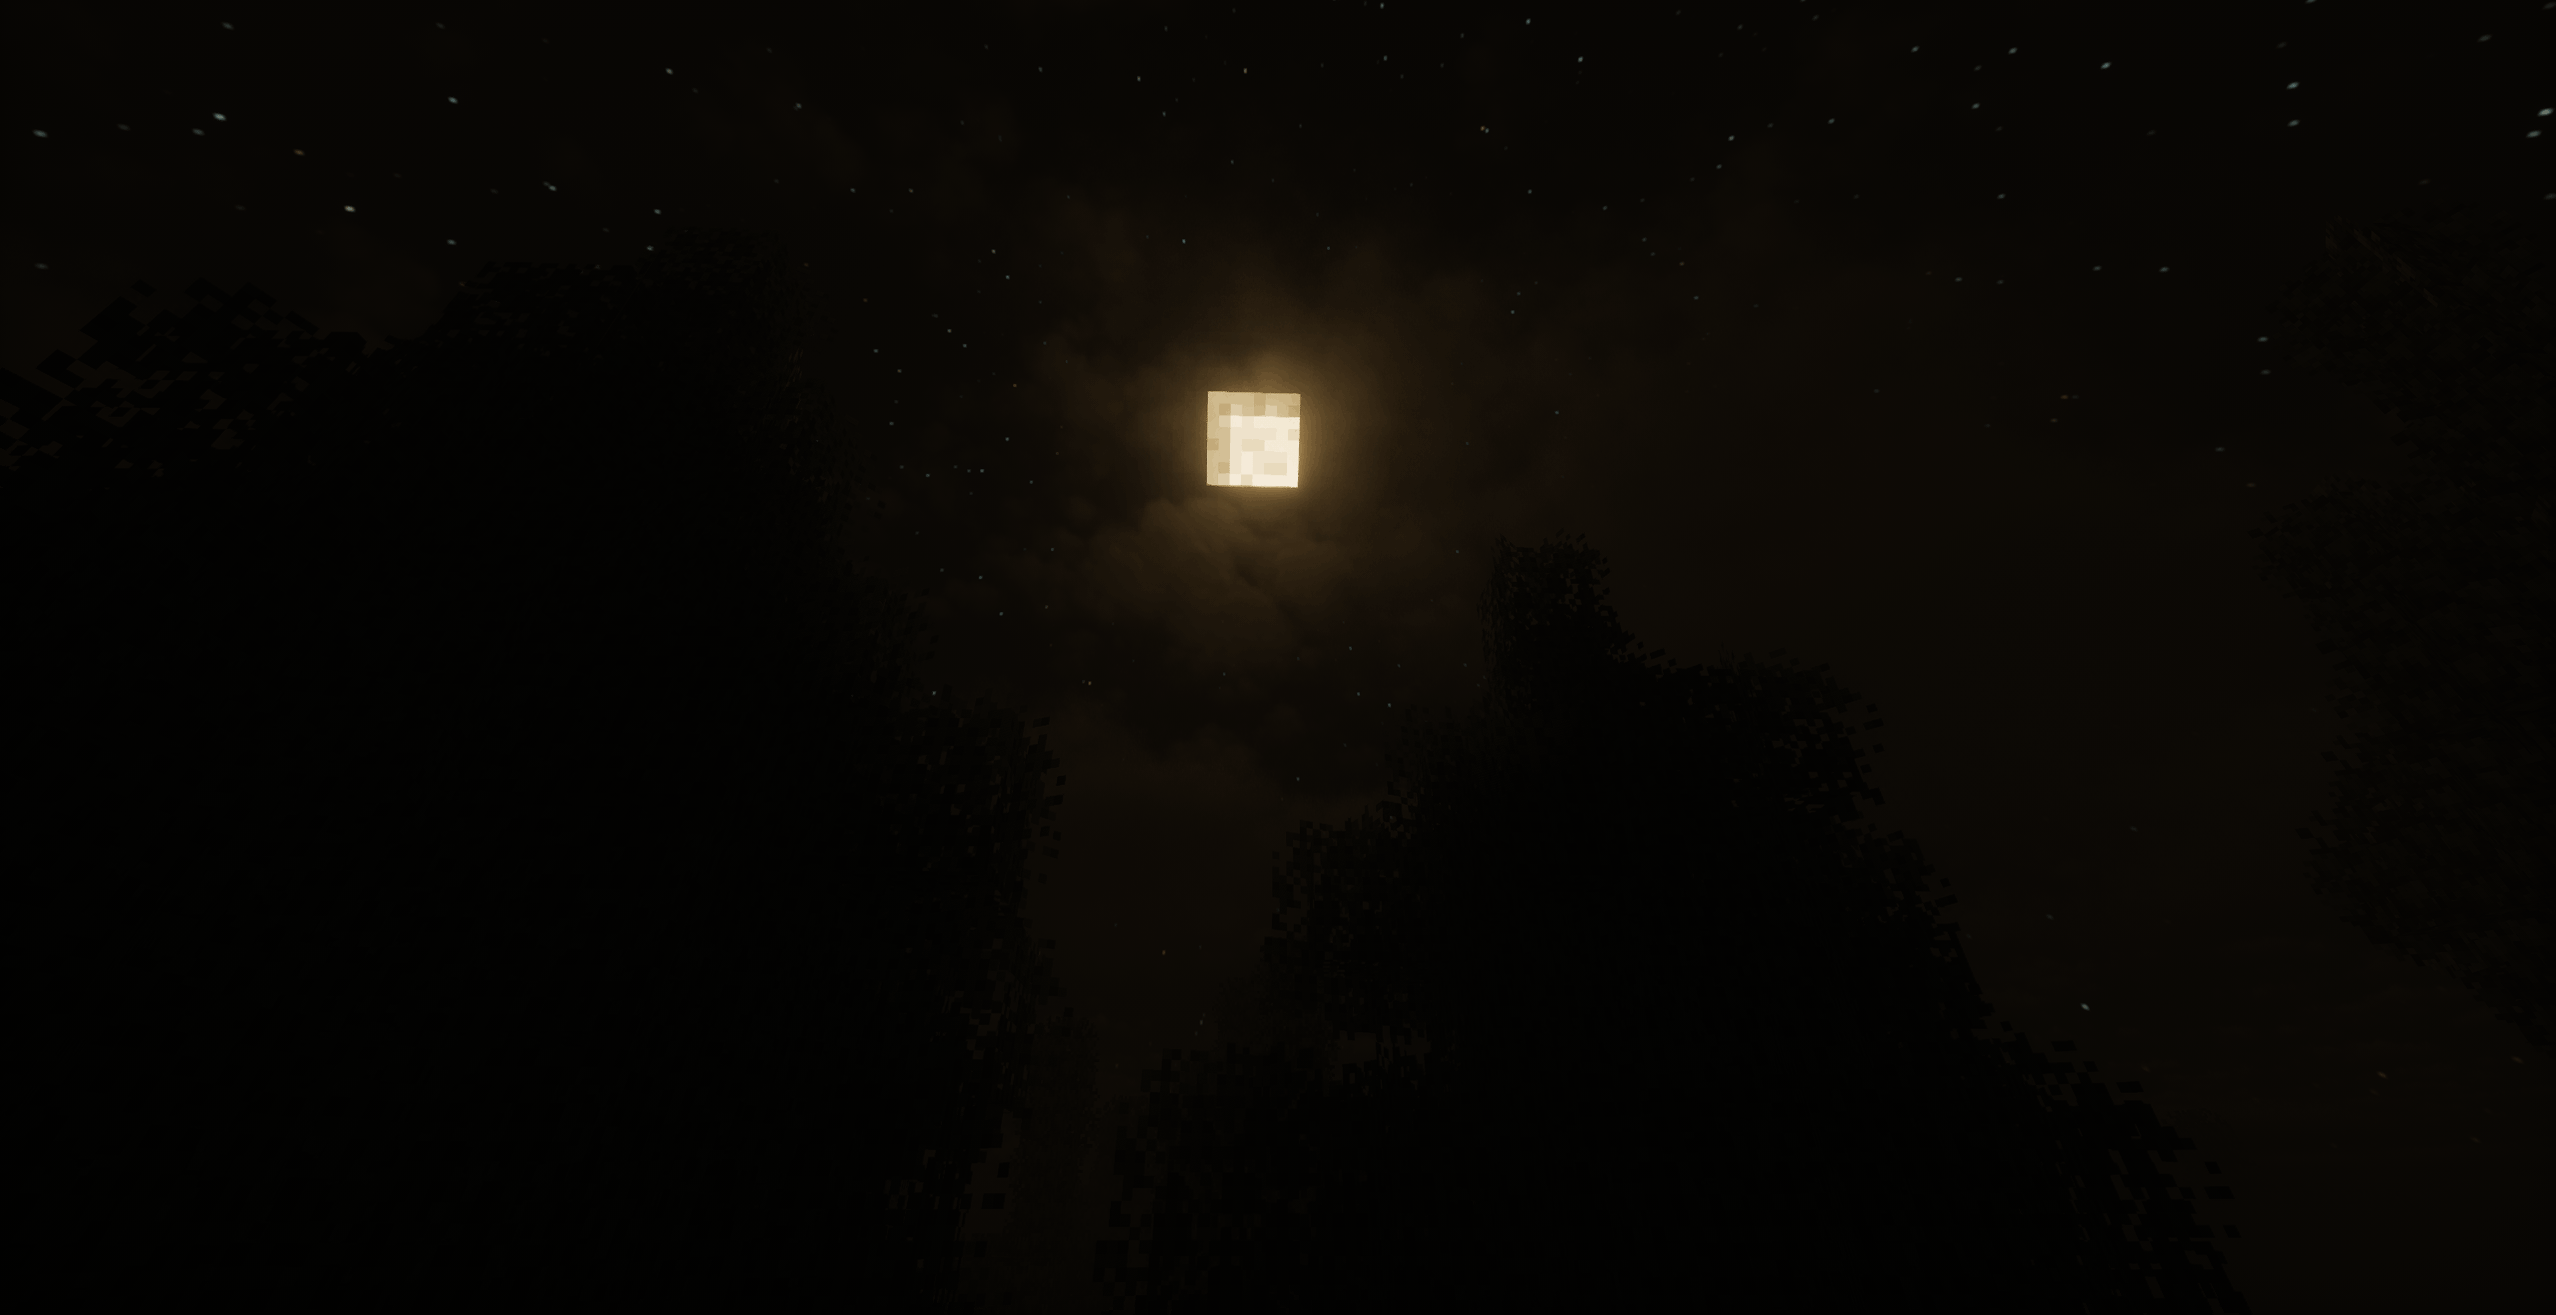
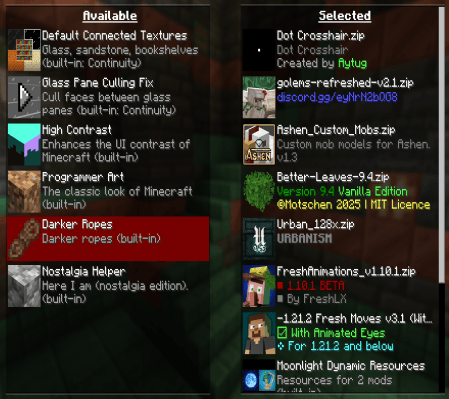 This is the final step, Go back all the way to the options menu and click on Resource Packs, all you have to do is add the Texture packs shown in the image and PUT THEM IN THE EXACT ORDER AS THE IMAGE, OR ELSE SOME OF THE TEXTURE PACKS WILL BREAK. Once you have done this the game should end up looking like the pictures shown in the gallery.
Screenshots
Gallery
-
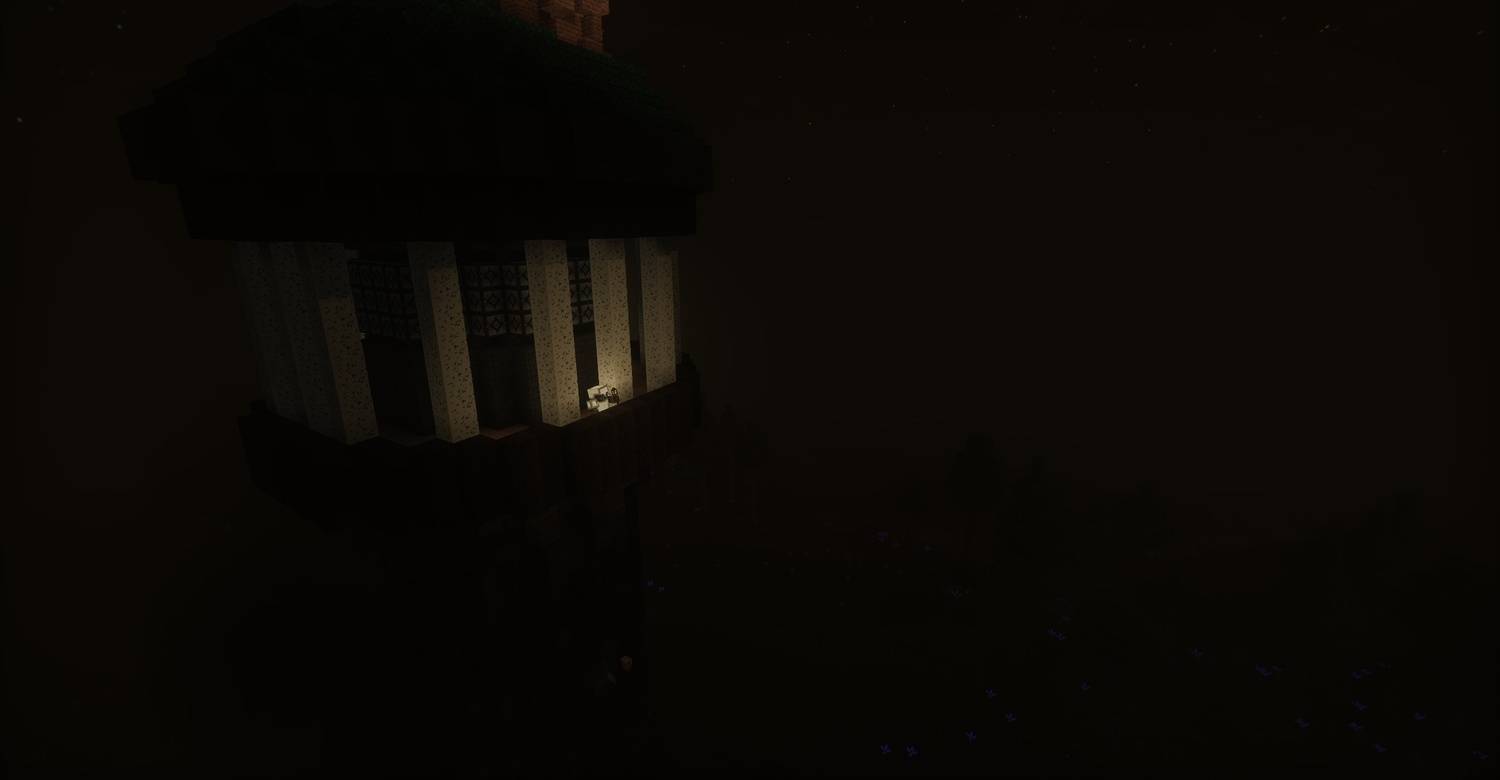 Screenshot2025-09-2922154.jpeg Screenshot2025-09-2922154.jpeg
 -
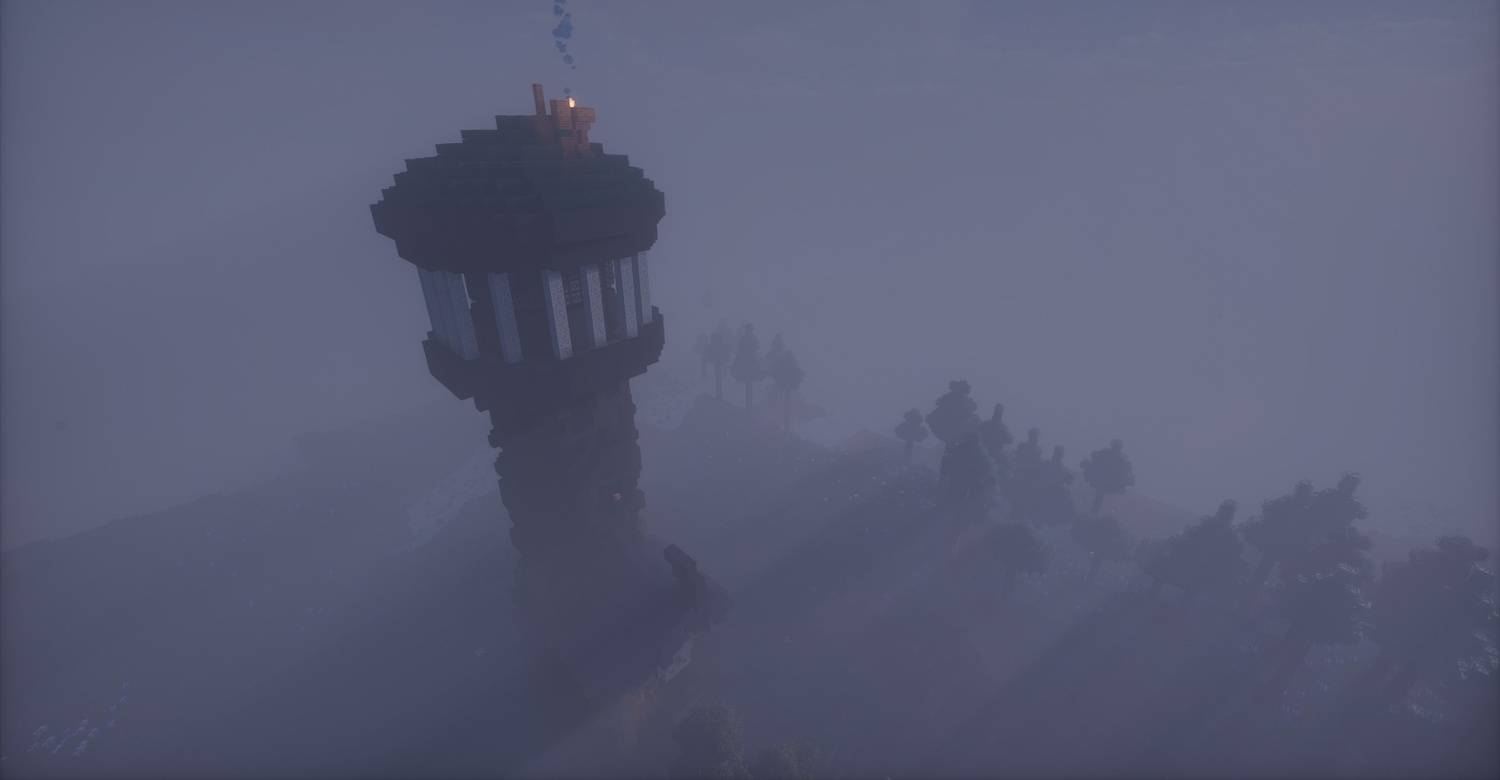 Screenshot2025-09-2922163.jpeg Screenshot2025-09-2922163.jpeg
 -
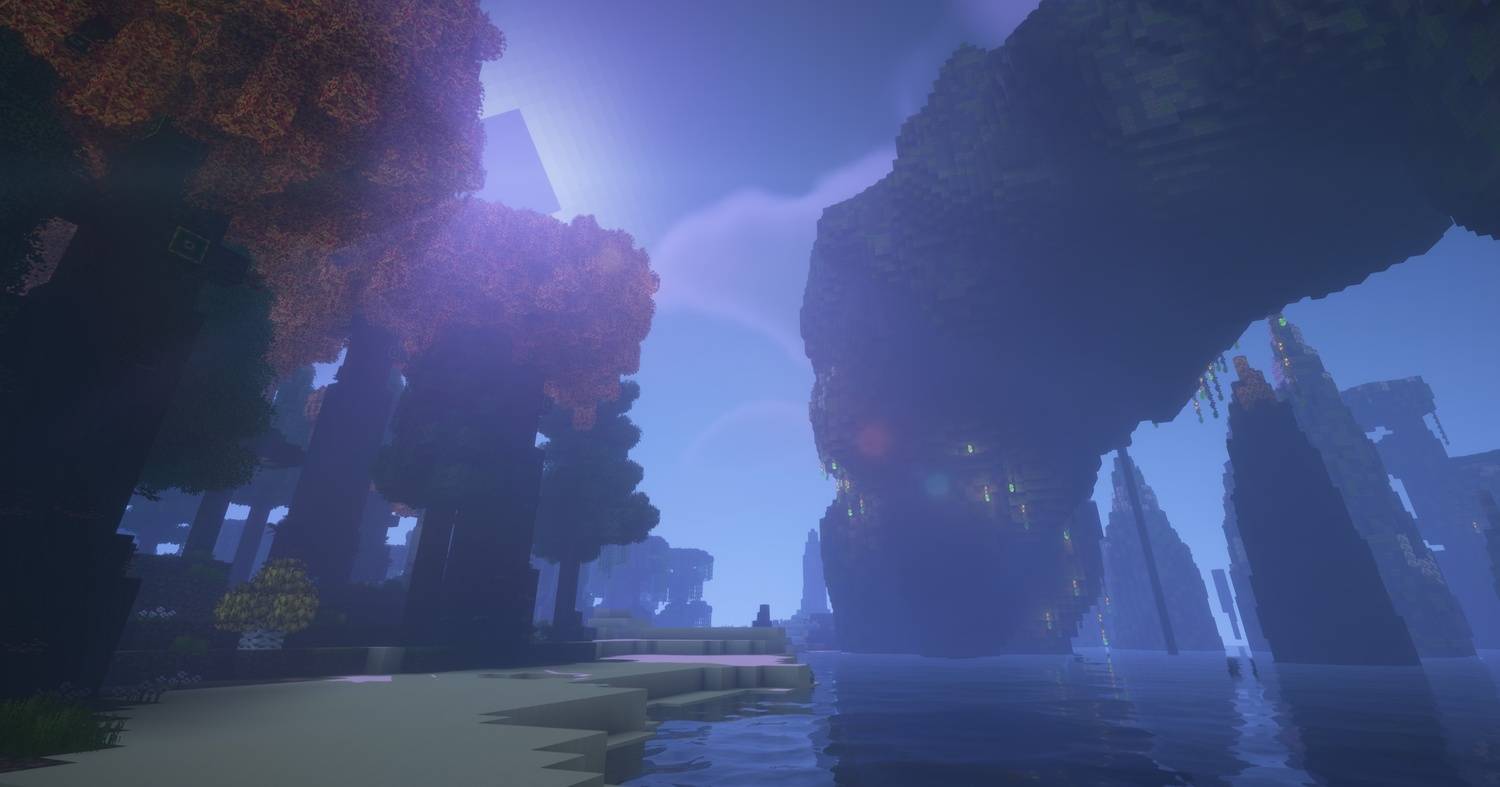 Screenshot2025-09-2916382.jpeg Screenshot2025-09-2916382.jpeg
 -
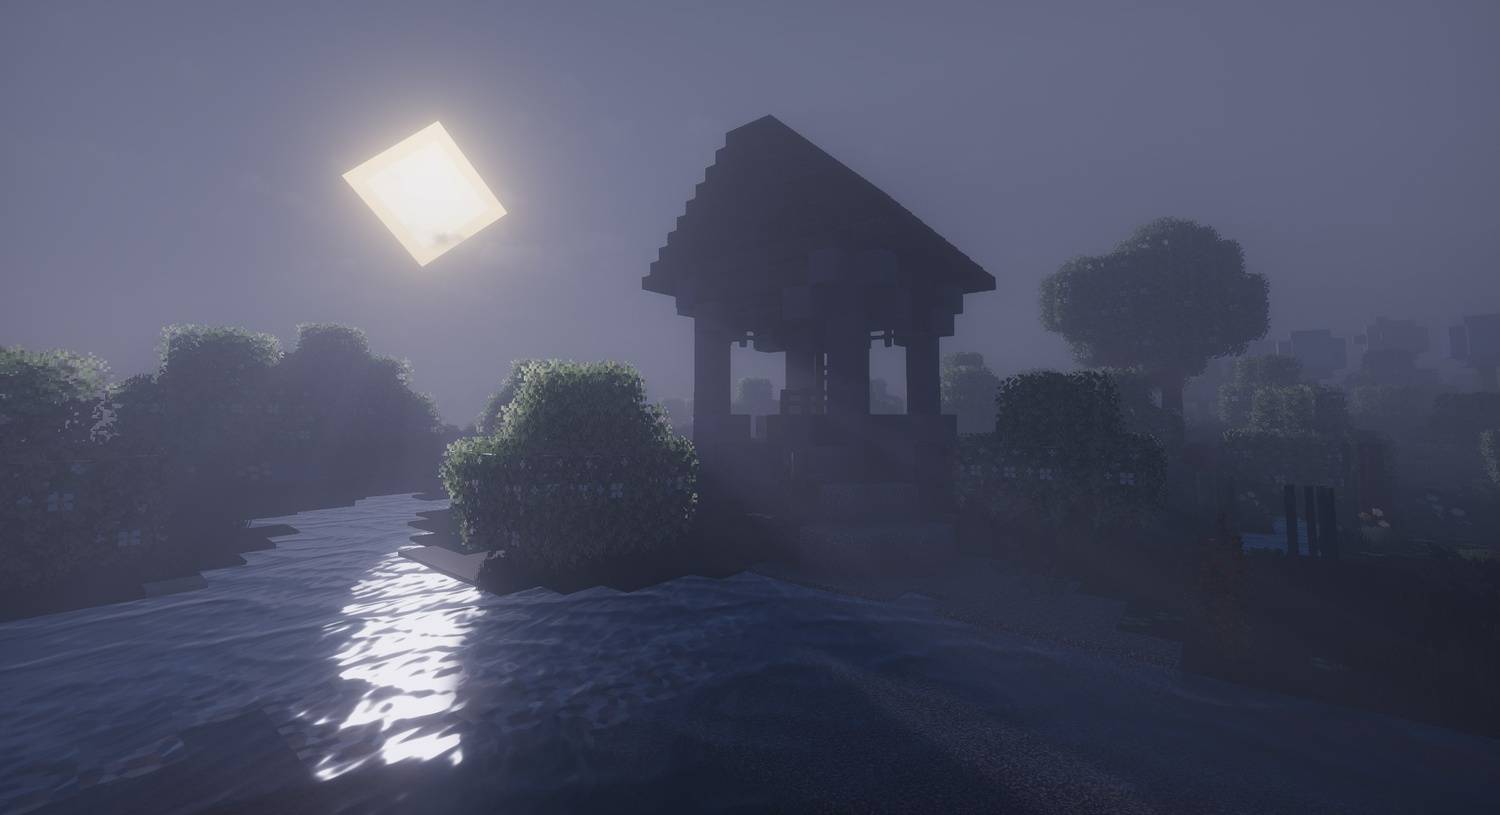 Screenshot2025-09-2922190.jpeg Screenshot2025-09-2922190.jpeg
 -
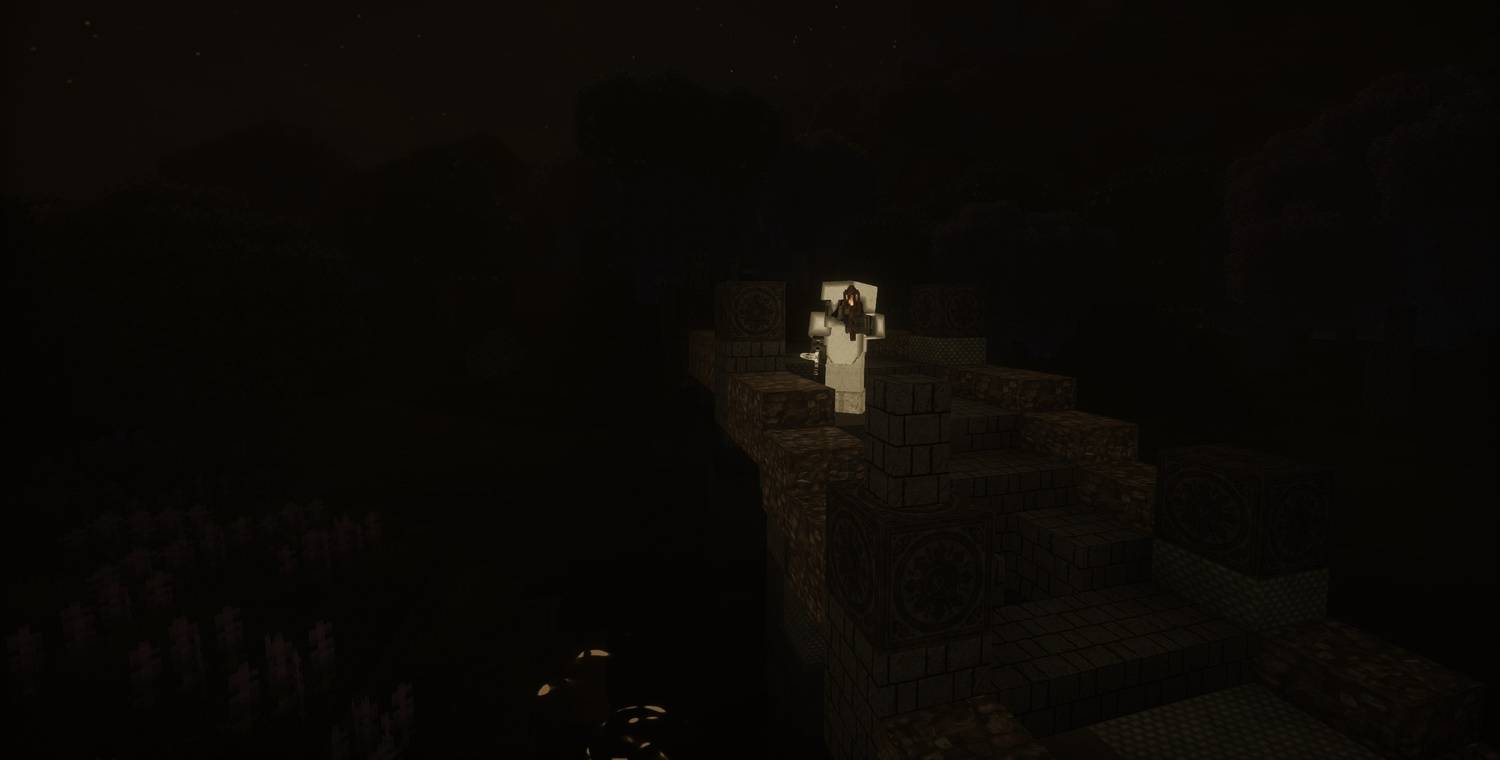 Screenshot2025-09-2922135.jpeg Screenshot2025-09-2922135.jpeg
 -
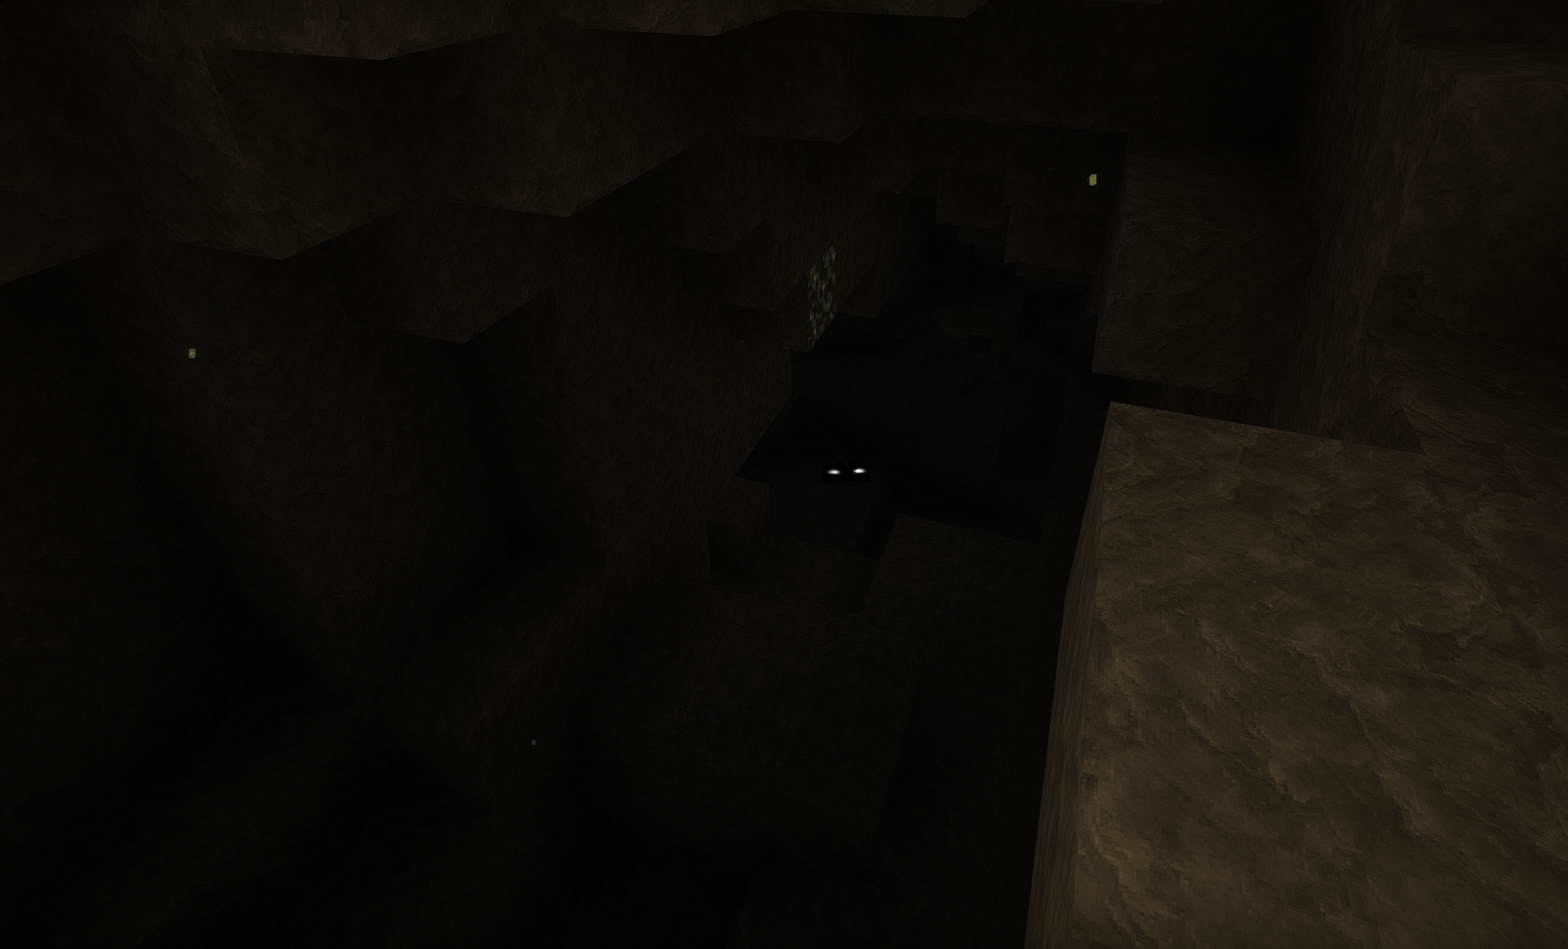 Screenshot 2025-09-29 223136.png Screenshot 2025-09-29 223136.png
 -
 Screenshot 2025-09-28 211050_11zon.png Screenshot 2025-09-28 211050_11zon.png
 -
 Screenshot 2025-09-28 210927_11zon.png Screenshot 2025-09-28 210927_11zon.png
 -
 Screenshot 2025-09-28 210815_11zon.png Screenshot 2025-09-28 210815_11zon.png
 -
 Screenshot 2025-09-28 210731_11zon.png Screenshot 2025-09-28 210731_11zon.png
 -
 Screenshot 2025-09-28 211118_11zon (1).png Screenshot 2025-09-28 211118_11zon (1).png
Versions
Files
Relations
Project Relations
More like this
Similar Modpacks
Suggestions use data such as tags, dependencies, dependents, descriptions, titles, and more to rank how much they overlap with this modpack.
- Before The Silence
- KenkuKraft - Infected
- F.E.A.R SMP
- Laygoland Revival
- New Beggings
- Your Done For
- Crazy Holloween - The Darkest & Craziest Horror Adventure!
- Horrorland 2 - Psychological and Classic Horror Modpack (with Horror Quests)
- Alien AGF Series
- Creativity & Horror
- Ruthless Frontiers - A Diabolical RPG
- Werewolves VS Vampires SMP
On ModDex
Community snapshot
By the numbers
Statistics
 (opens in a new tab)
Get it on
Available Platforms
On ModDex
Community snapshot
By the numbers
Statistics
Resources