The Lost Cities

Quick rating

The Lost Cities

No reviews yet

The Lost Cities is a world generation mod

Post-Apocalyptic
Modern/Urban
Adventure/Exploration
Custom Dimensions
Dungeons & Strongholds
Misc Structures
World Gen Improvements
Portals
Mod Loaders
Forge
NeoForge
Minecraft

Community voices

Reviews

Versions
Loading versions…
Match includes

Click once to include, again to exclude, again to clear

Rating Any
Any 0.5 1.0 1.5 2.0 2.5 3.0 3.5 4.0 4.5 5.0
Min
Max
Play Status
Reviews
Time Played
hrs+
Verified developers only
Has developer response
List view
Grid view
Compact view
Sort by
Date
Rating
Helpful
Unhelpful
Edited
Sort ascending
Delete this review?

This removes your review from the project. You can write a new review after.

Review submitted for moderation

Your review has been sent to moderators, who will check that it meets our guidelines before it appears publicly.

No reviews yet. Be the first to review this project!

Get it on

Available Platforms

Compatibility

Supported Environments

Where It Runs
Server Only

Runs entirely on the server. Also works in singleplayer.

About

Project Details

Type
Mod
License
MIT License
Latest Version
LostCities - 1.20-7.5.2
Authors
CurseForge
Modrinth

For authors

Embed Badge

If you're the author of this project, you can embed a live badge anywhere that supports HTML or Markdown. It updates automatically whenever ratings change.

Custom banner text
ModDex rating badge preview

Use HTML for any page that supports it, or Markdown for README files and Markdown-based descriptions.

Identifiers

Platform IDs

CurseForge ID
Modrinth ID

Resources

External Links

About

Description

The Lost Cities

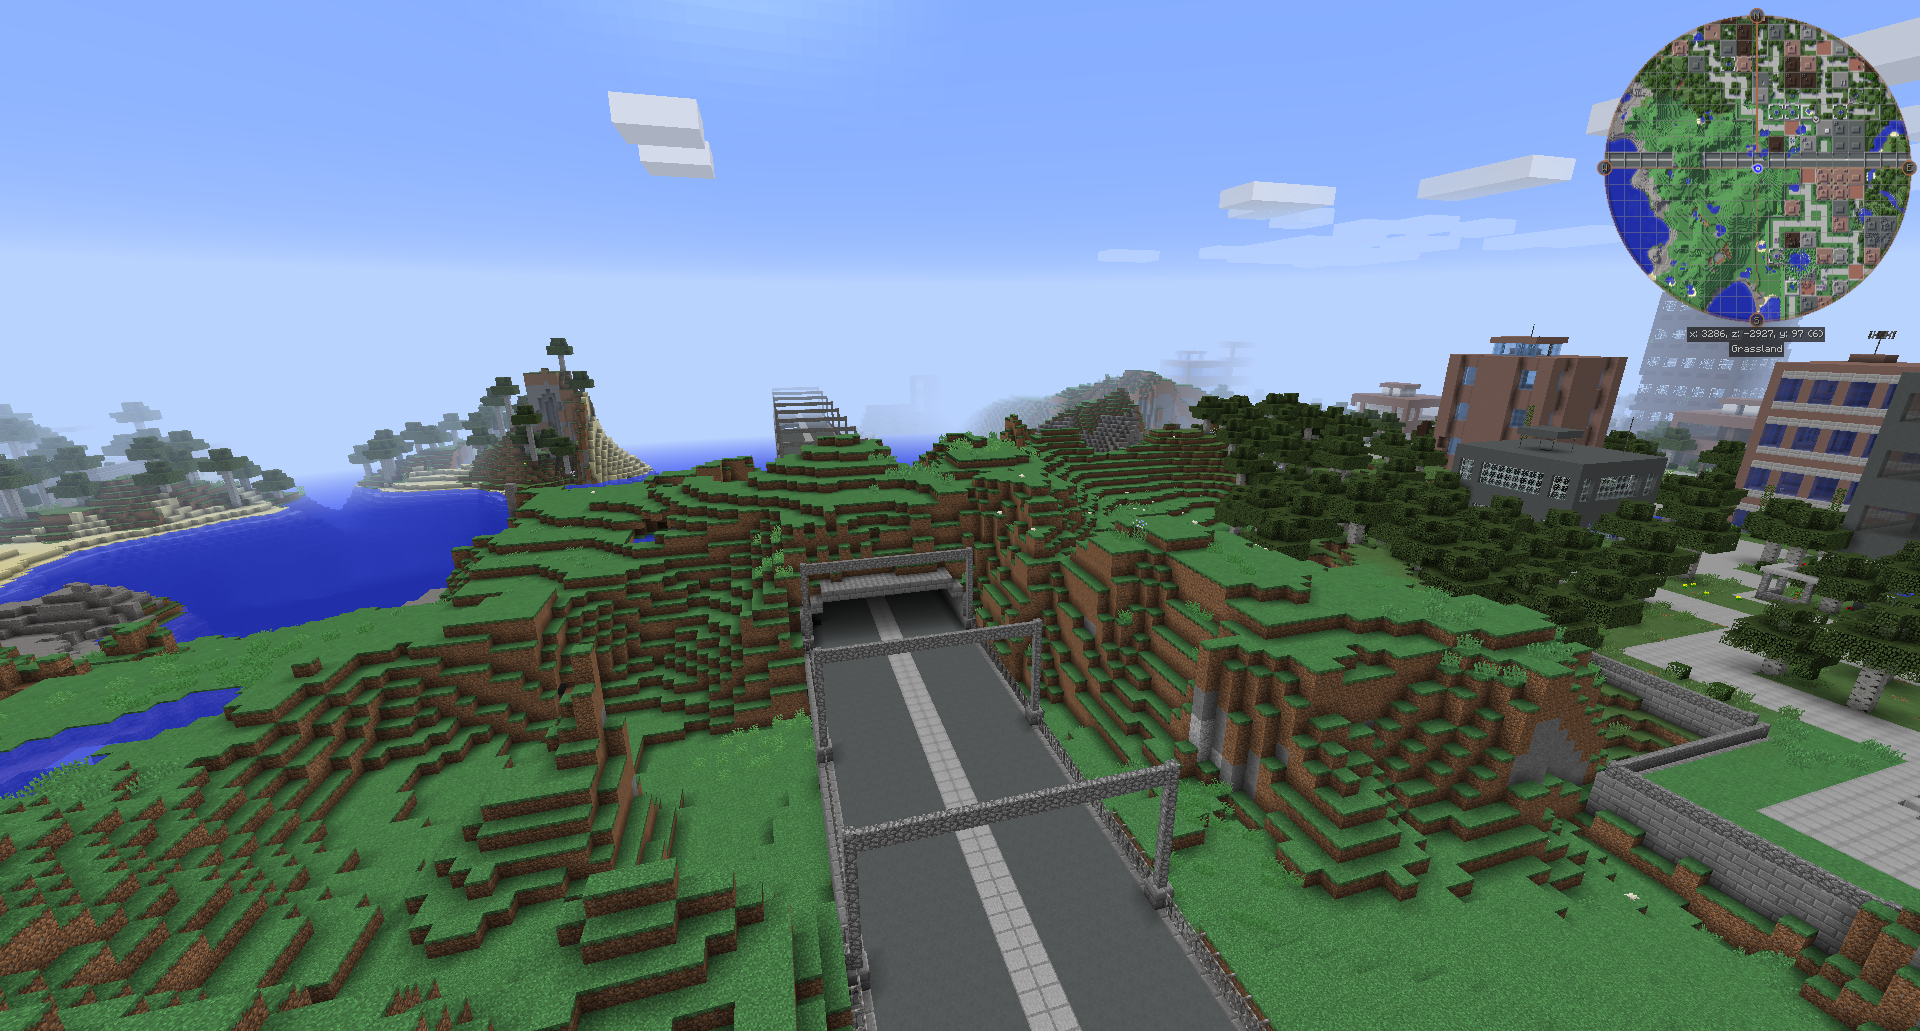
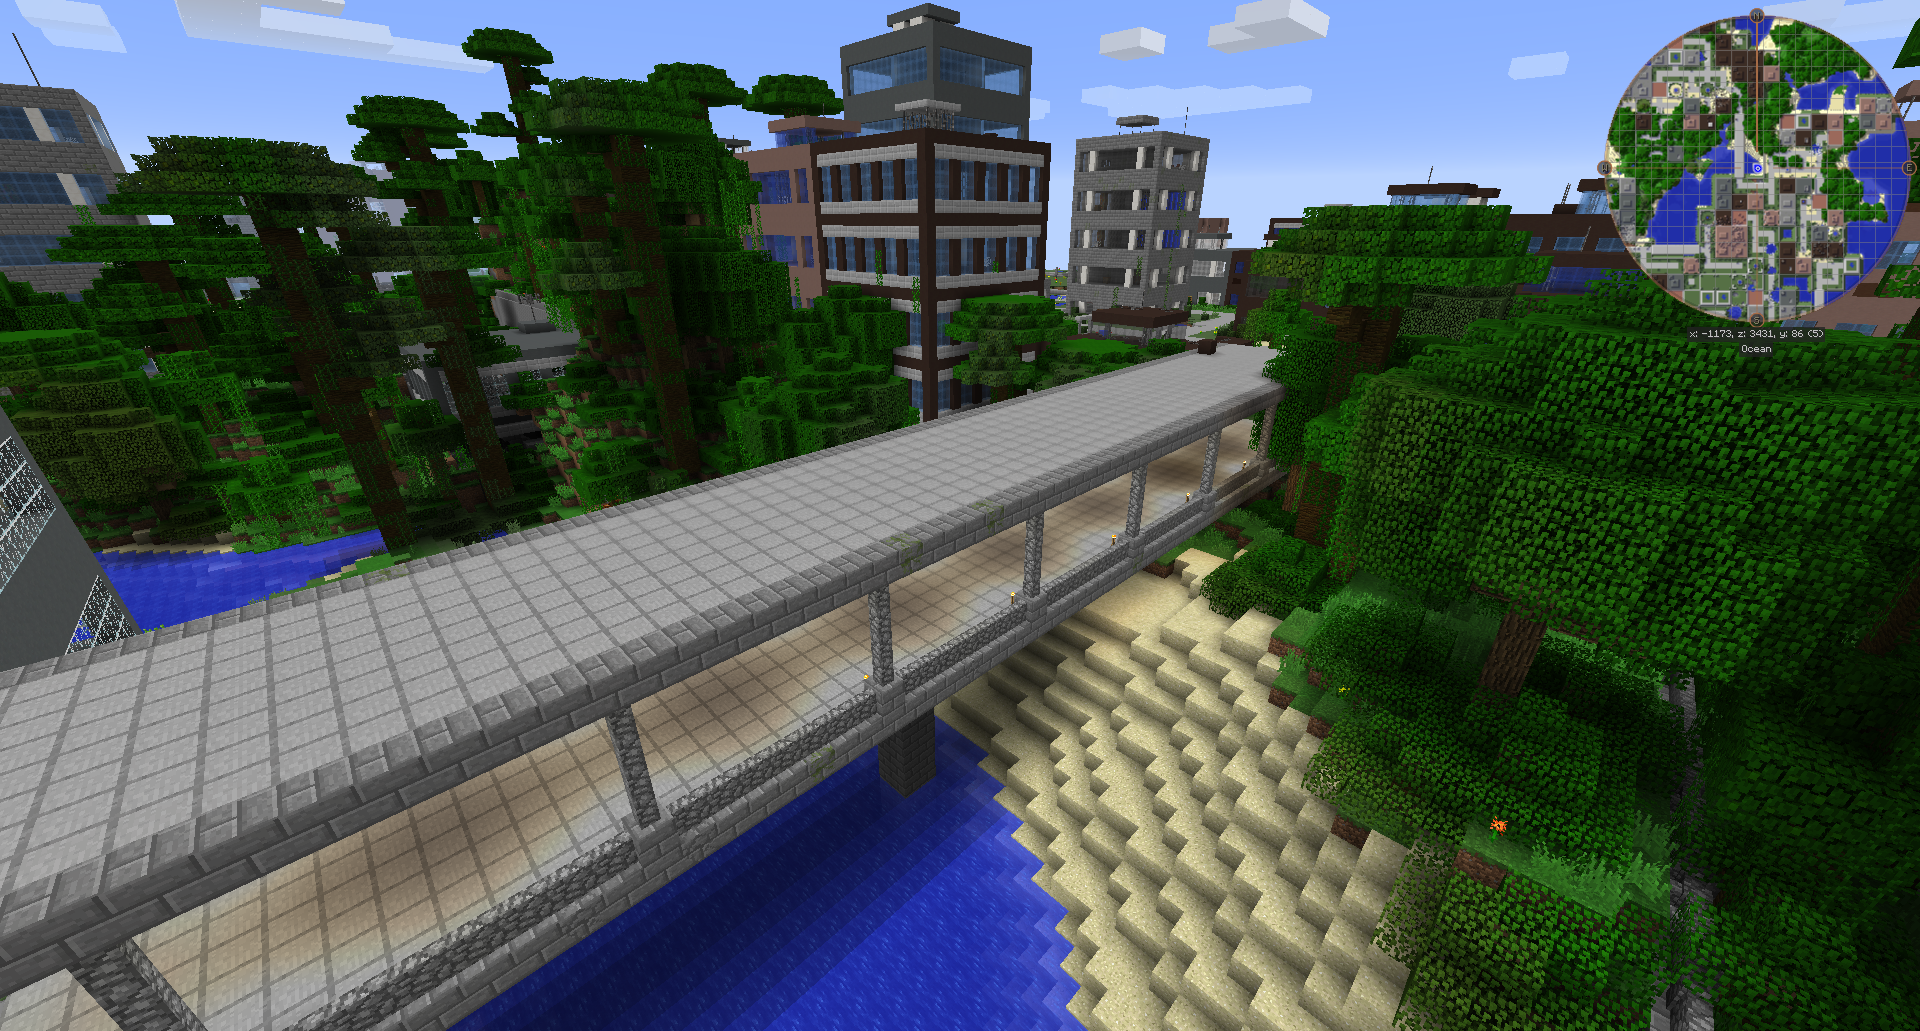
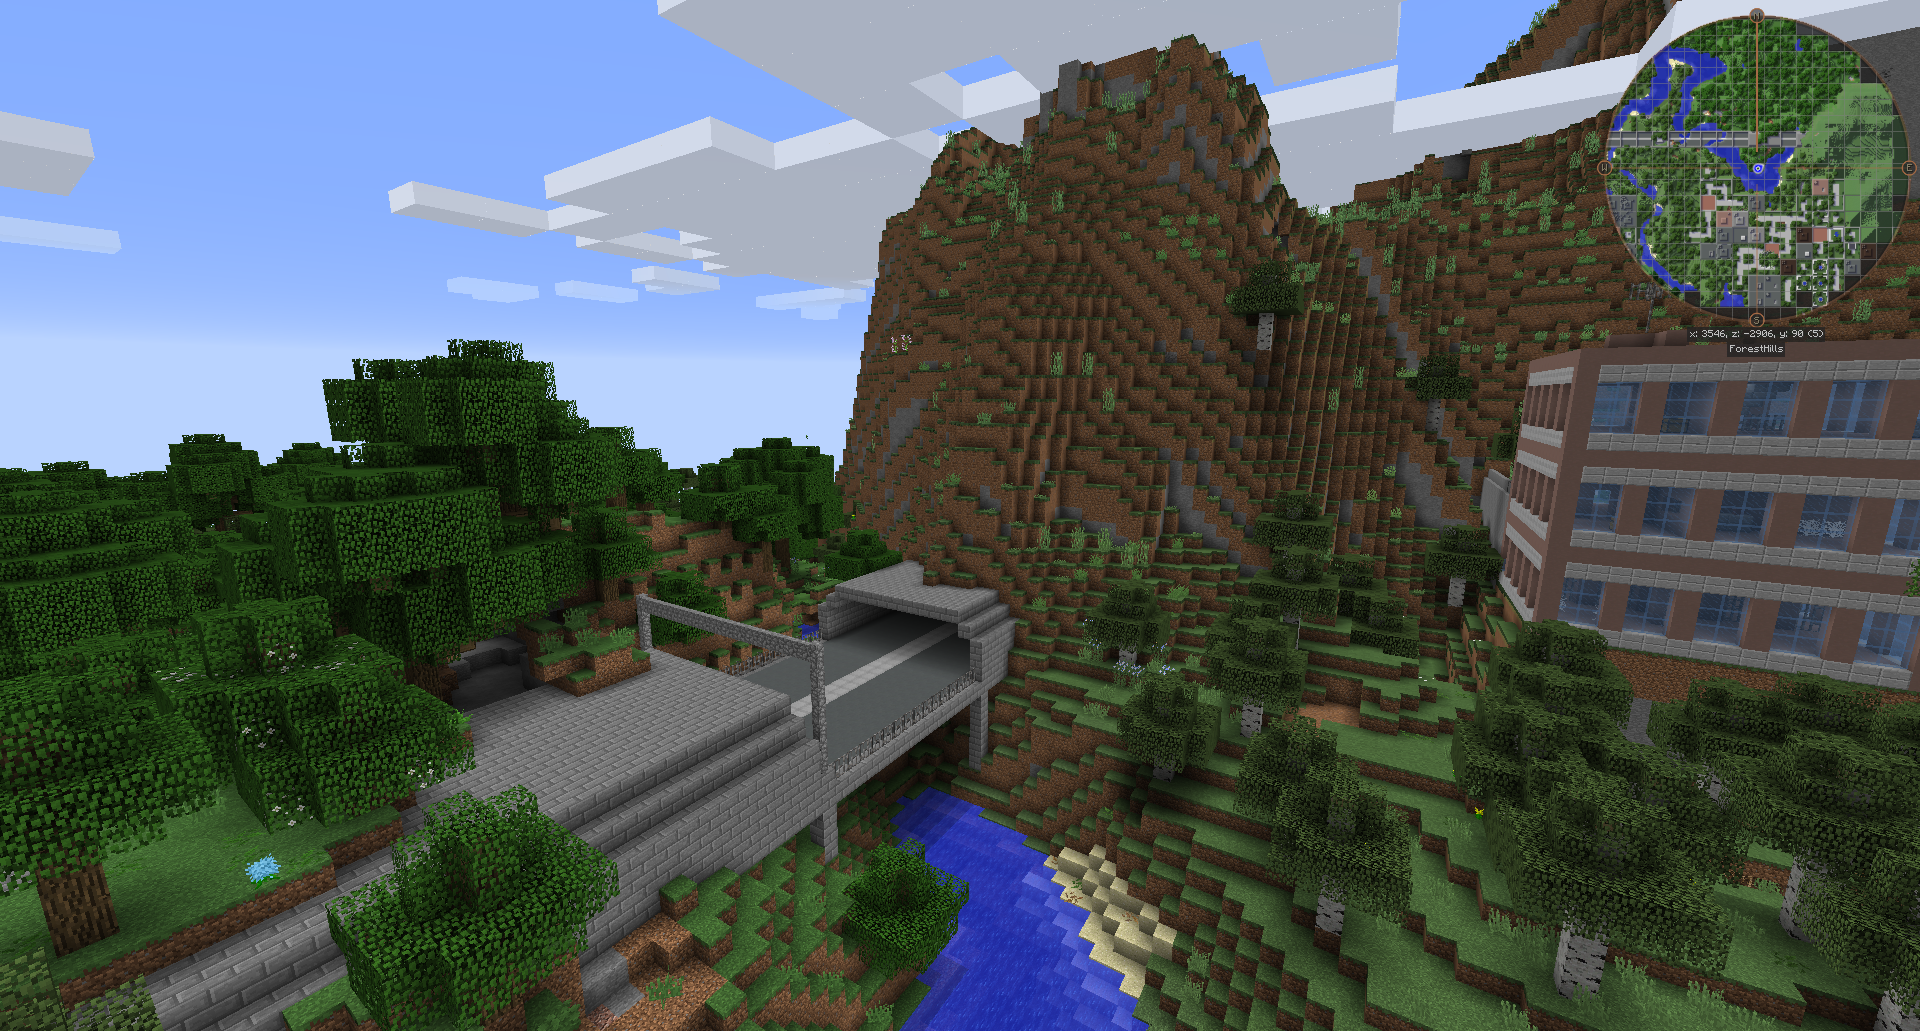
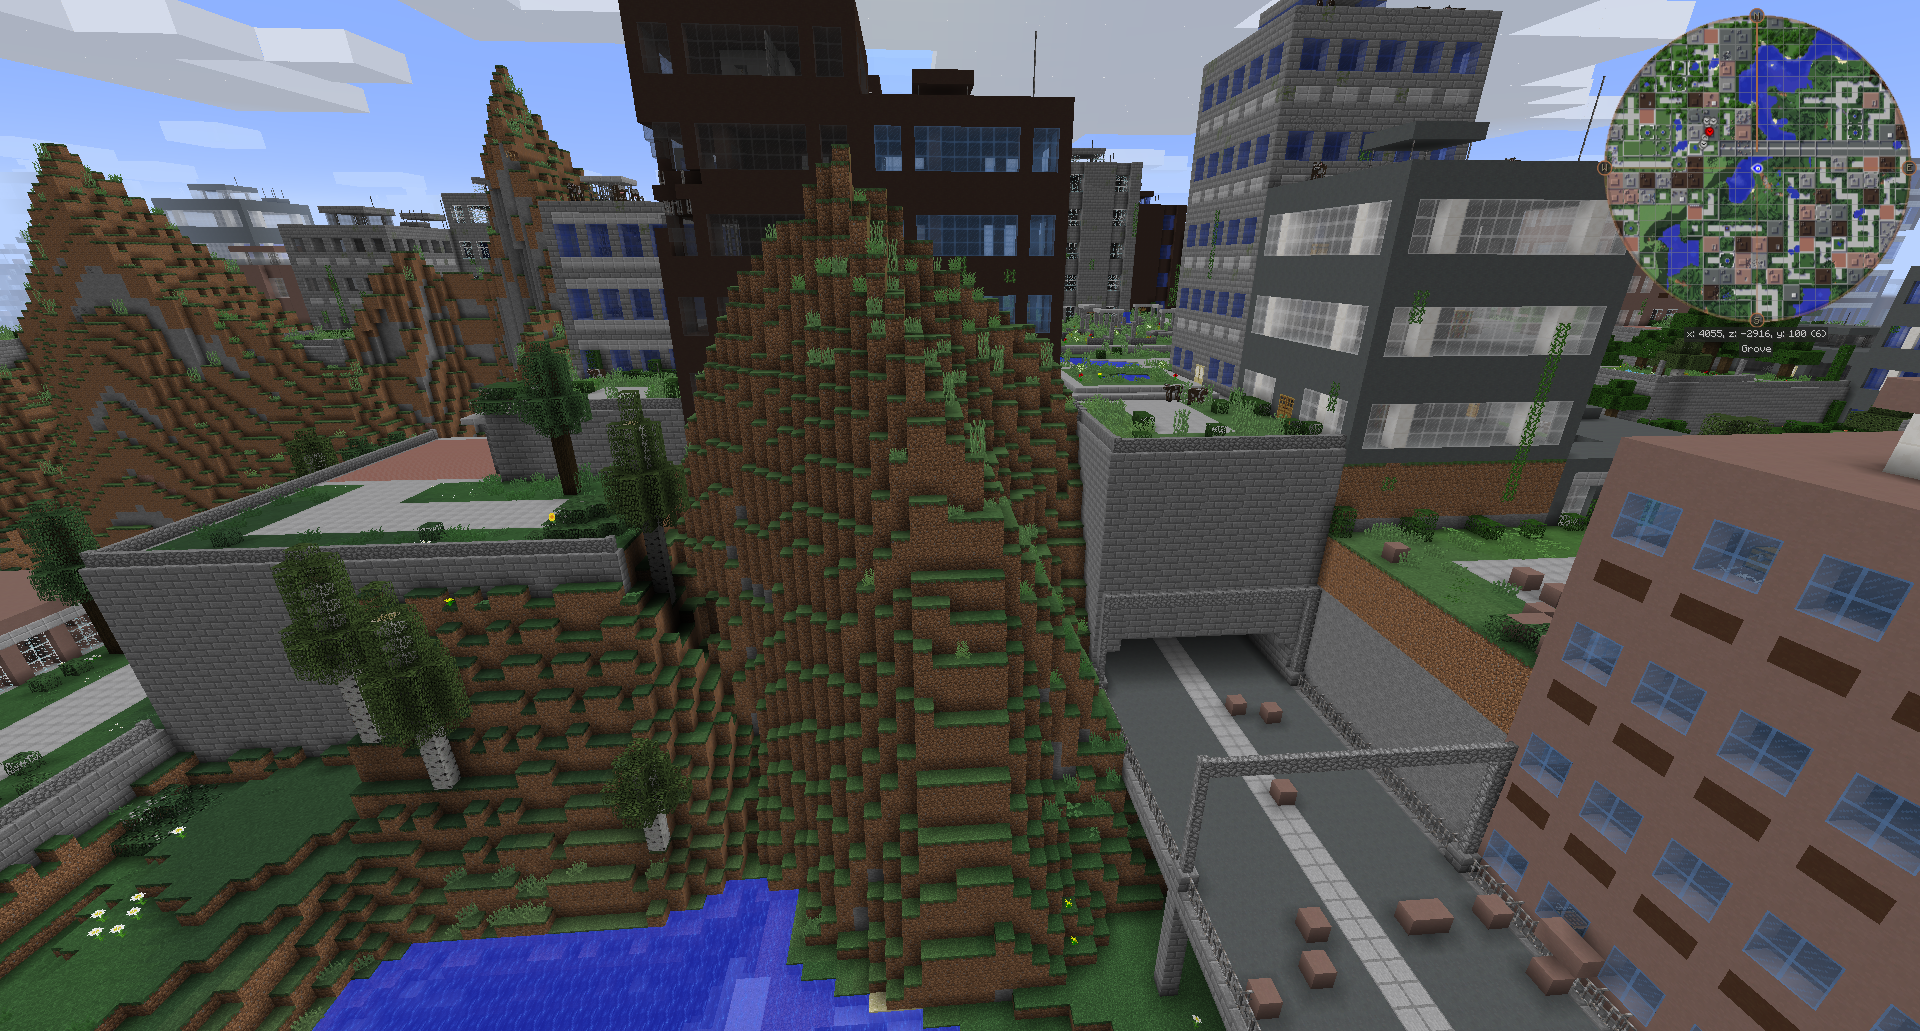
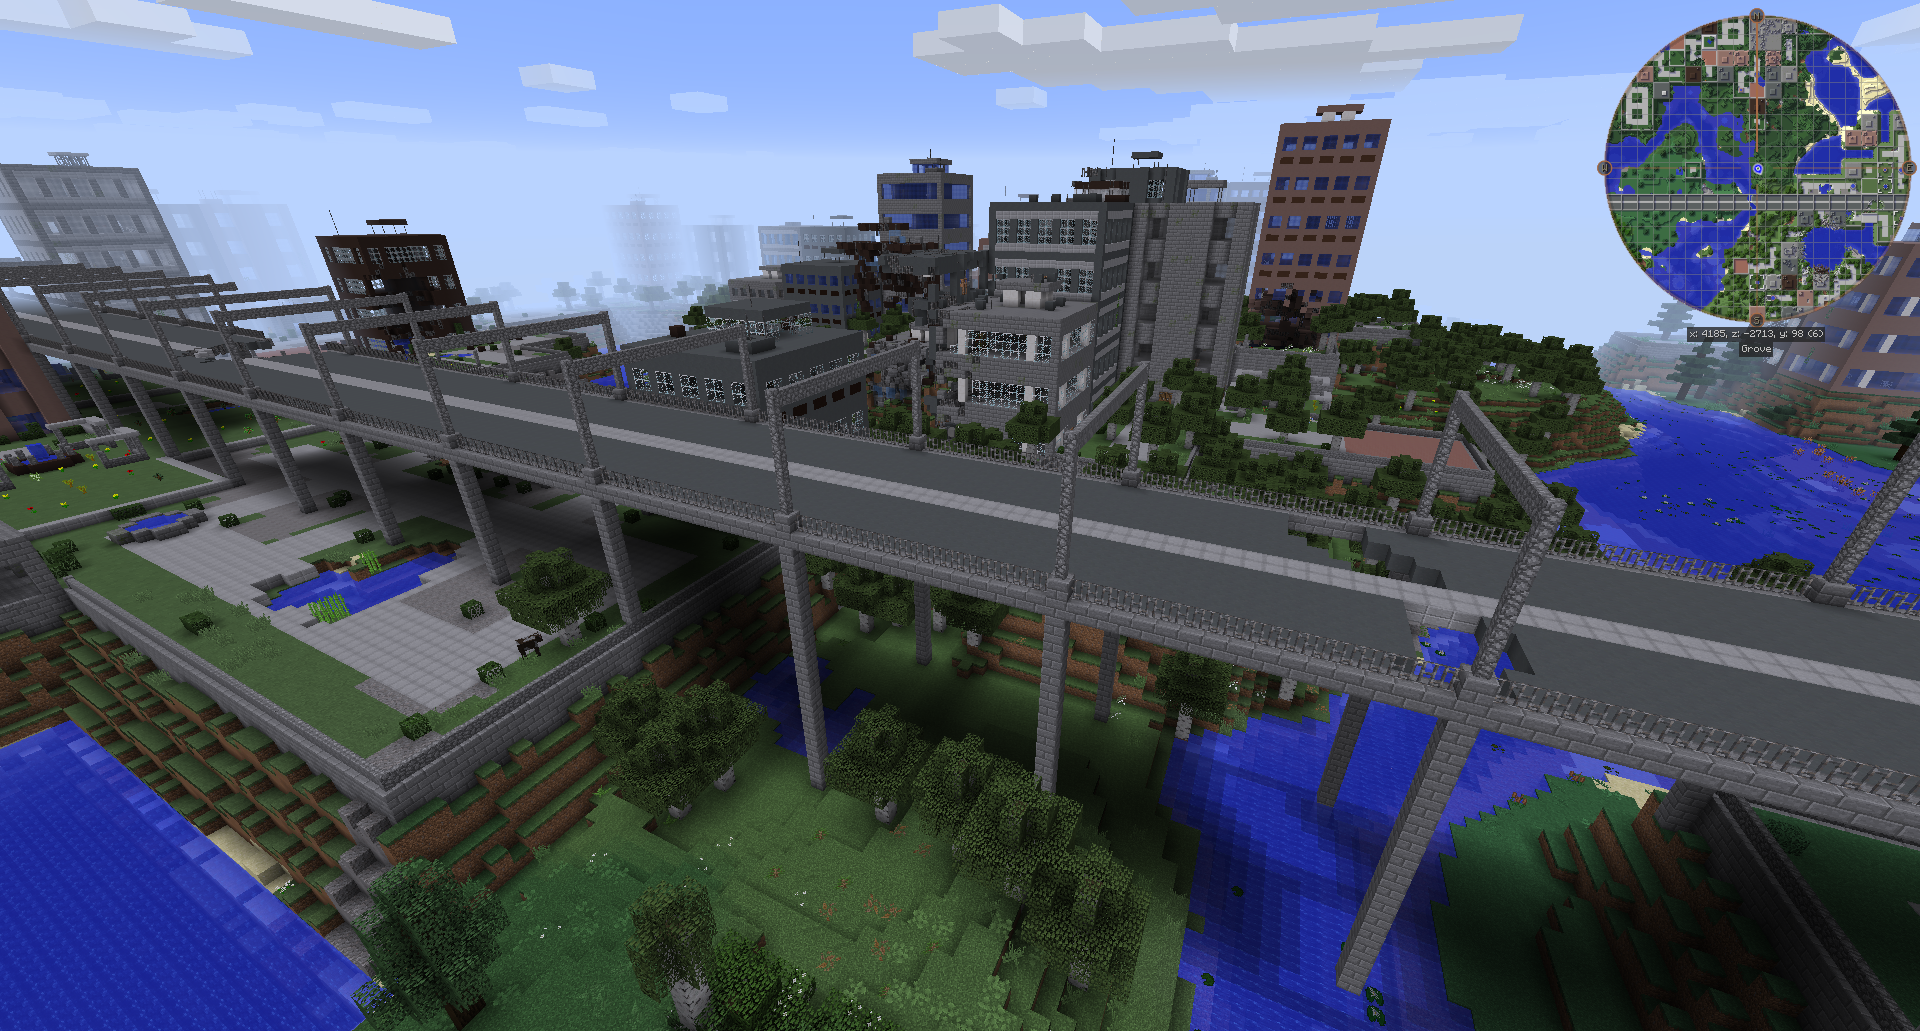
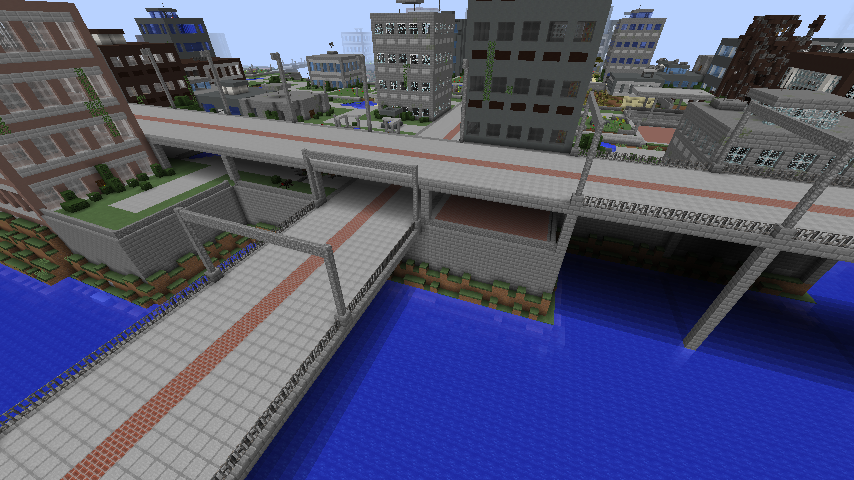
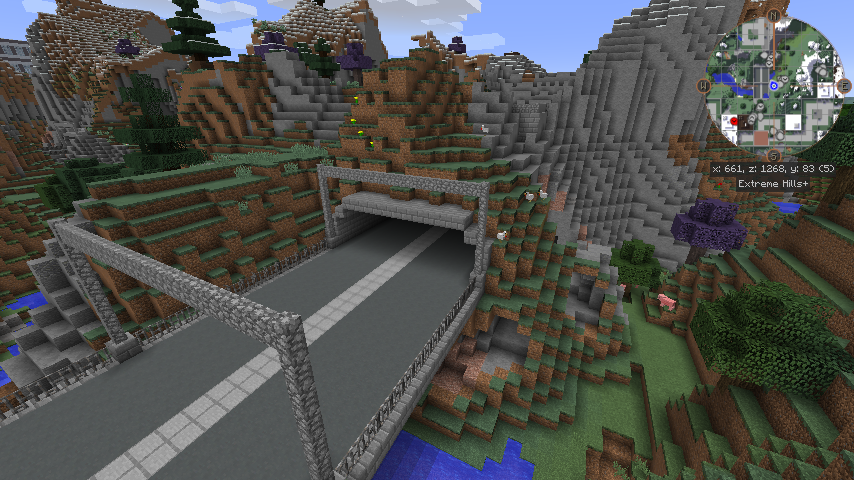
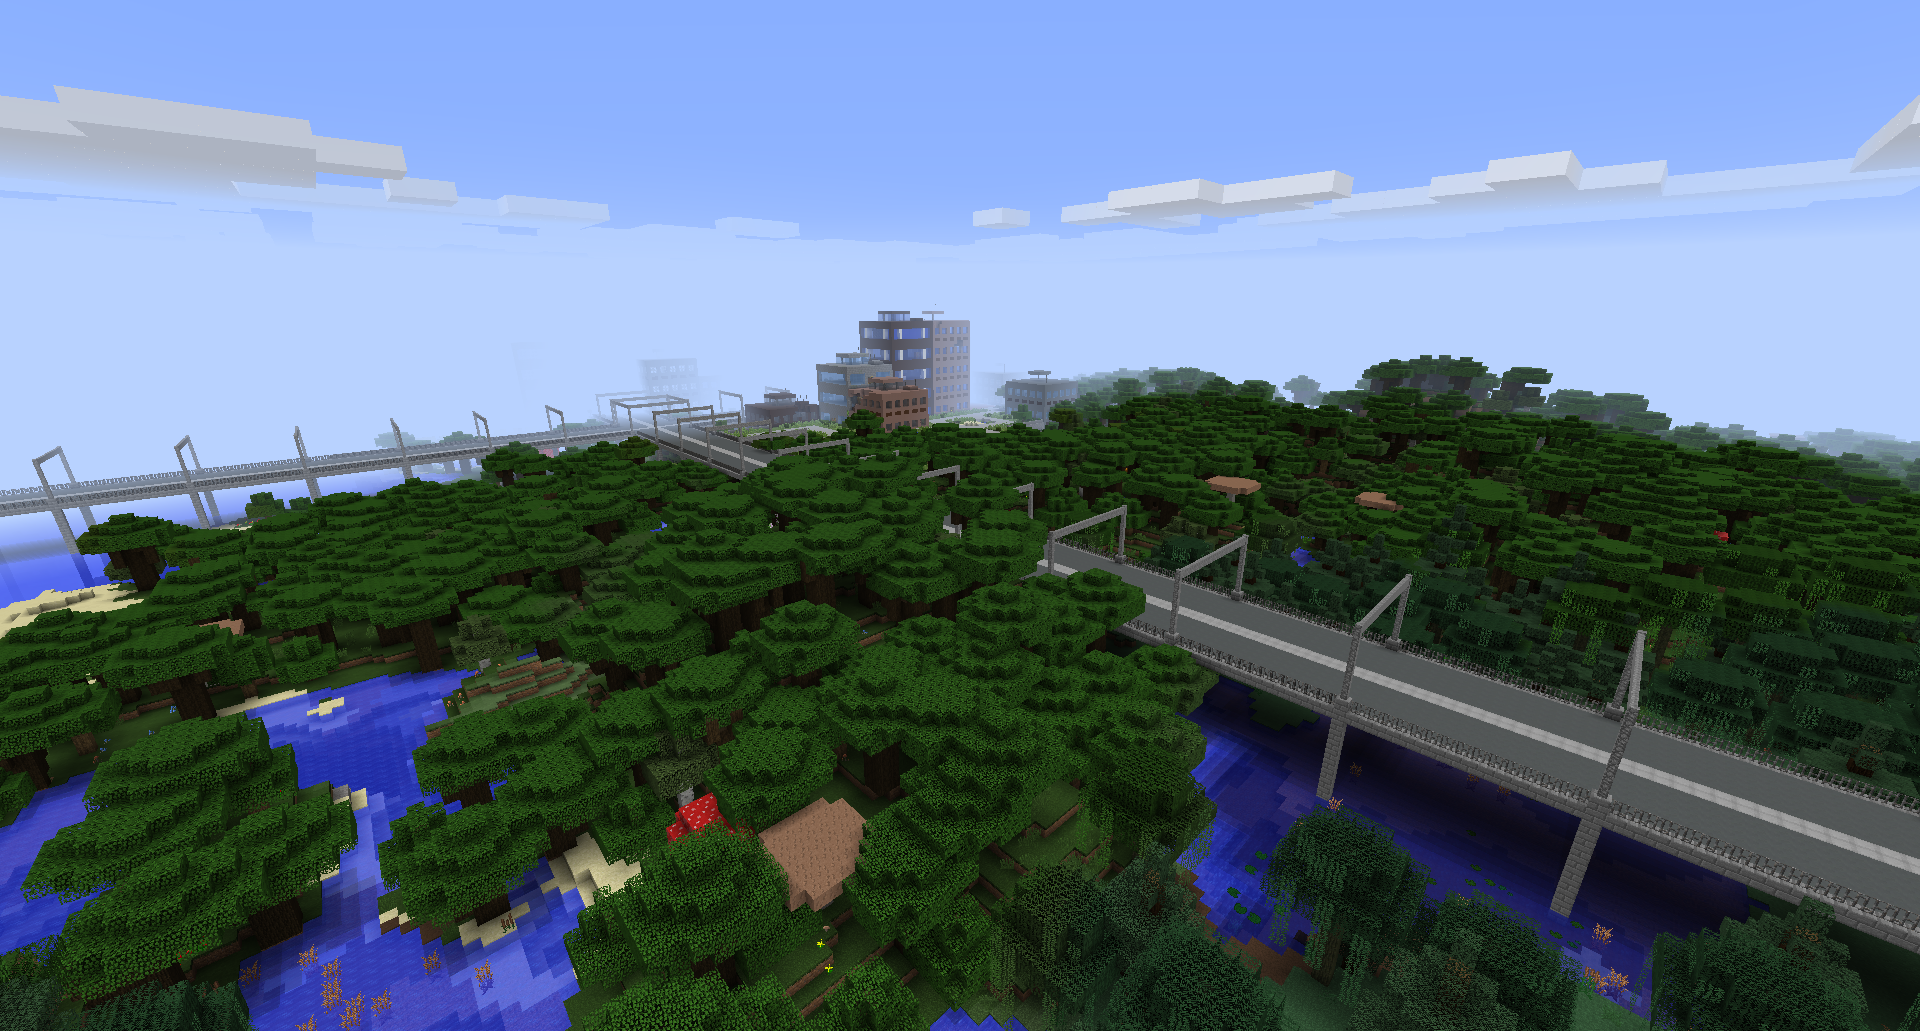
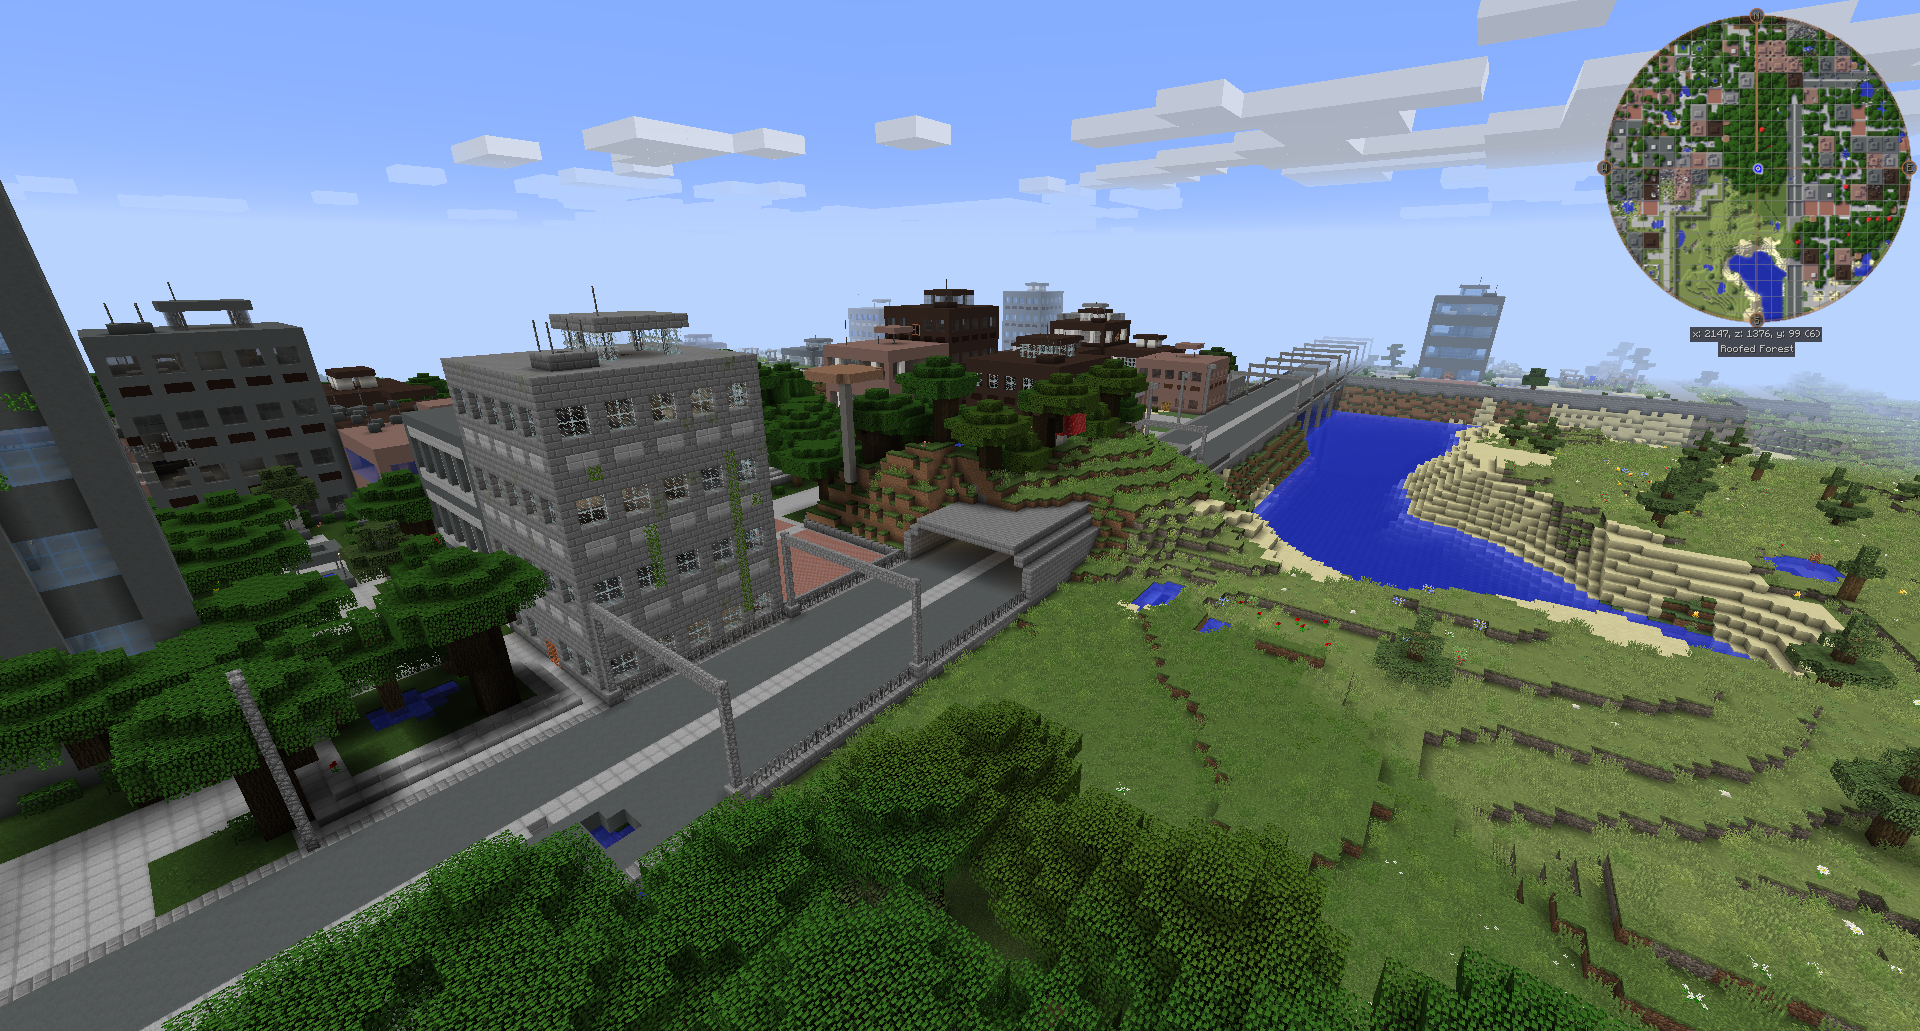
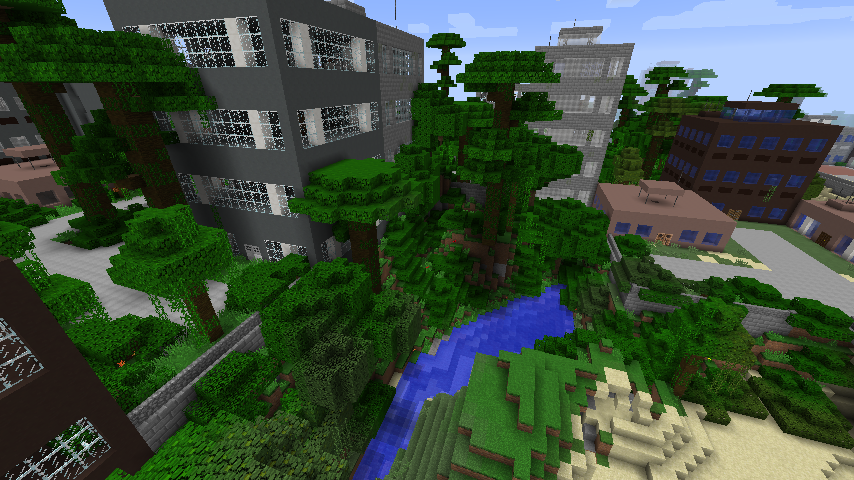
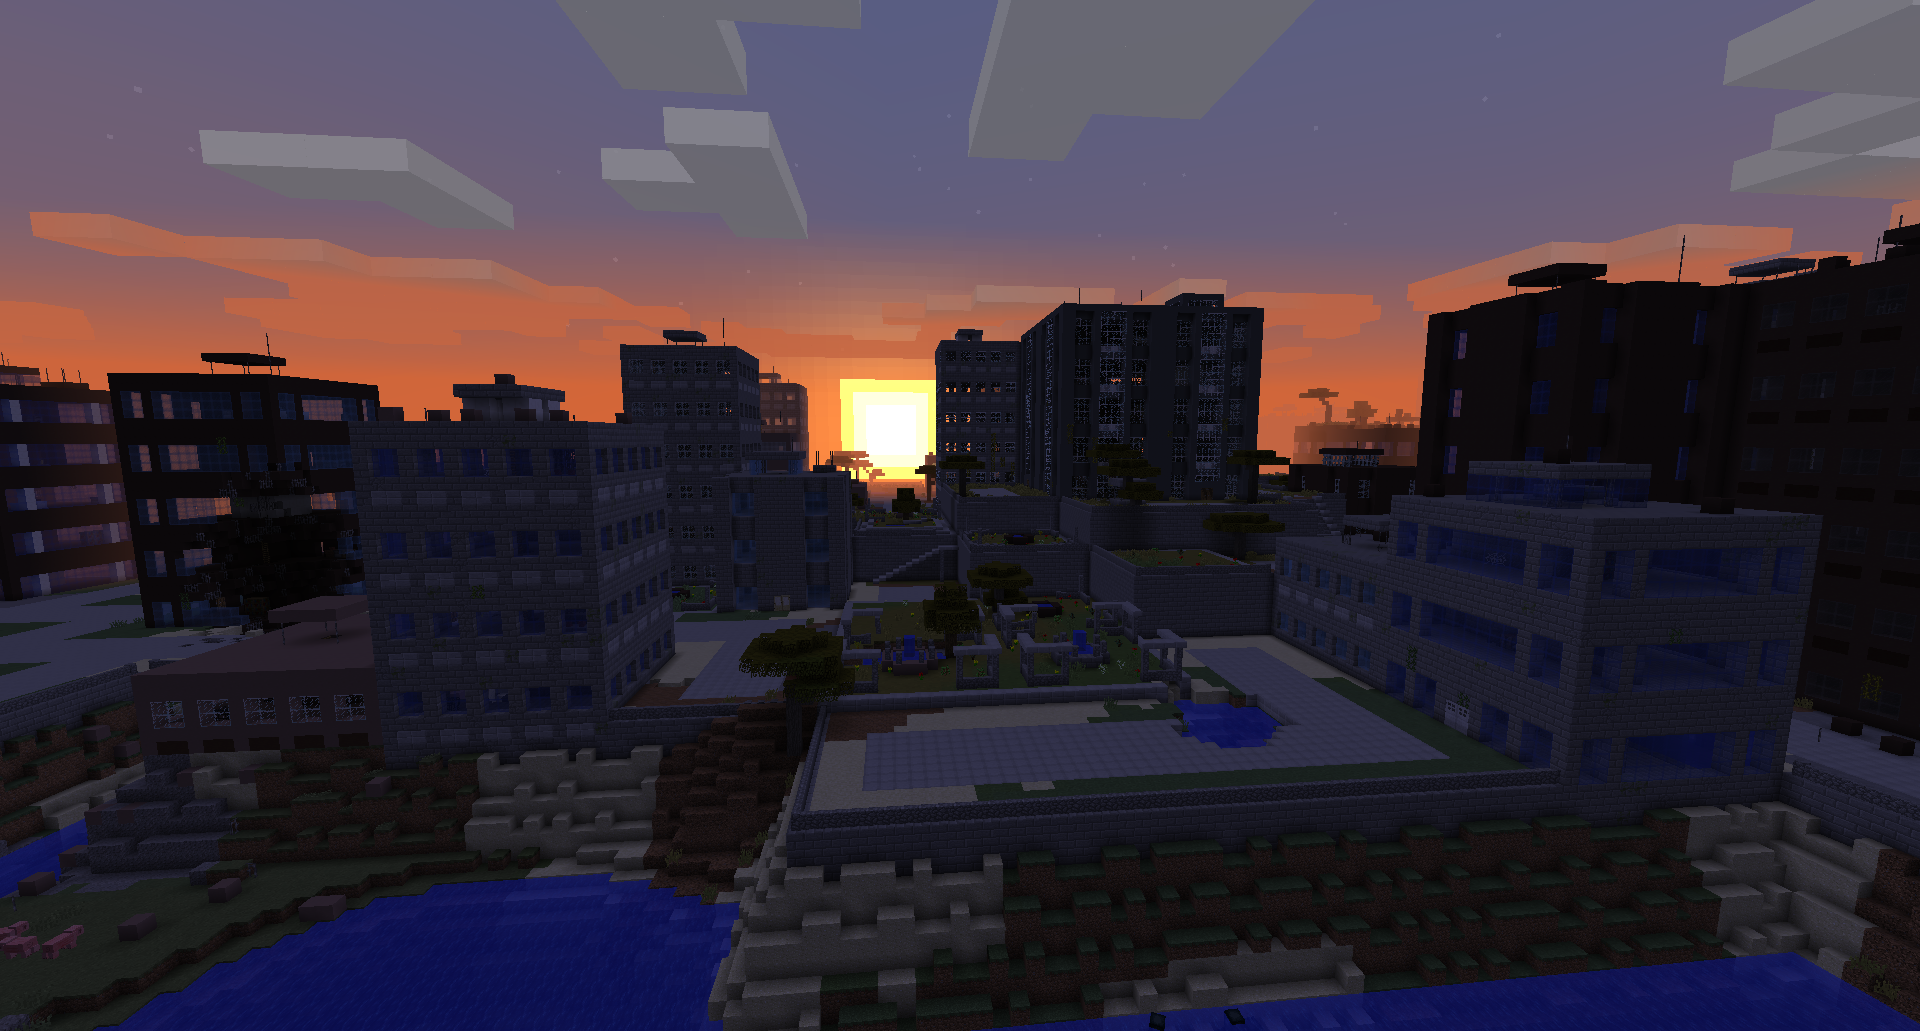
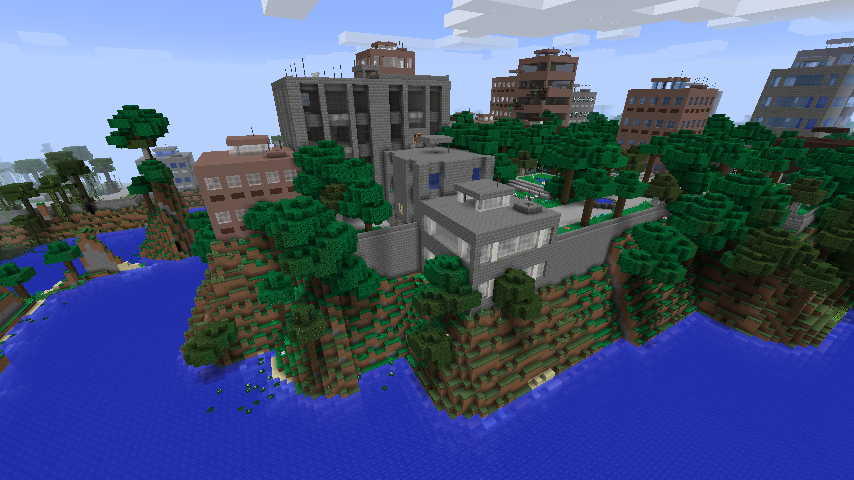
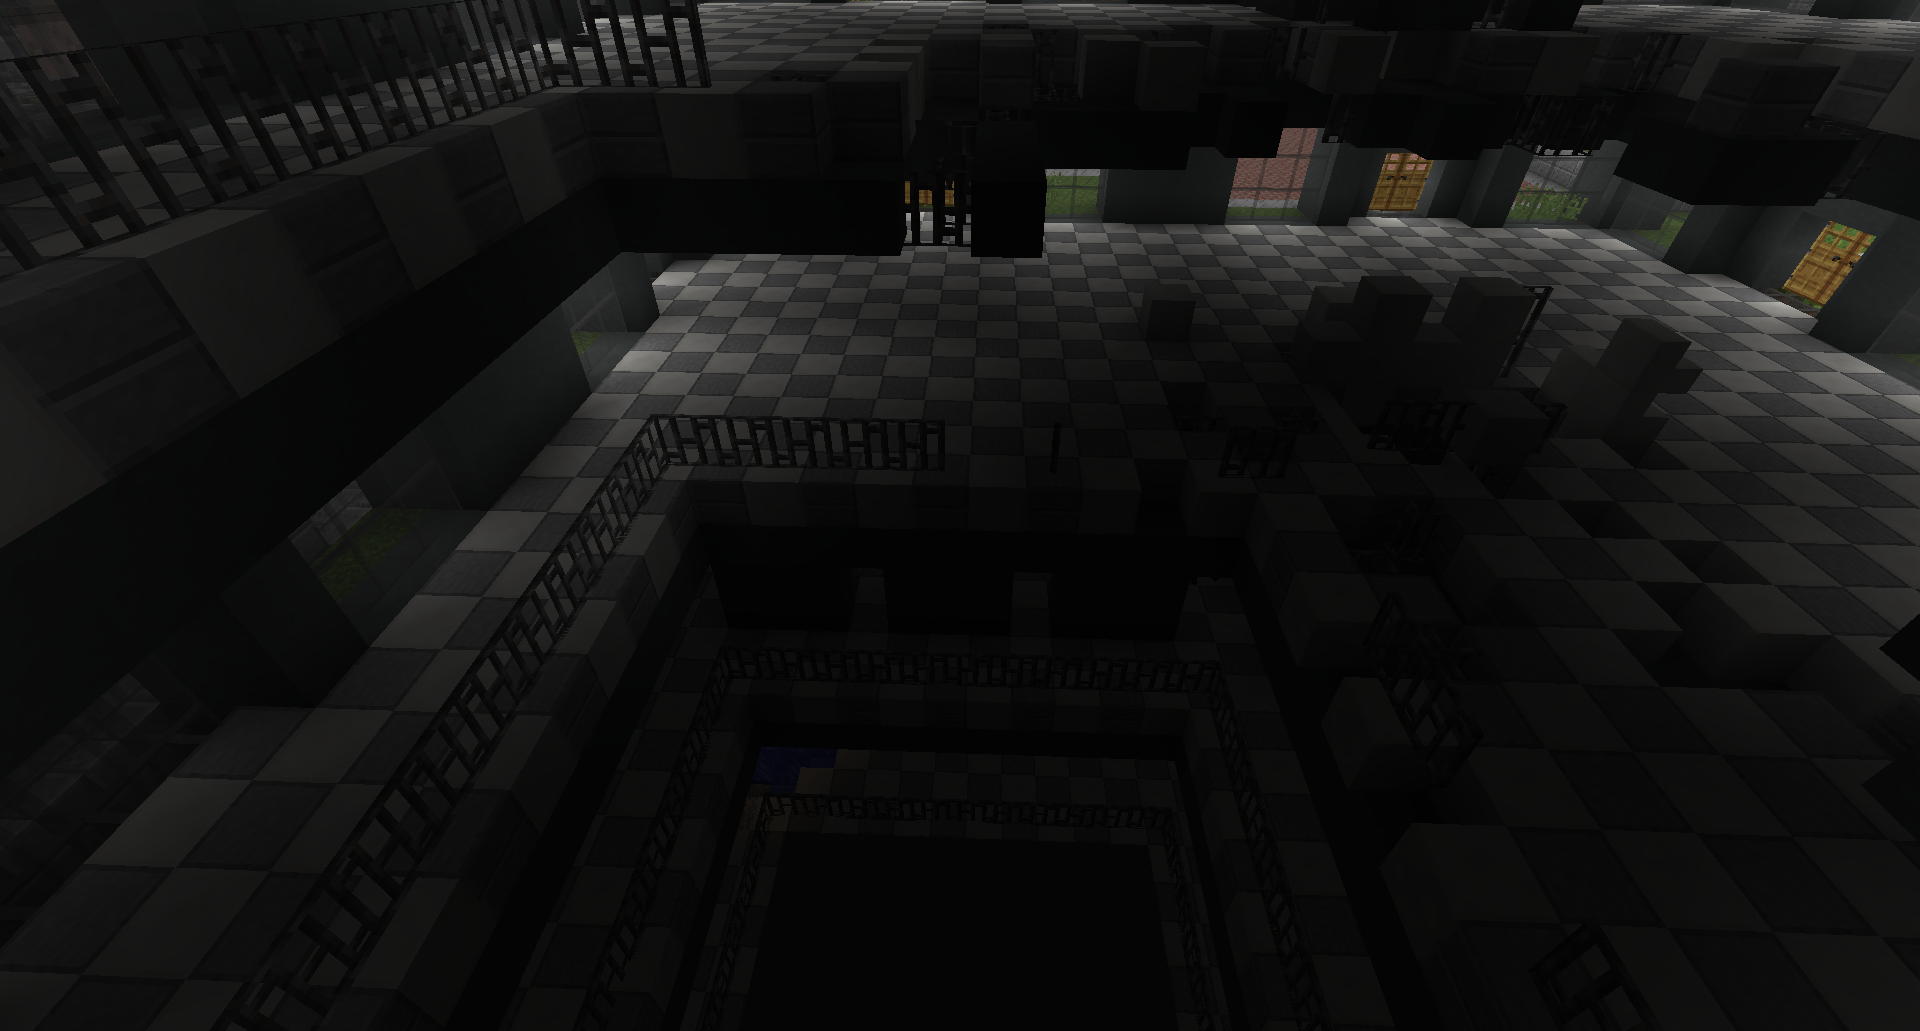
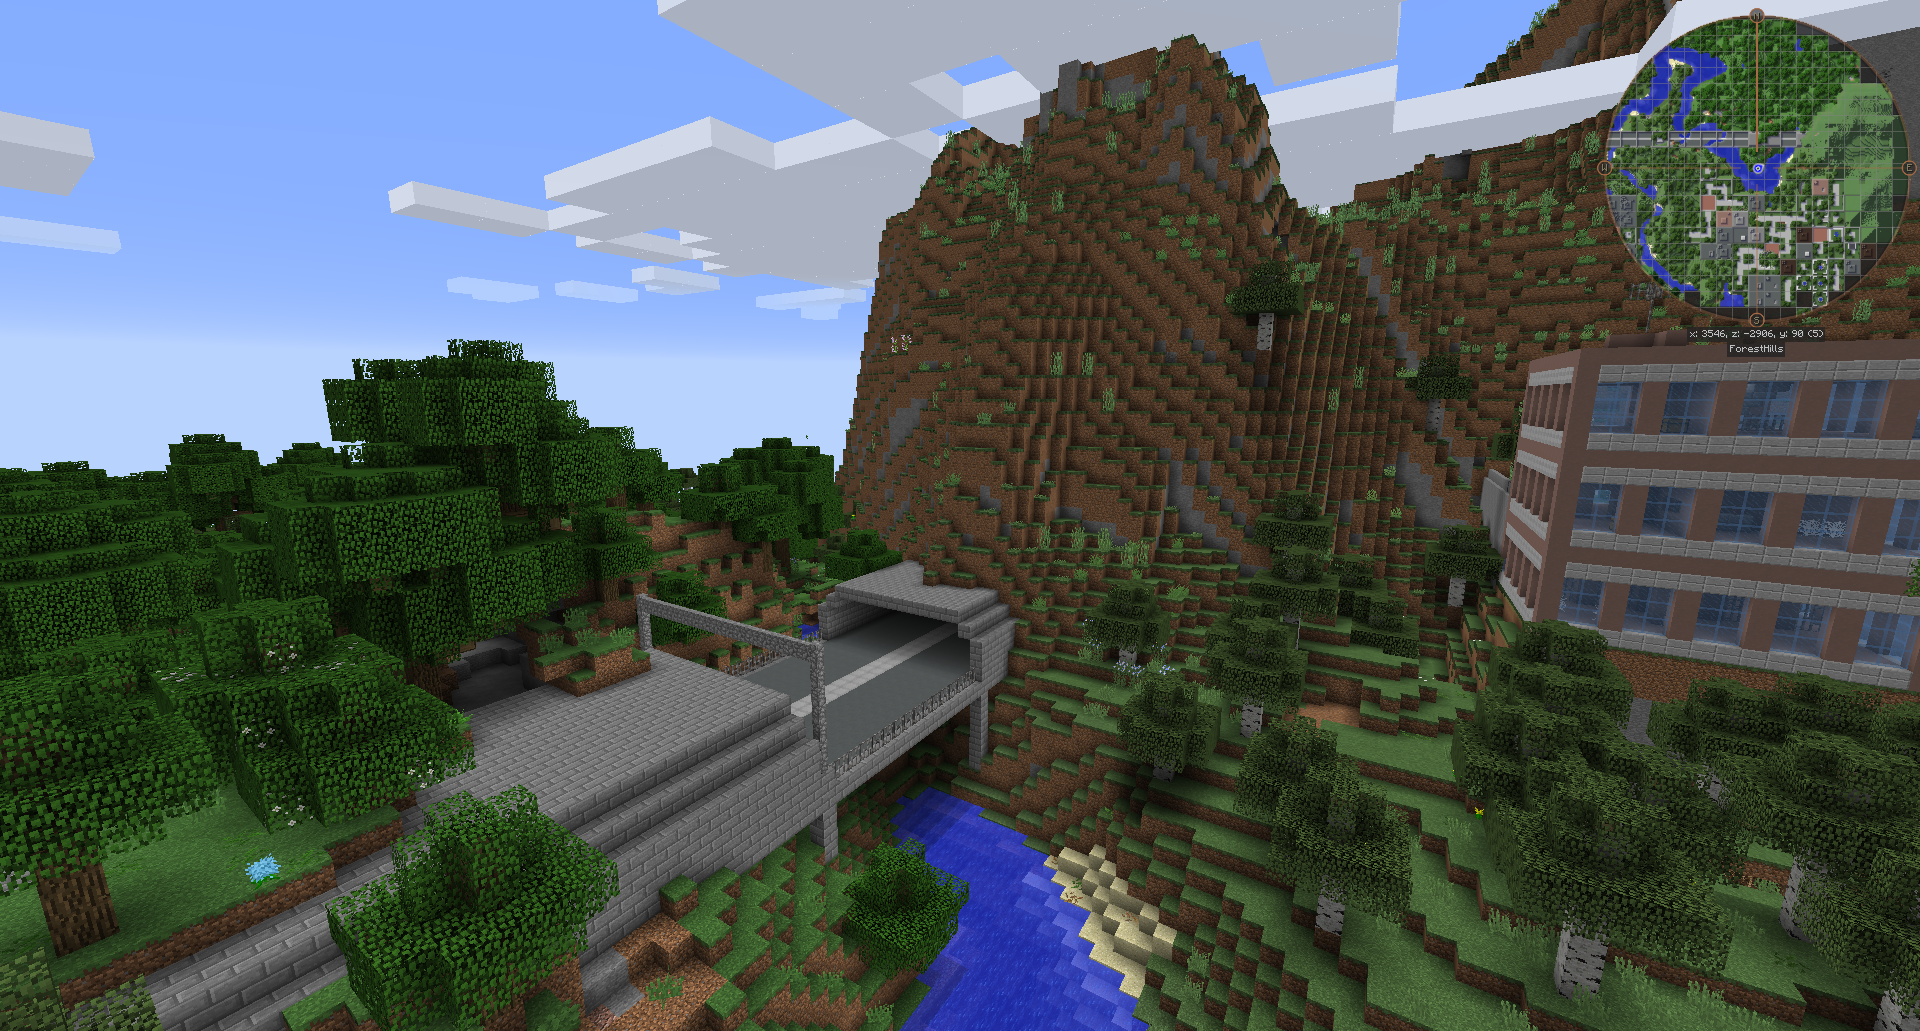
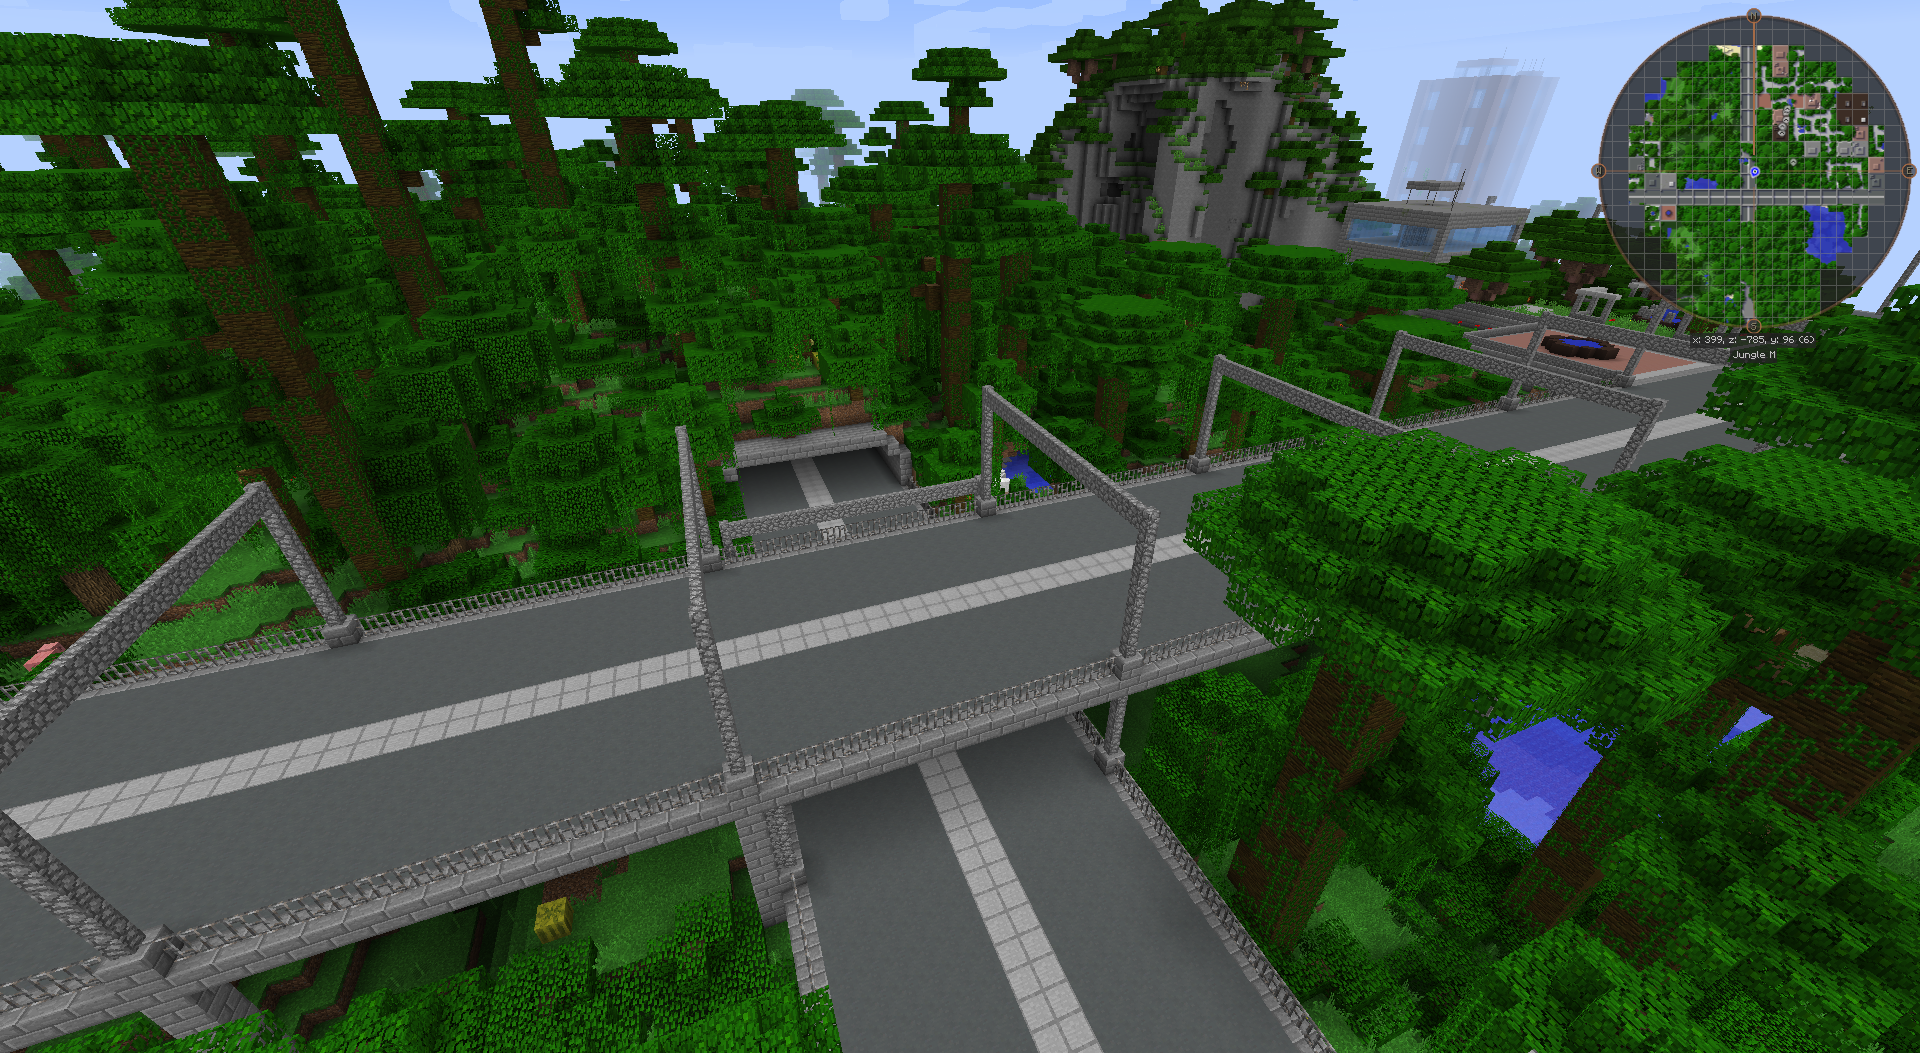
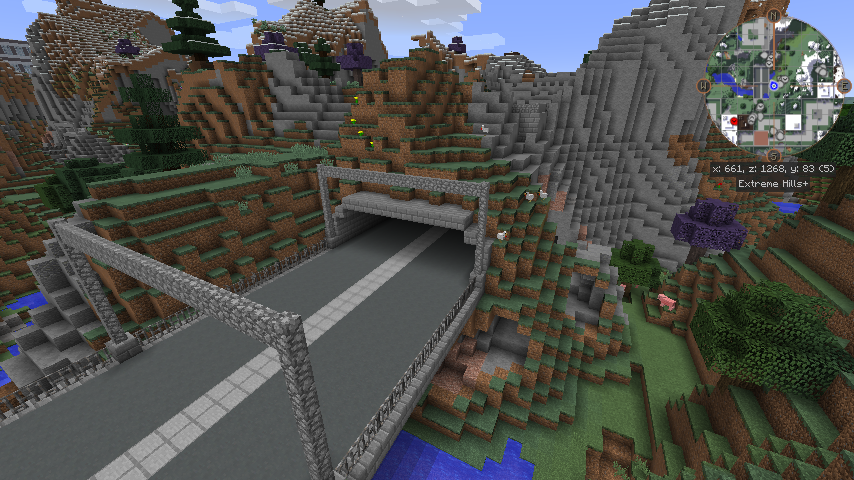
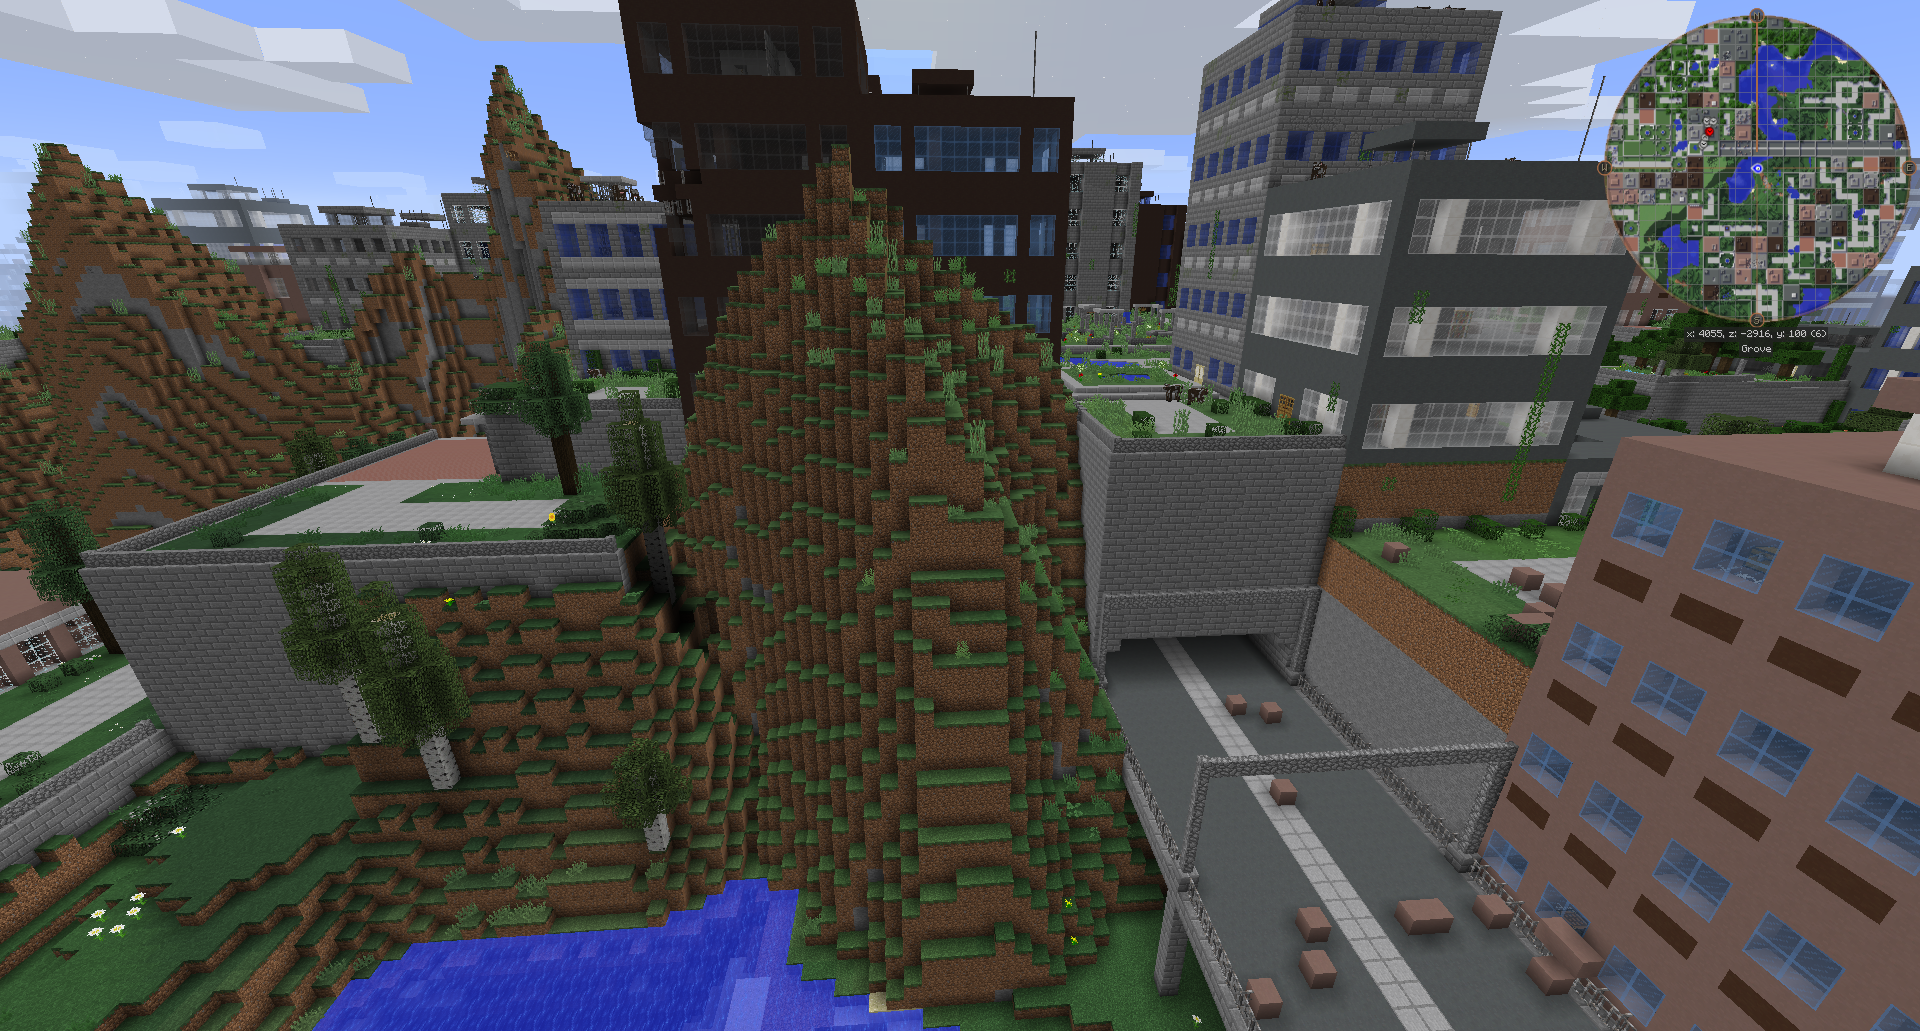
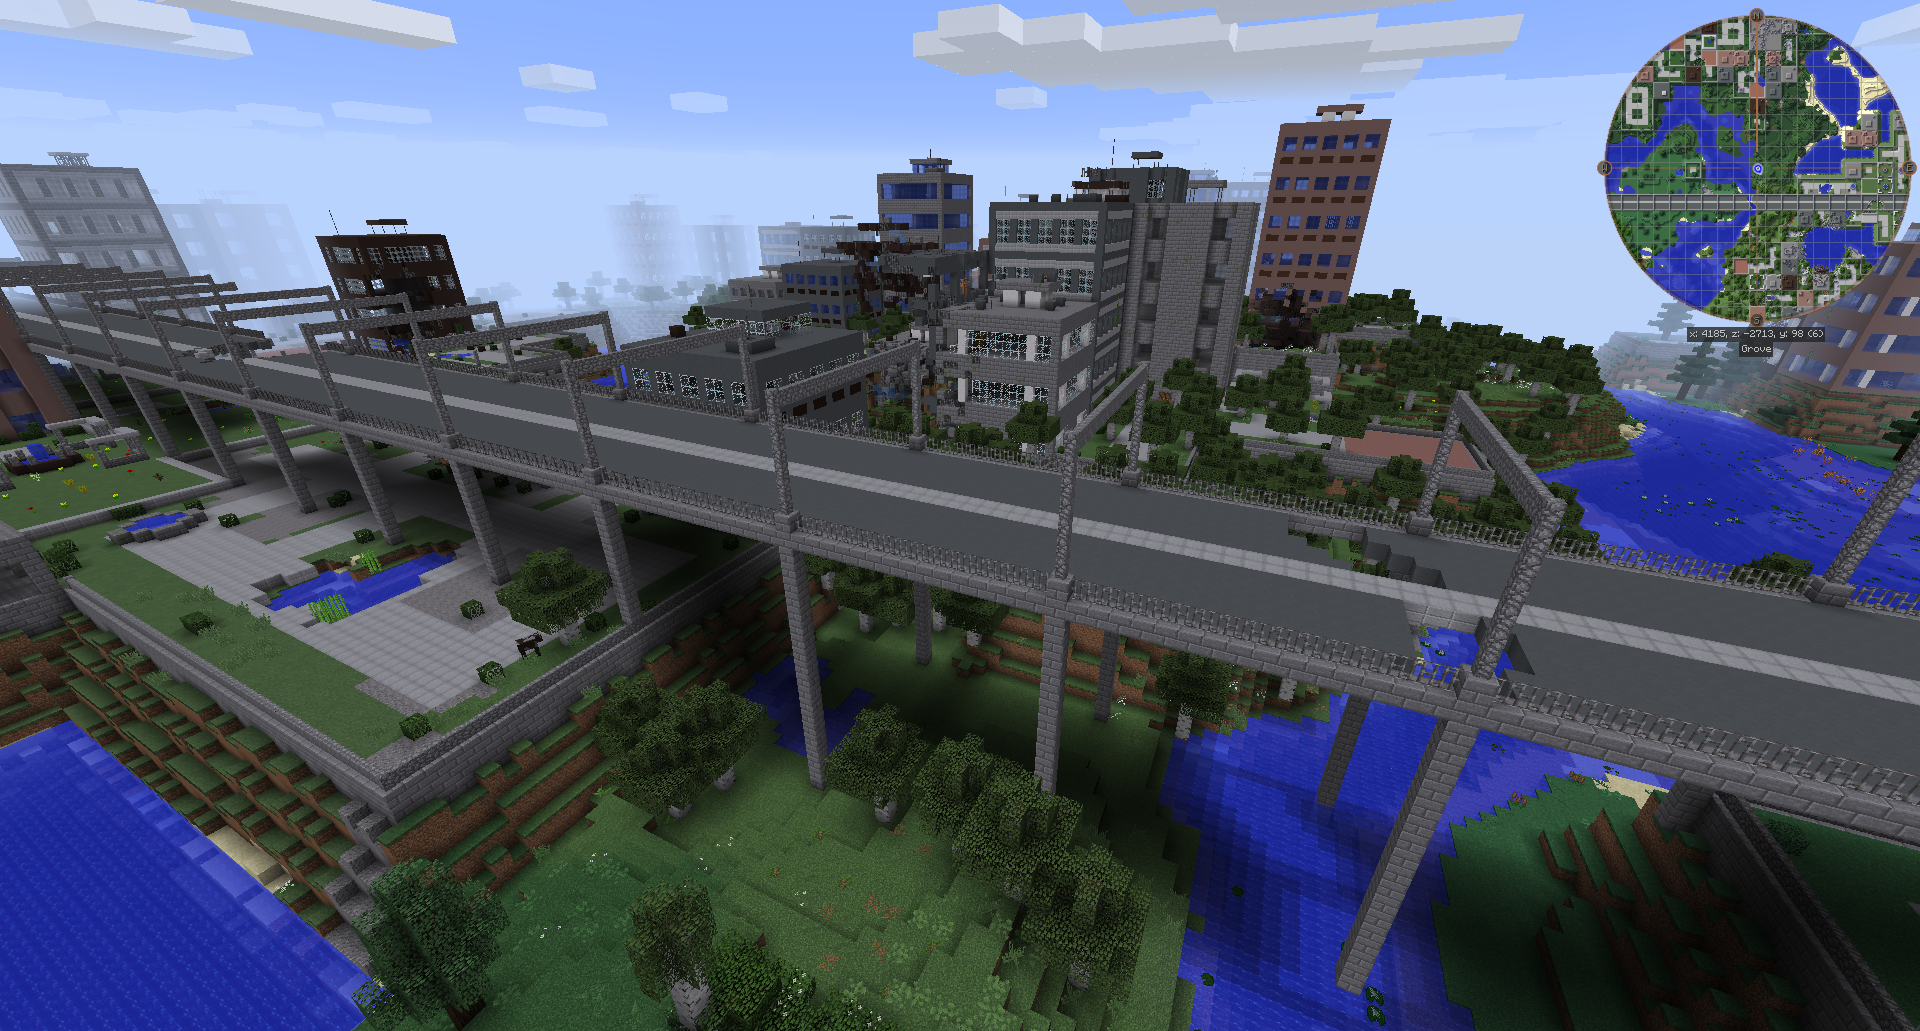
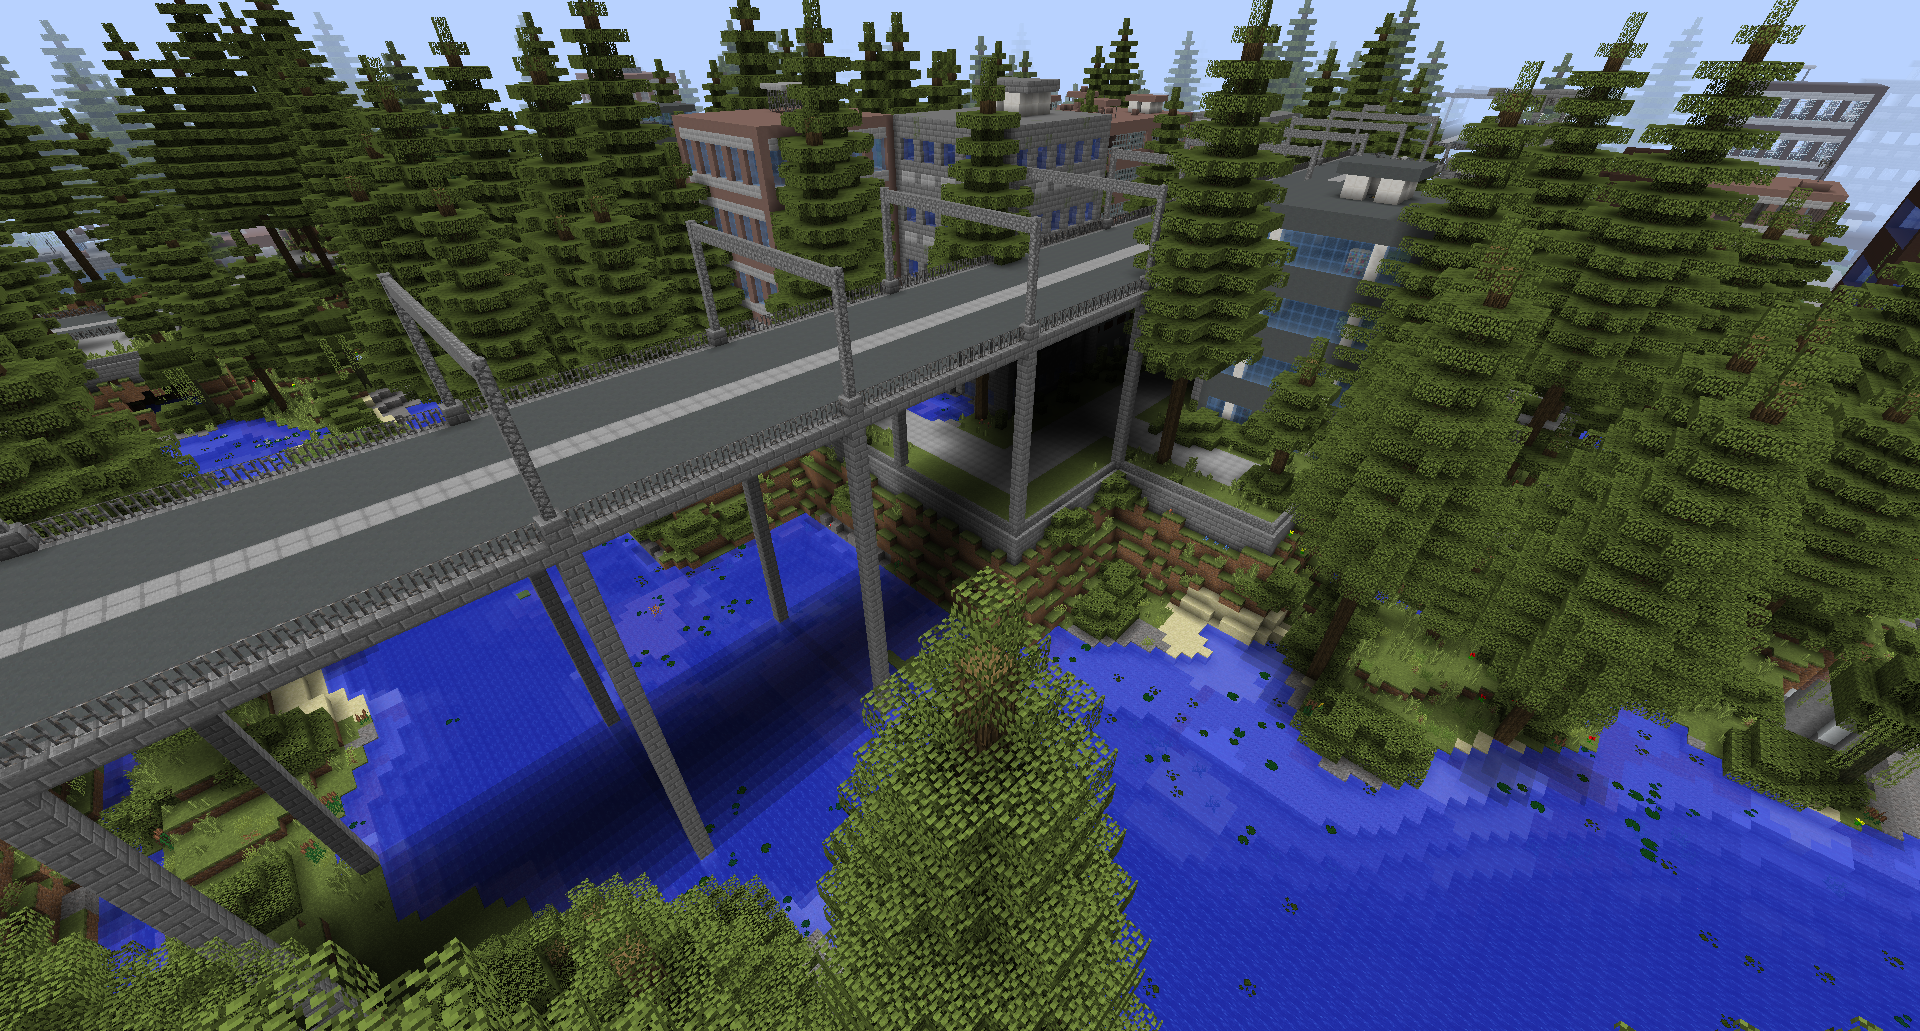
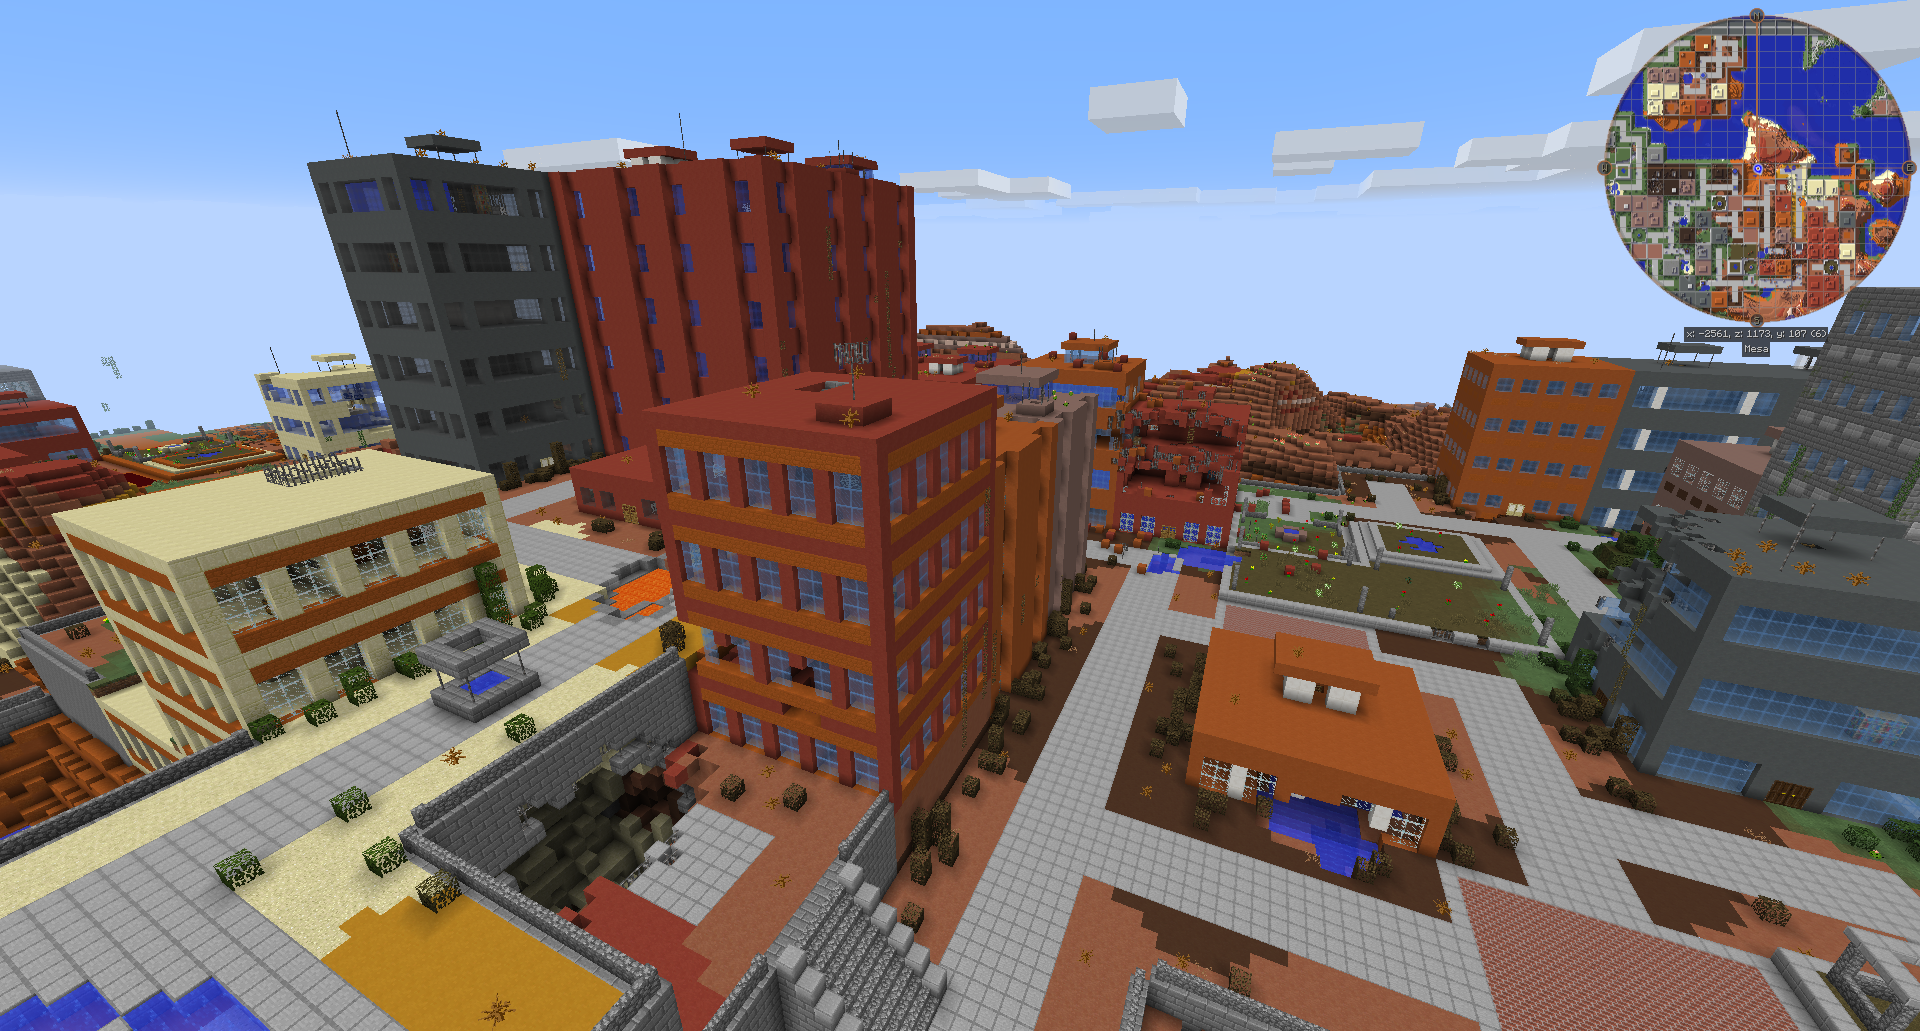
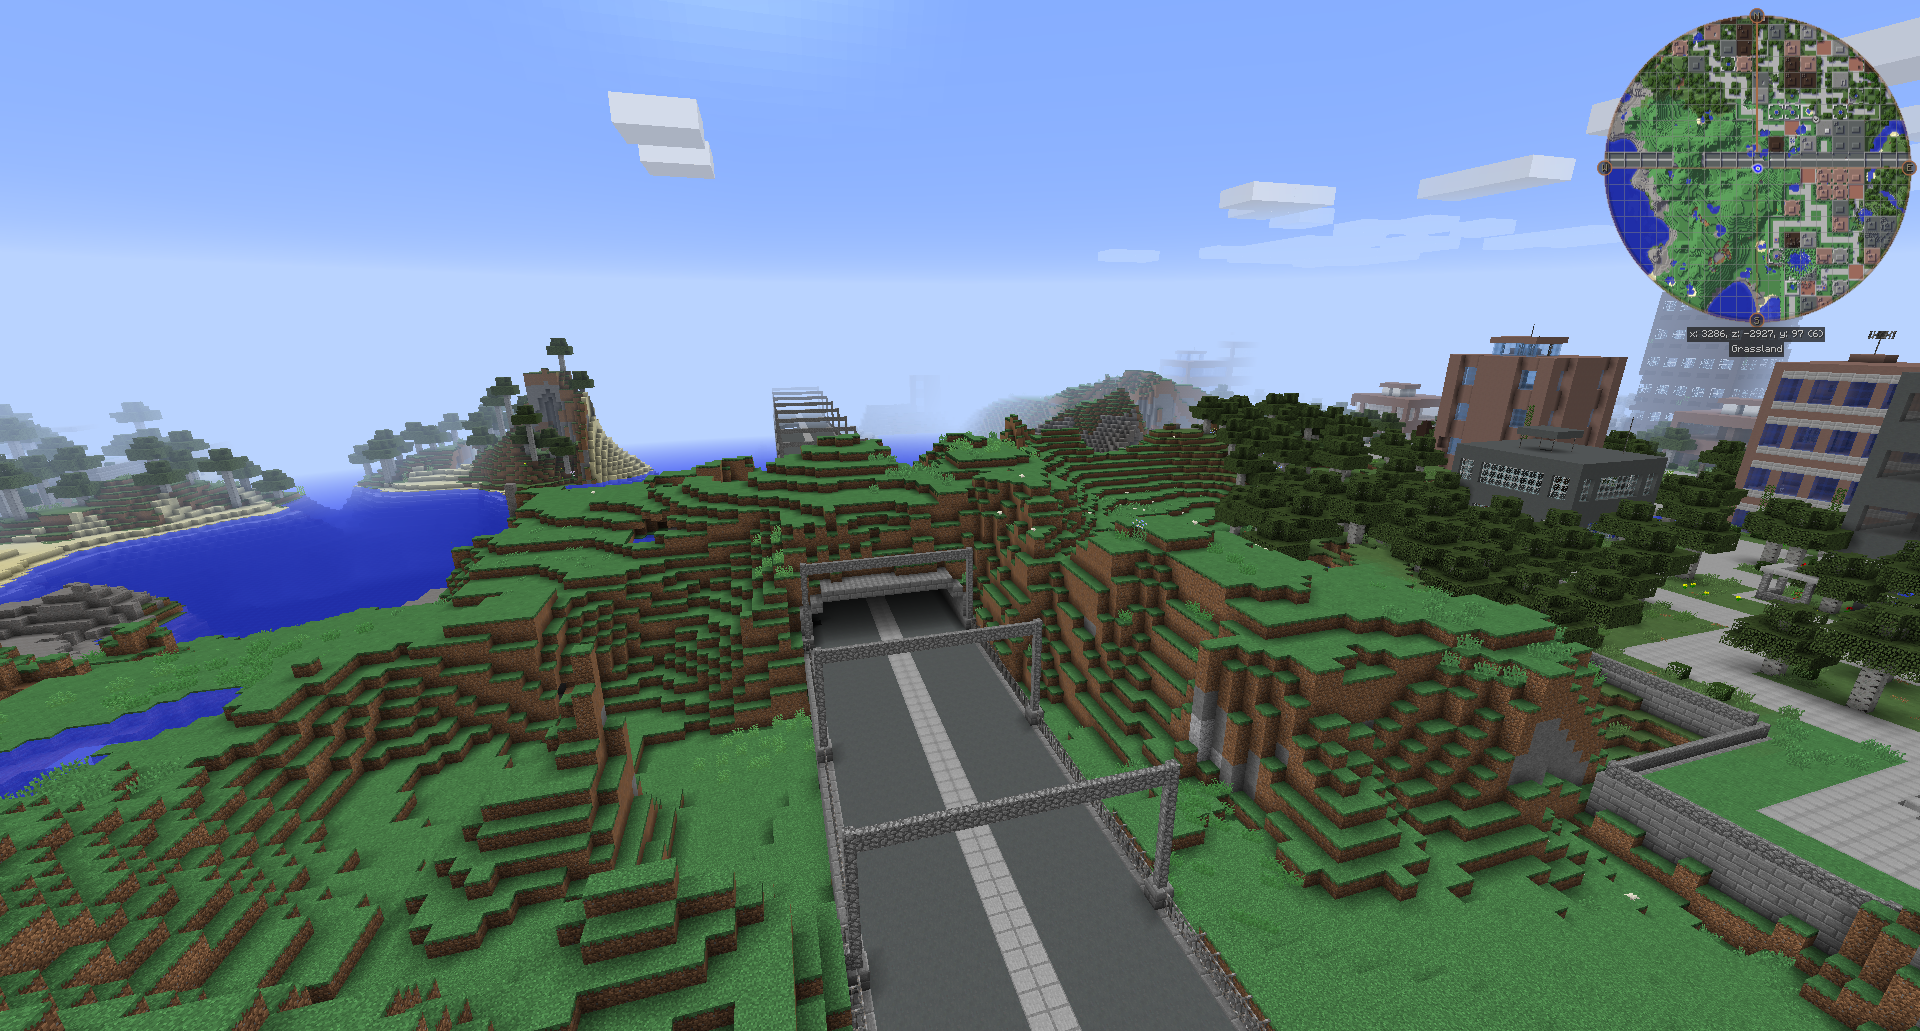
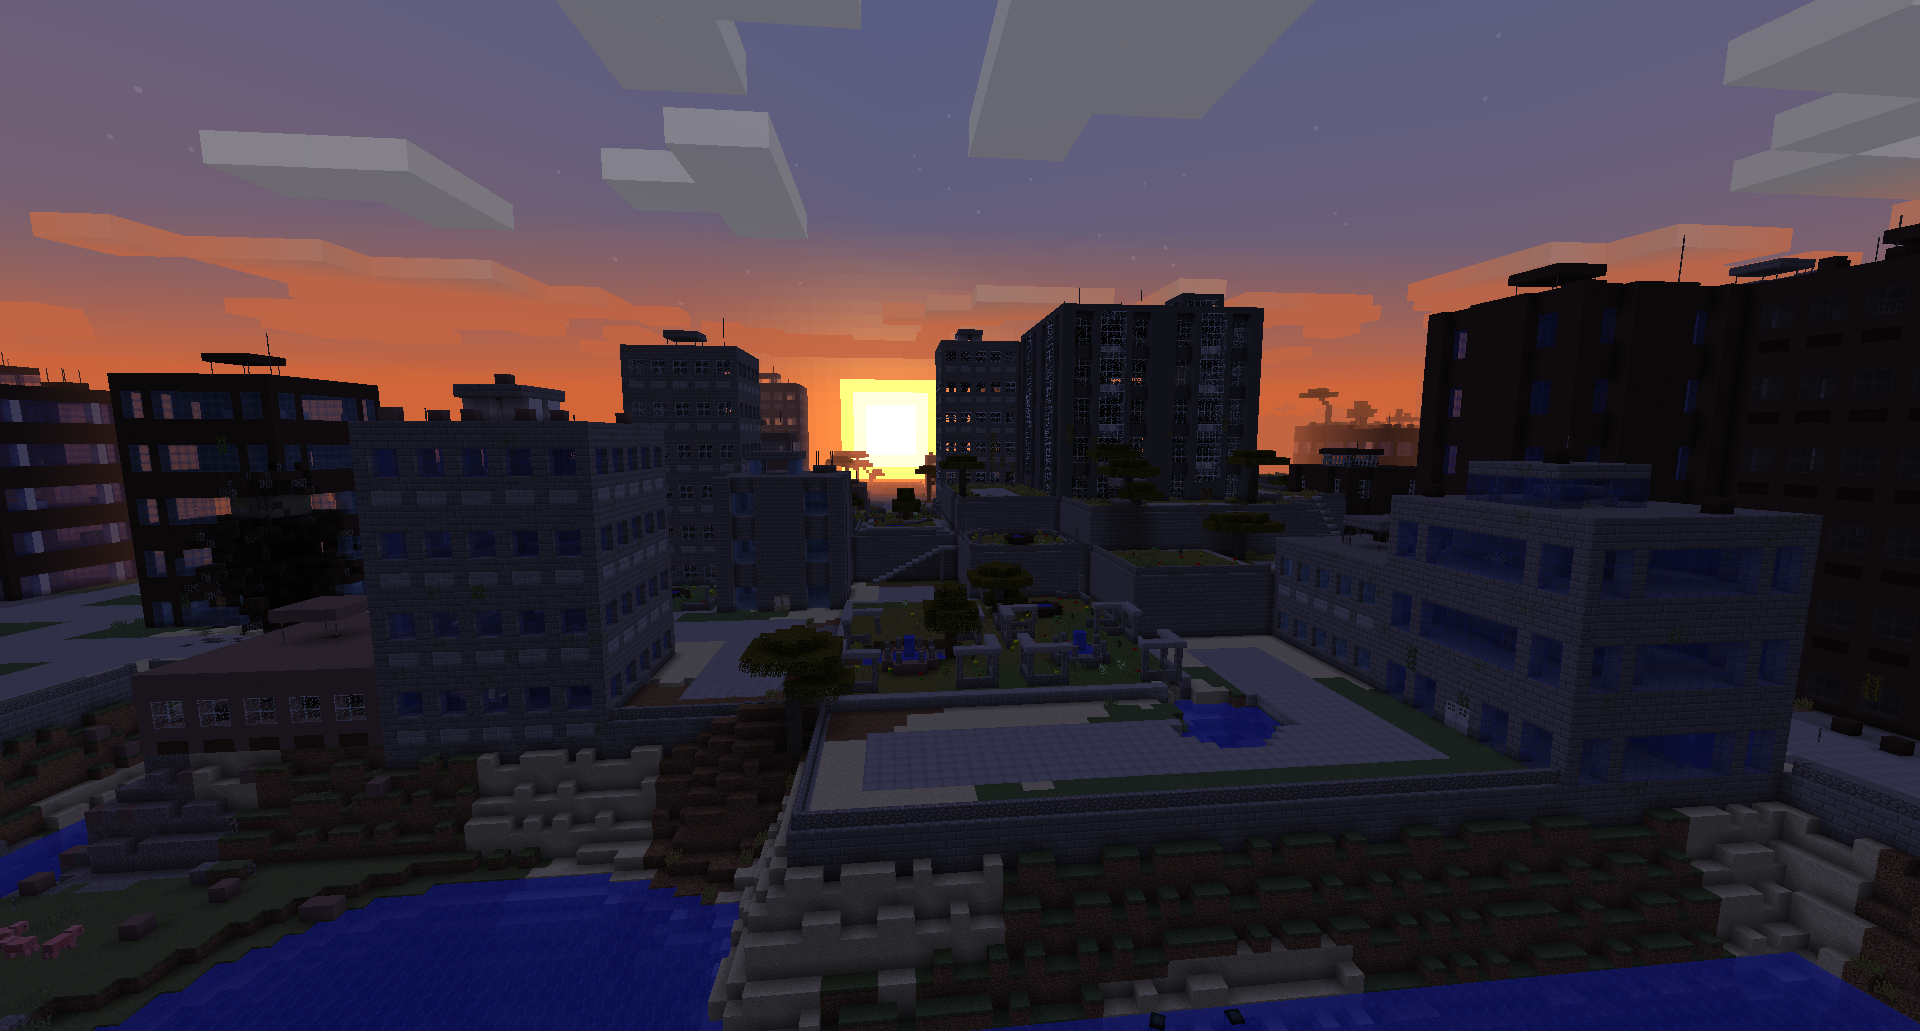
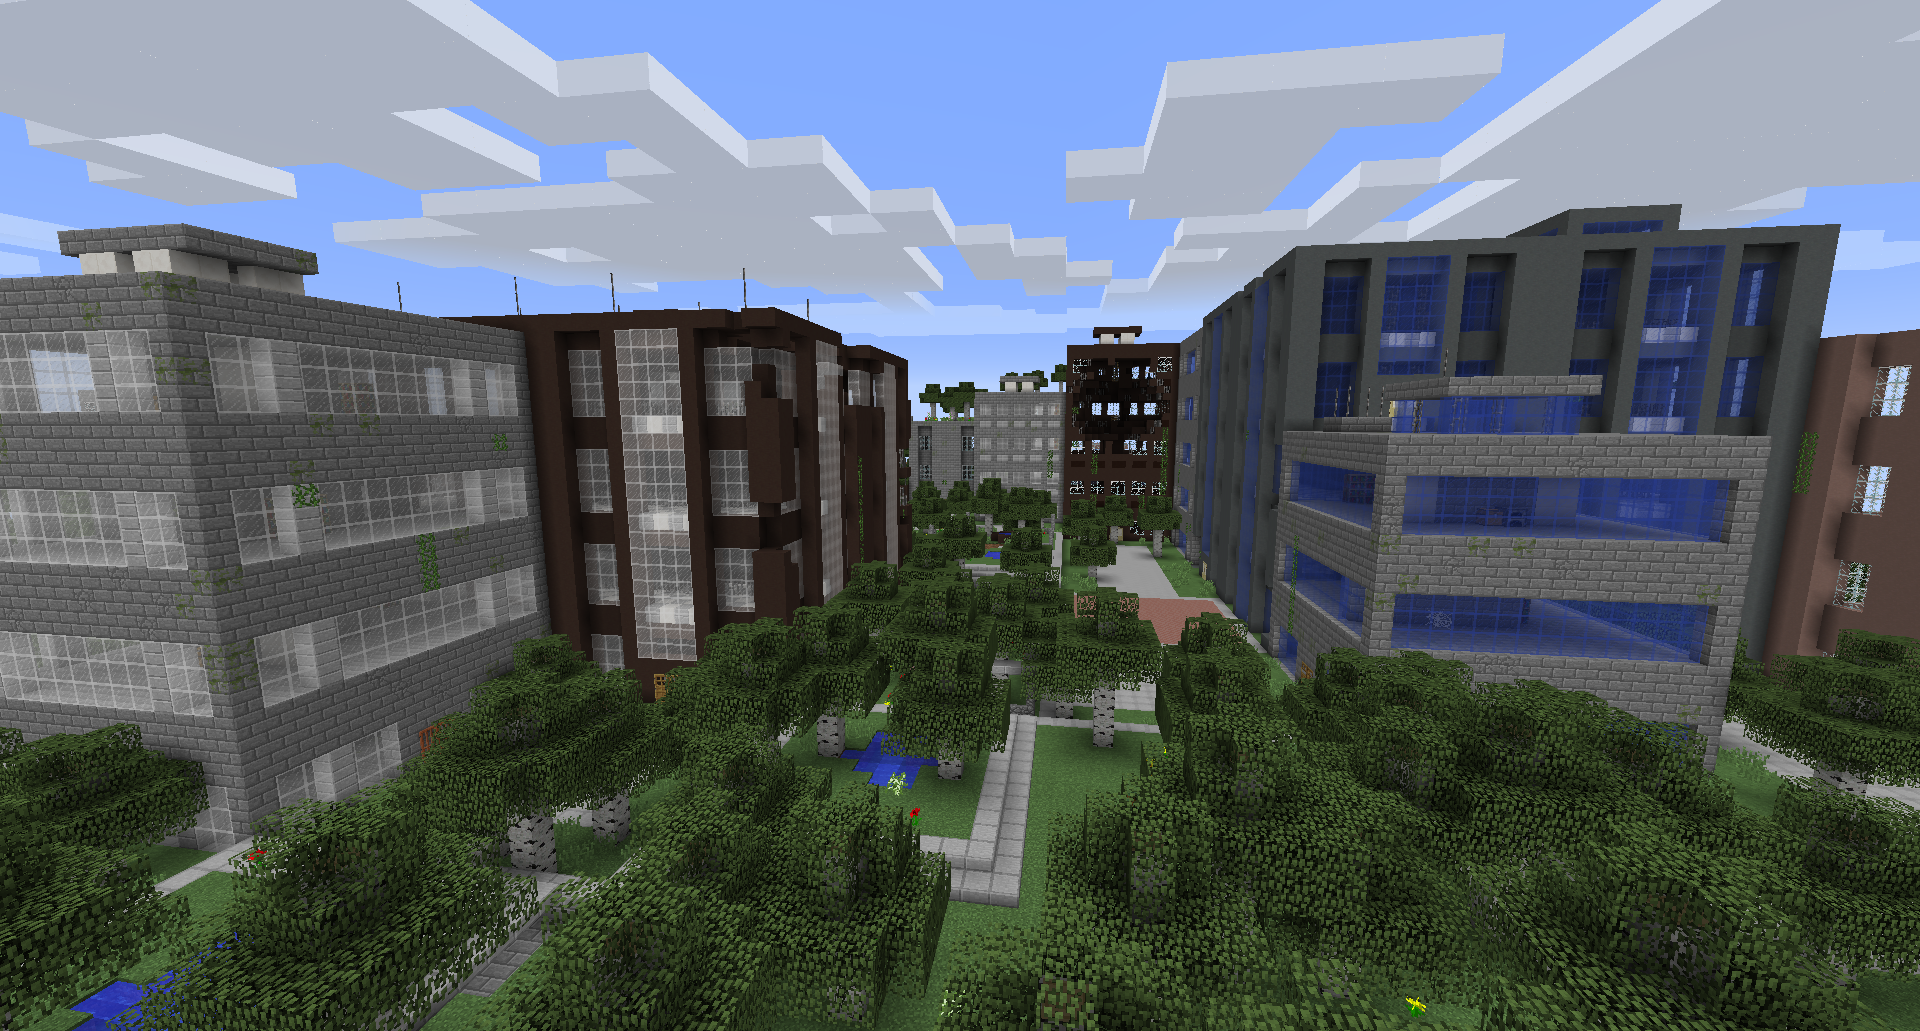
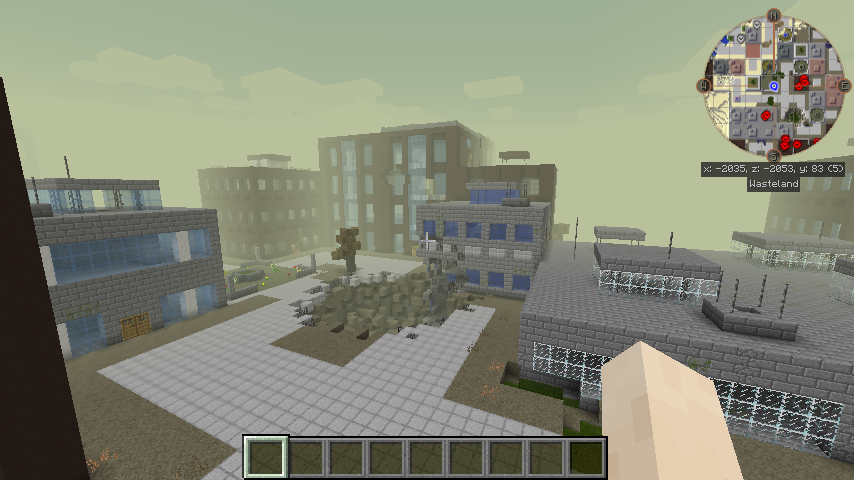
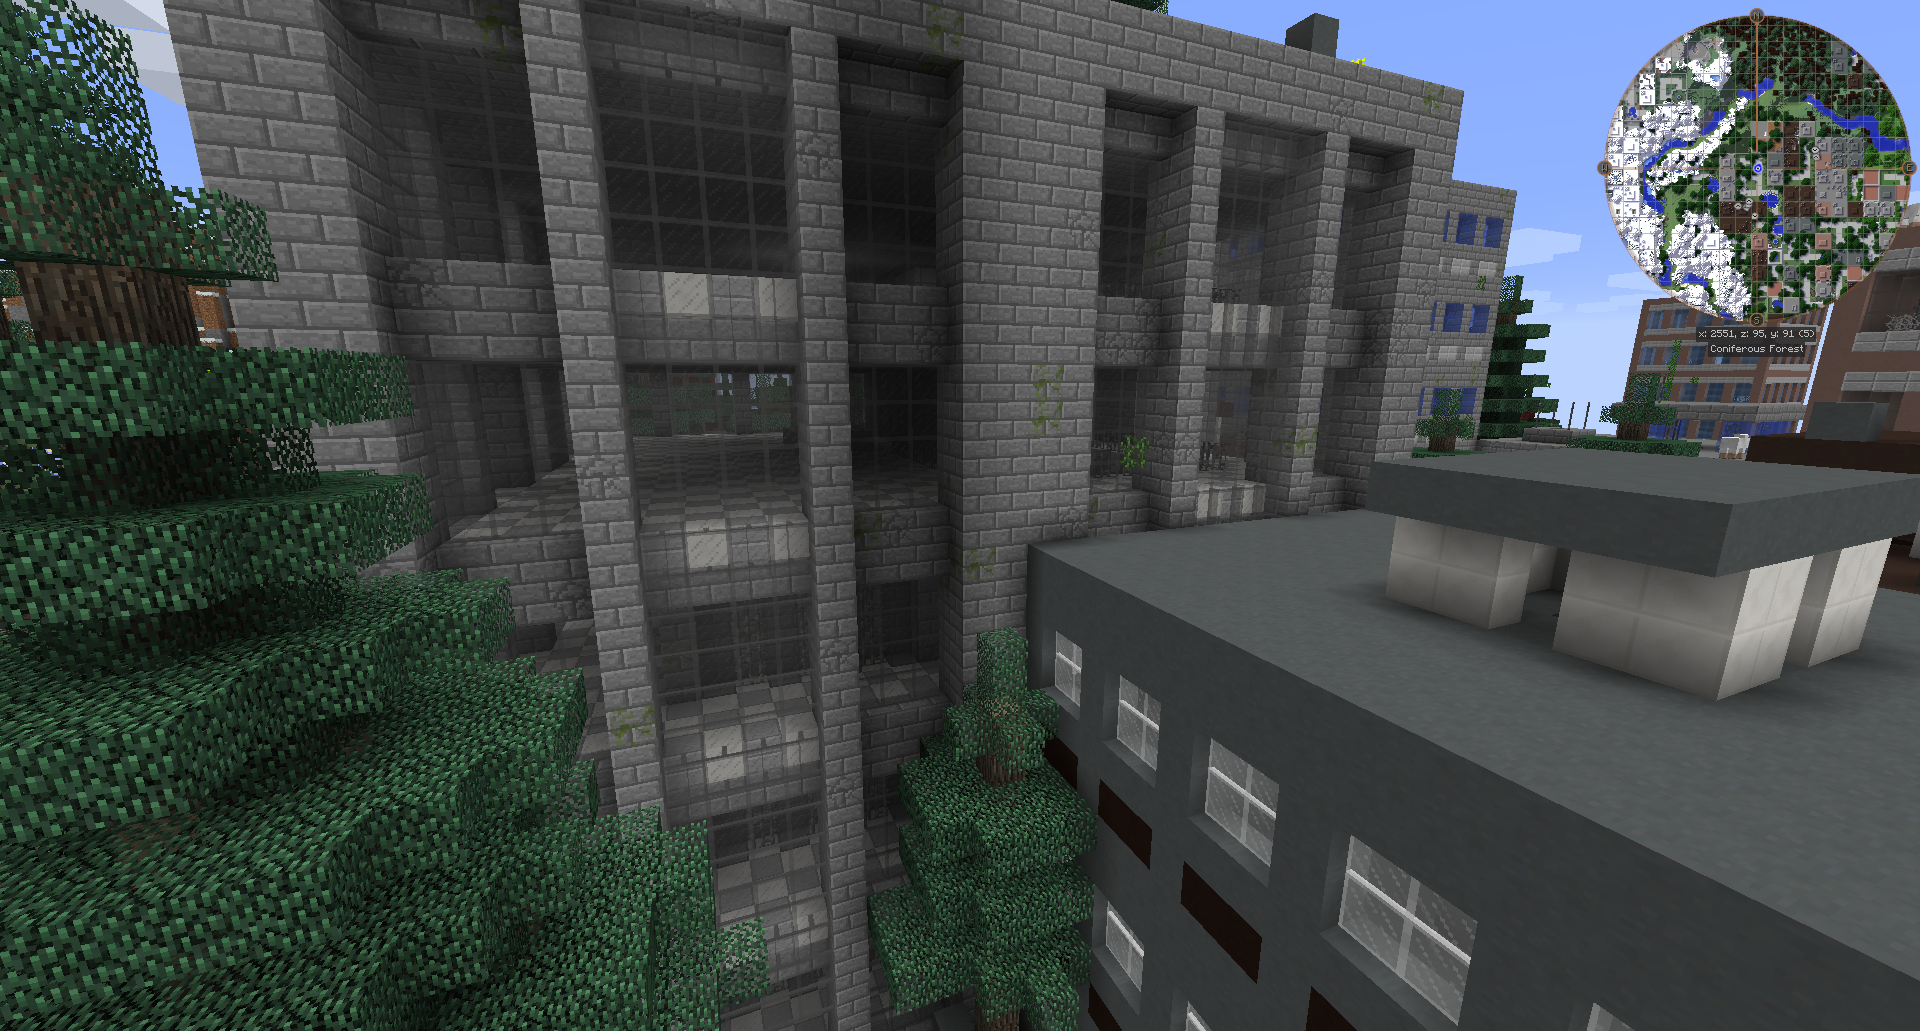
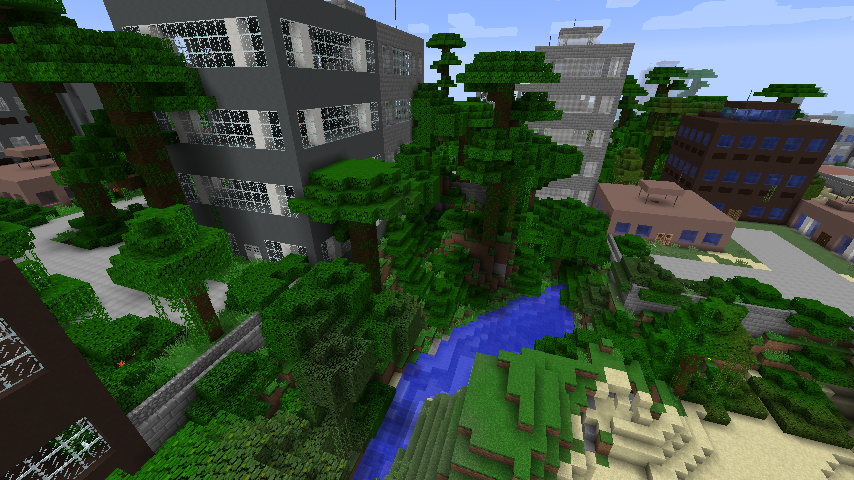
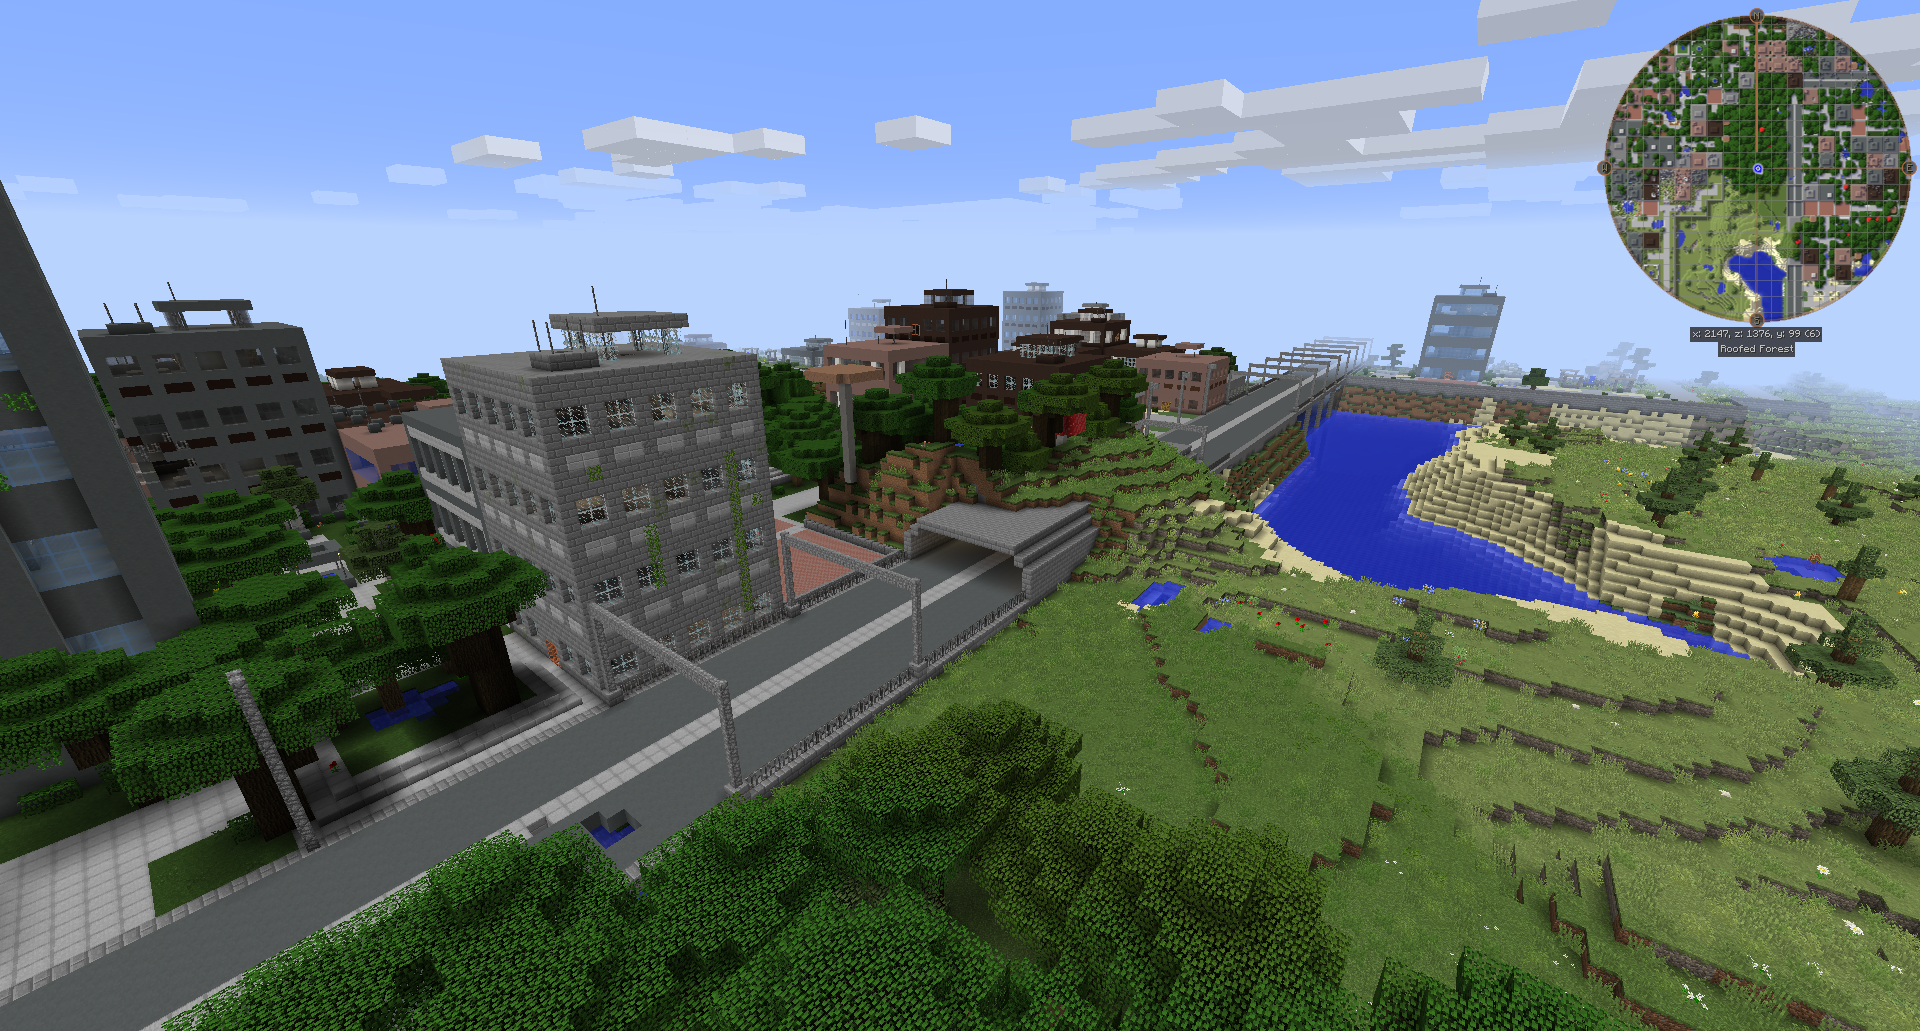
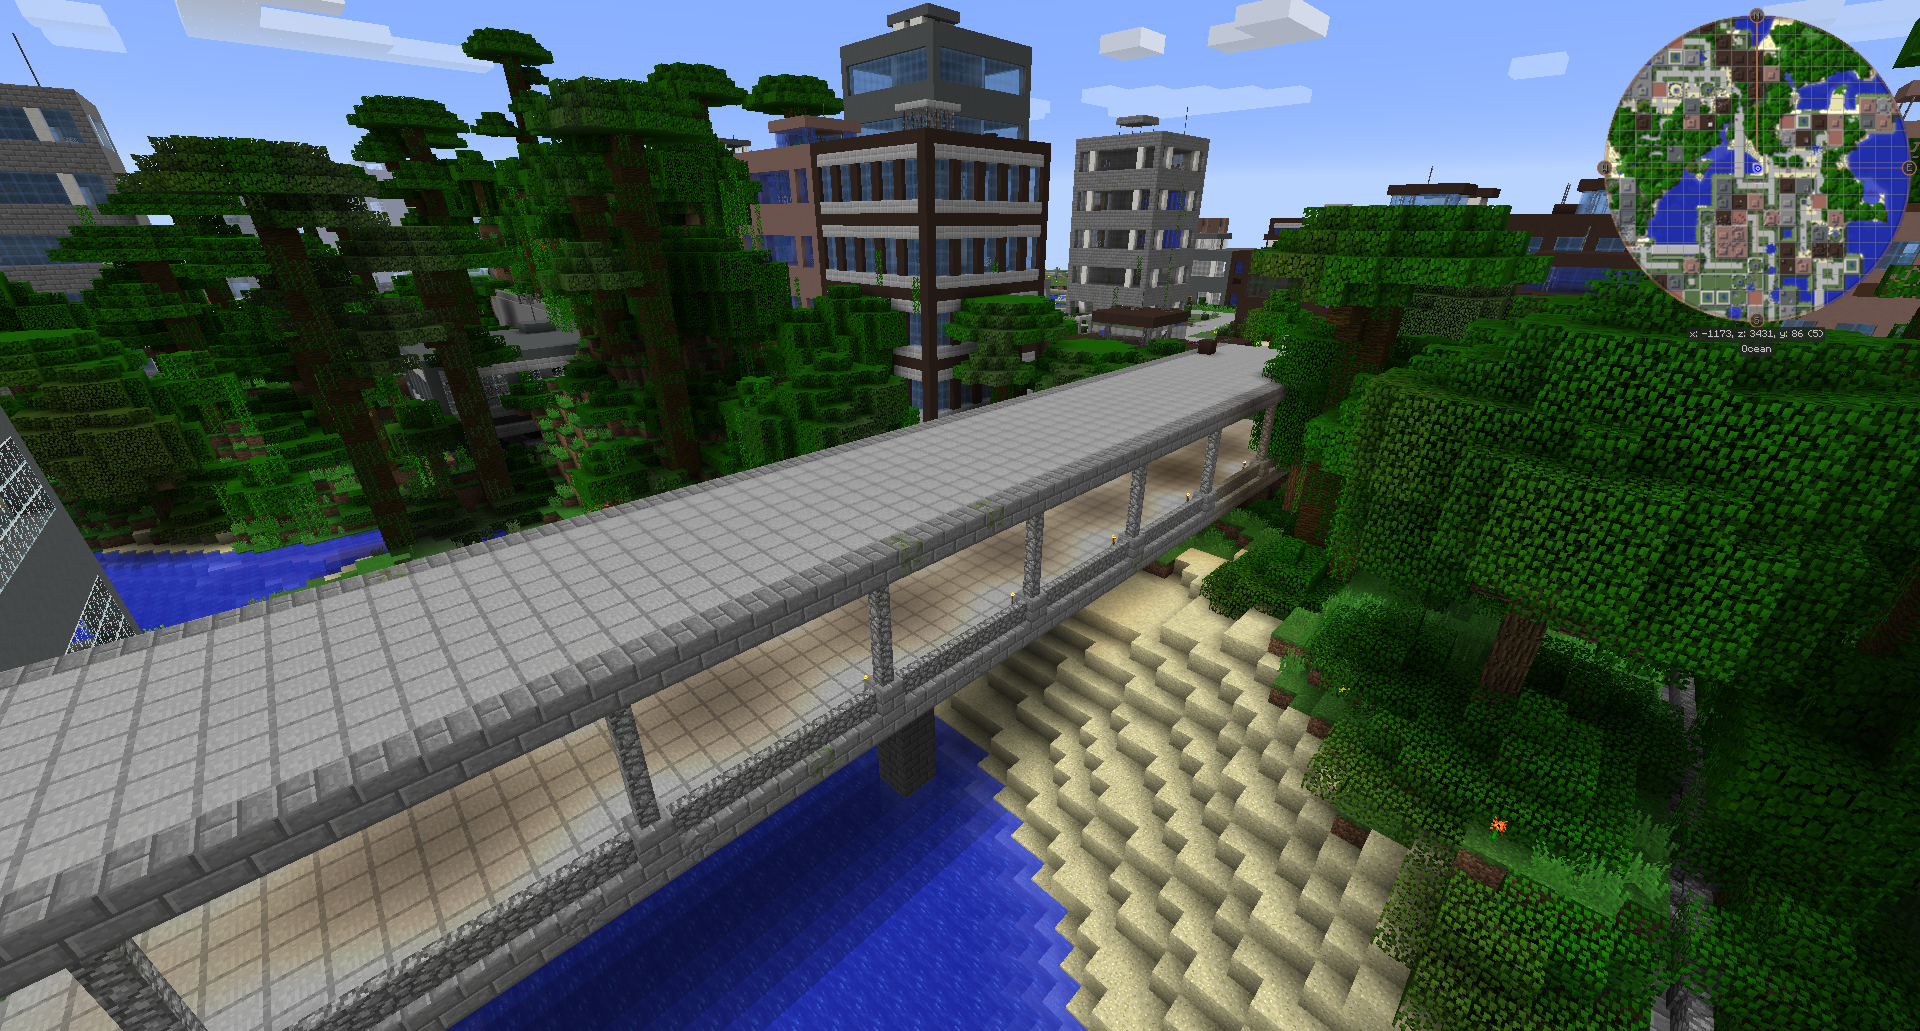
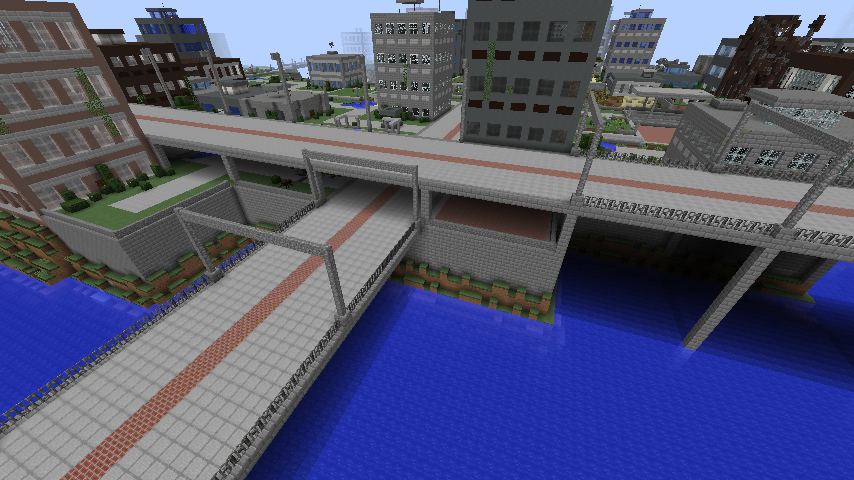
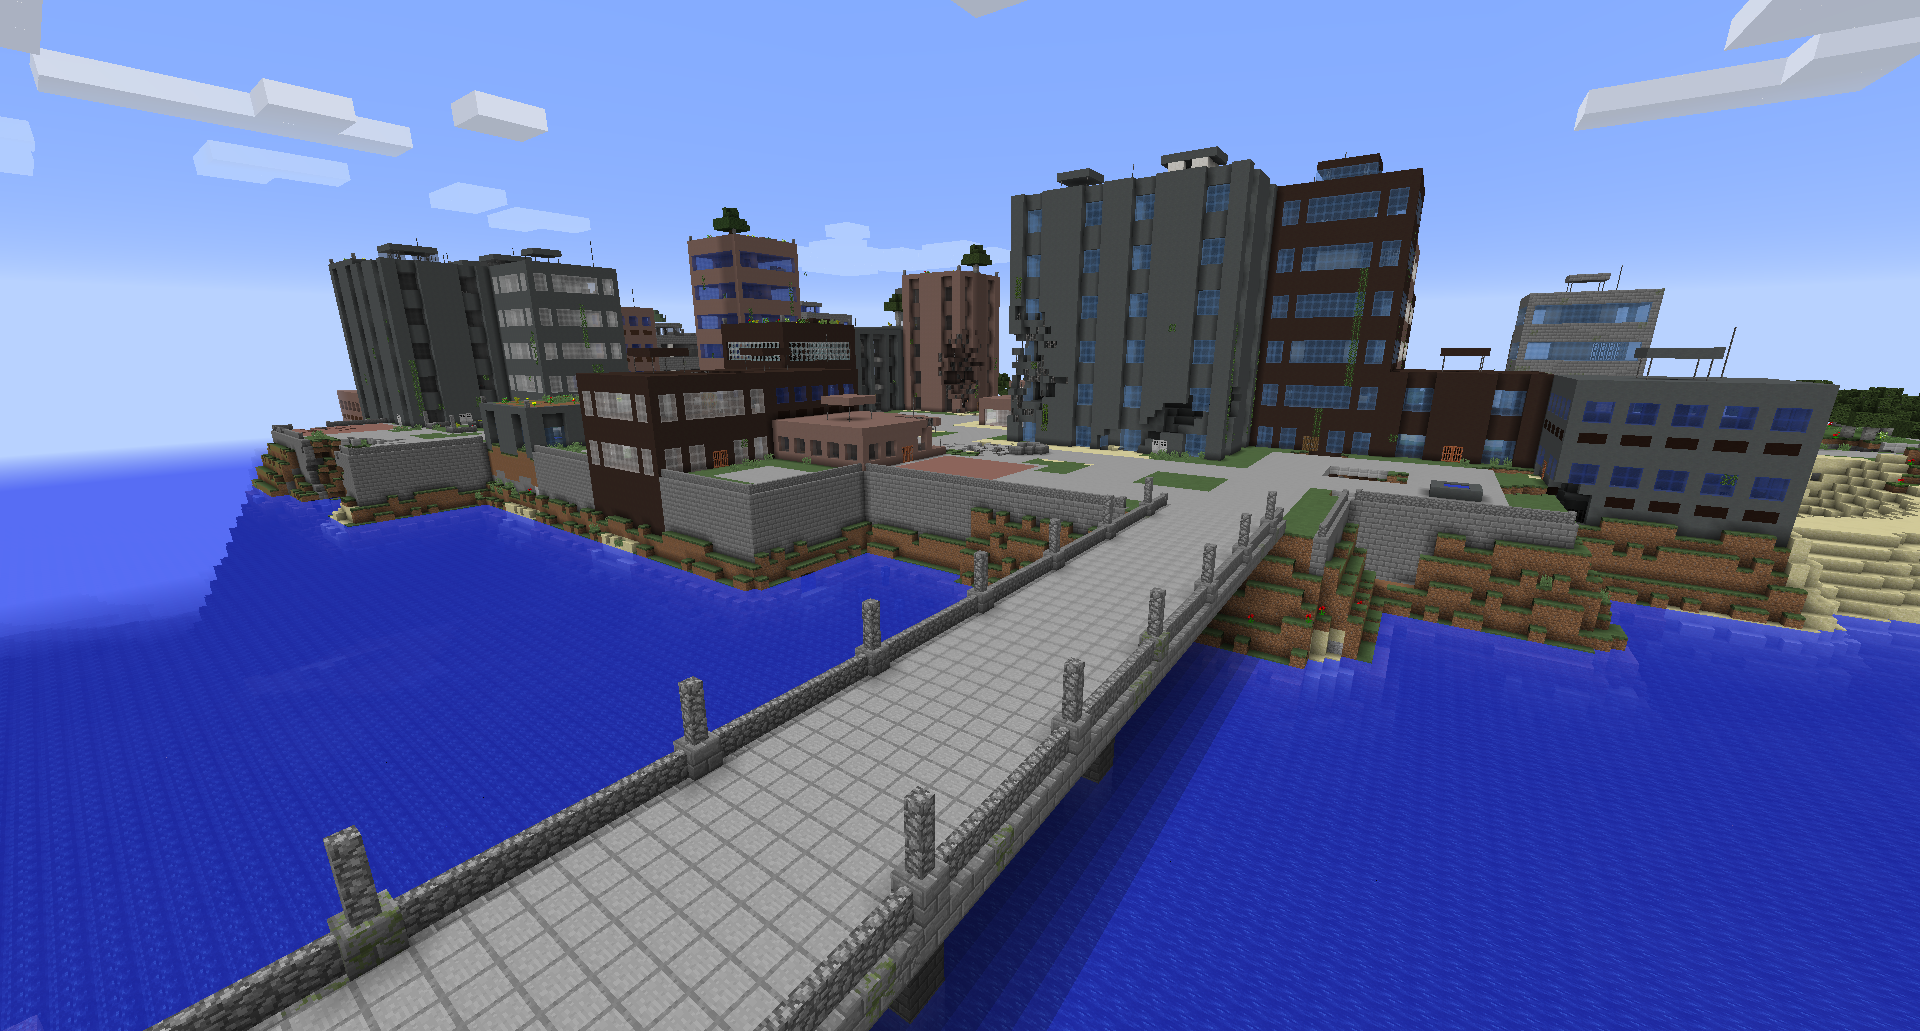
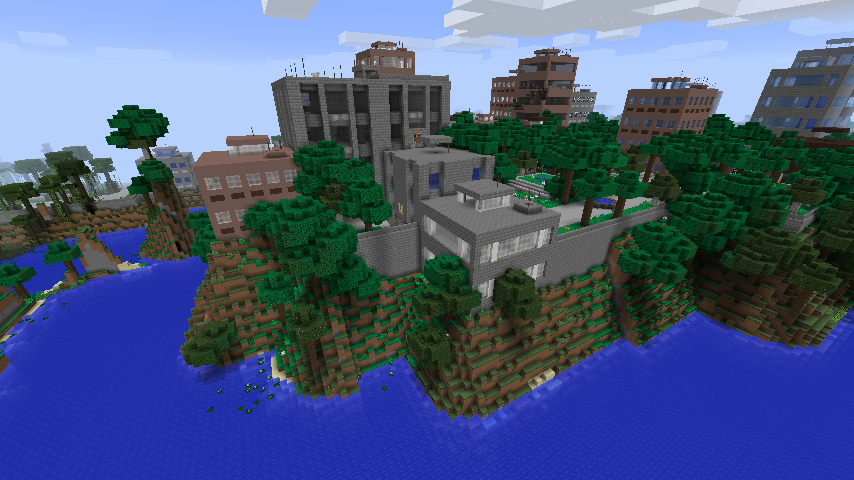
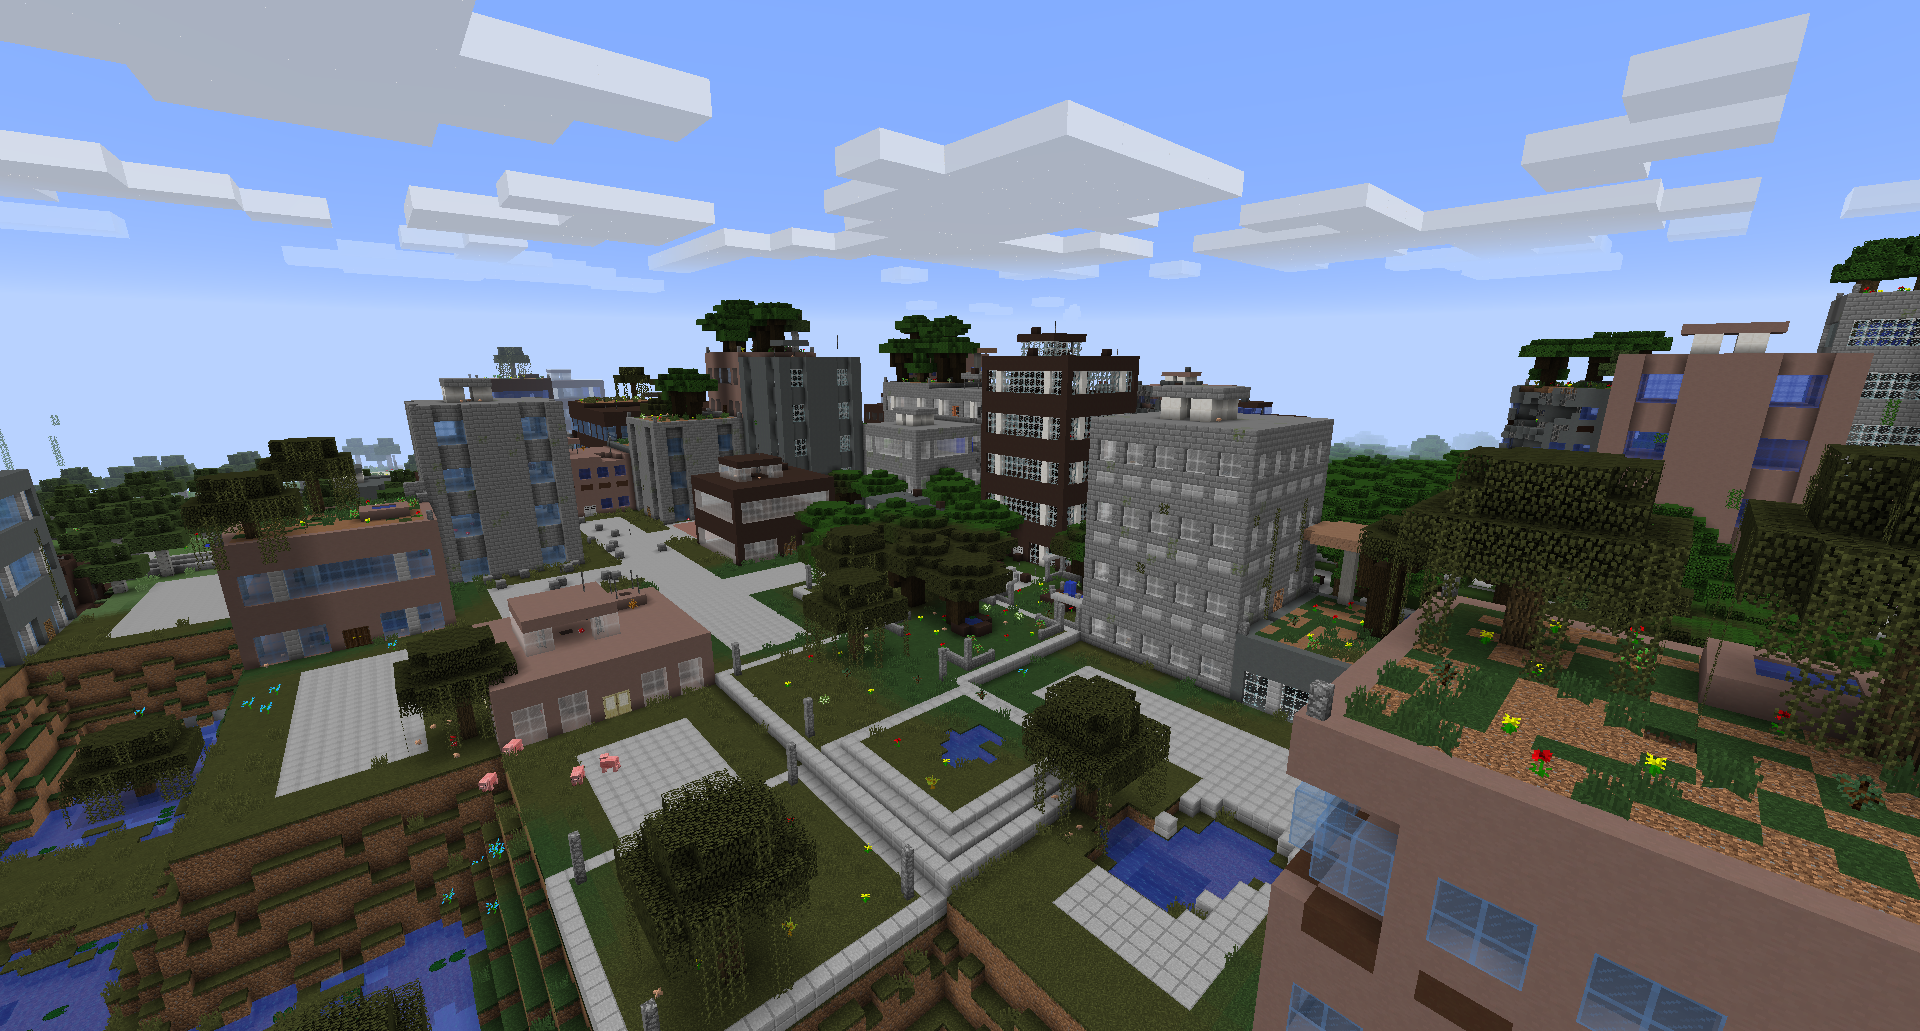
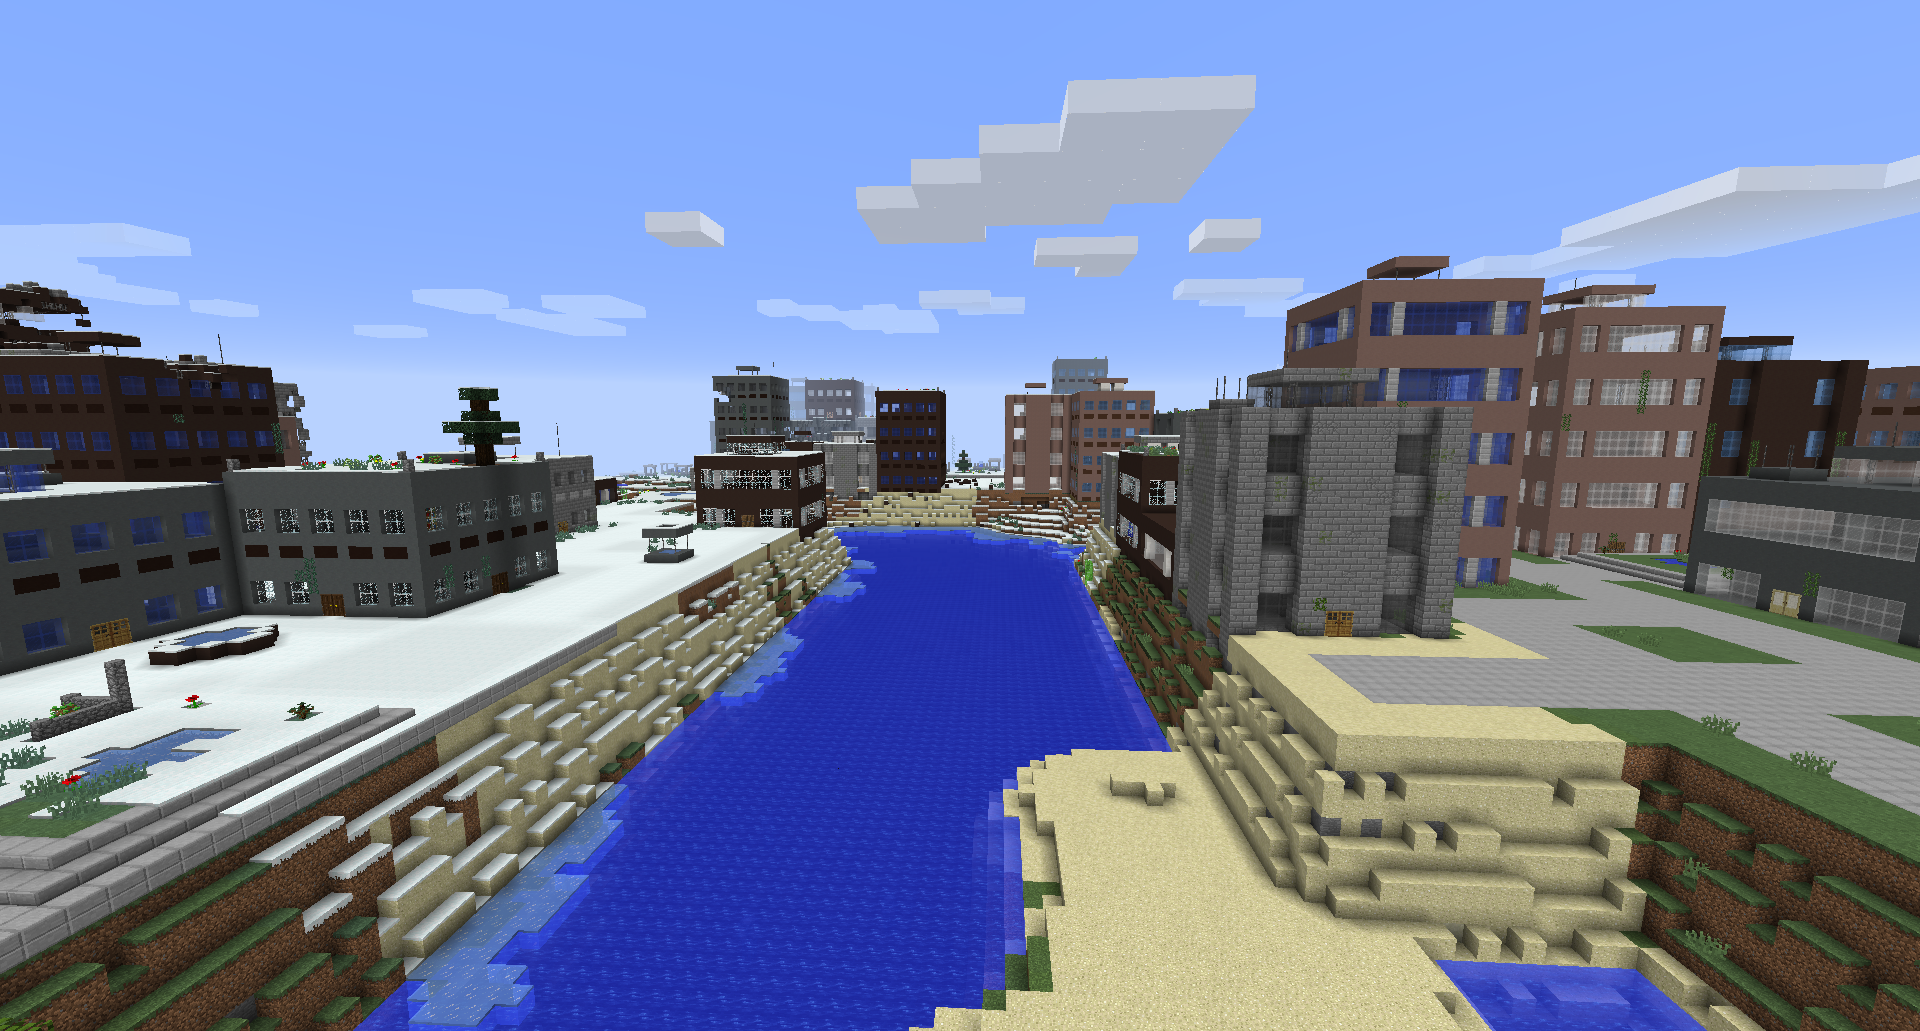
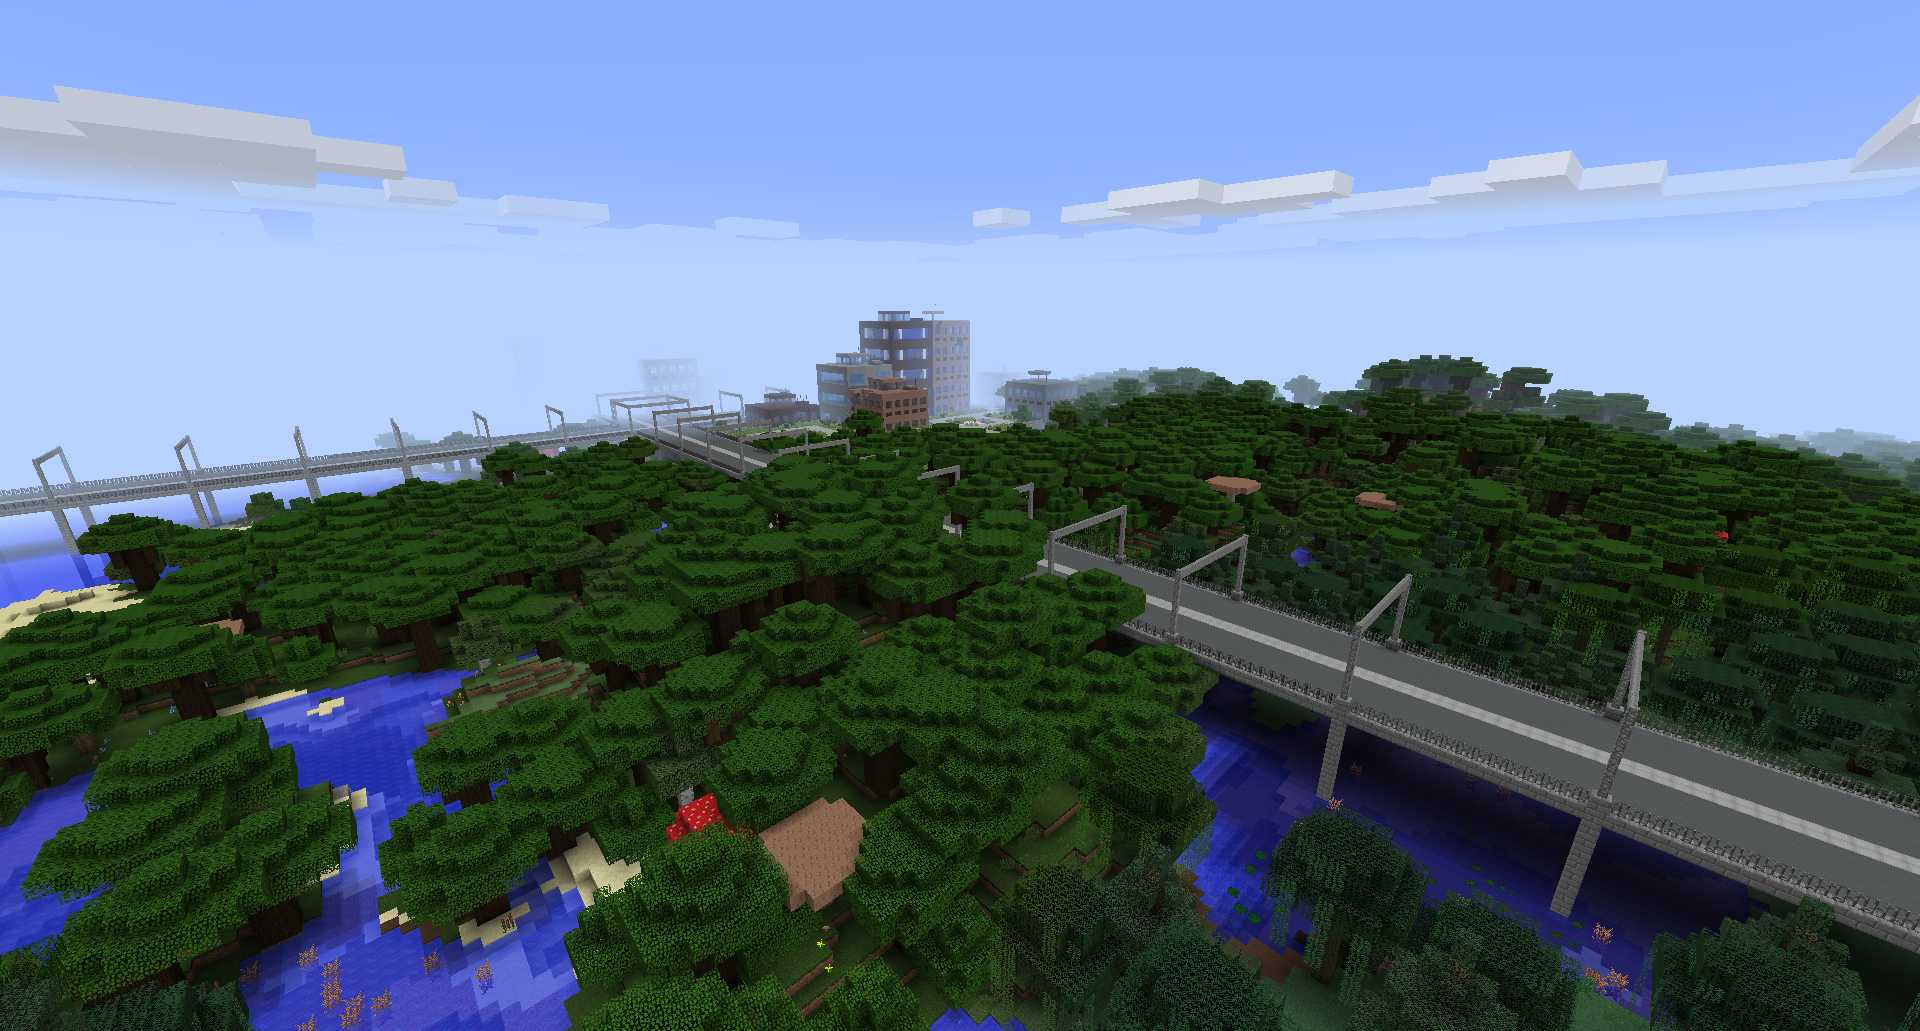
The Lost Cities transforms Minecraft's Overworld into a vast, abandoned civilization. Explore ruined skyscrapers, apartment blocks, factories, roads, highways, bridges, tunnels, subway systems, parks, flooded areas, and underground rooms filled with loot and dangers.

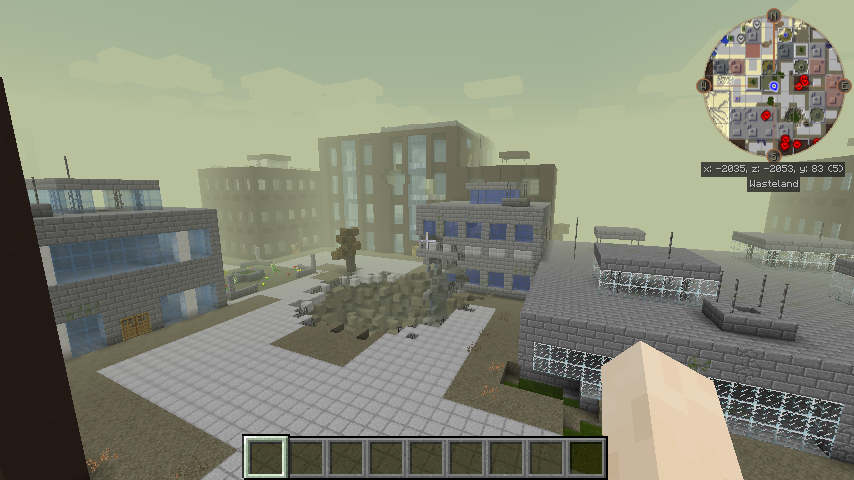
Cities are integrated into the normal terrain, so Lost Cities can be combined with other biome and terrain mods. Depending on the selected profile, the world can contain sprawling city regions, rare cities separated by wilderness, heavily damaged ruins, safer buildings, tall skylines, domed cities, or other specialized landscapes.

Features

  • Large procedural cities with streets, buildings, parks, highways, bridges, railways, tunnels, and subways
  • Detailed interiors with loot, spawners, cellars, lighting, and extensive damage and decay options
  • Multiple built-in profiles for very different world-generation styles
  • An in-game configuration screen for selecting a profile and customizing generation
  • Support for biome and terrain-generation mods
  • Data-driven buildings, palettes, city styles, world styles, and other assets for modpack authors
  • Custom profiles for controlling city frequency, building height, damage, explosions, terrain, infrastructure, loot, and much more
  • Server-side-only operation, allowing vanilla clients to connect when no client-side Lost Cities features are required

Note: New Street/Highway layout was commissioned by TqLxQuanZ. Thanks for the support!

Current Version Documentation

The documentation stored in the GitHub branch for your Minecraft version is the most accurate and up-to-date source. The Lost Cities Wiki remains useful for older versions and general background, but it may describe legacy behavior that no longer applies.

Minecraft 1.20.1

Minecraft 1.21.1

Minecraft 1.21.11

Minecraft 26.1.2

Setting Up a Server

Choose the profile before generating the world. Changing the profile later affects only newly generated chunks and can create abrupt borders or an inconsistent world. If the server has already generated the intended world, stop it, make a backup, and use a new level-name or remove the old world before continuing.

The profile name is the identifier shown in the Lost Cities profile selector, such as default, nodamage, or another installed profile. Names are case-sensitive. A custom profile must also be installed in the server's Lost Cities profile configuration before the world is created.

Server Setup for 1.20.1

The safest way to configure a 1.20.1 server is to prepare the settings in single player:

  1. Install the same Minecraft 1.20.1 mod loader, Lost Cities version, and world-generation mods on the client and server.
  2. On the client, create a new single-player world. Open the Lost Cities configuration from the world-creation screen, enable Lost Cities, select the desired profile, and apply any custom settings.
  3. Create the world once so Lost Cities writes its world-specific configuration.
  4. Stop the dedicated server.
  5. Copy saves/<your-world>/serverconfig/lostcities-server.toml from the client instance to defaultconfigs/lostcities-server.toml in the server directory.
  6. Open the copied file and verify that selectedProfile contains the desired profile. Leave selectedCustomJson as generated if the profile was customized in the UI.
  7. Start the server with a new world. The file in defaultconfigs is copied into the new world's serverconfig directory and Lost Cities generates the Overworld using that profile.

For an existing server installation that has not generated its world yet, you can instead place a prepared lostcities-server.toml directly in defaultconfigs. Do not use the old level-type=lostcities setting on 1.20.1; Lost Cities is selected through its configuration.

Server Setup for 1.21.1, 1.21.11, and 26.1.2

These versions use the regular server config directory instead of a per-world serverconfig file:

  1. Install the matching NeoForge and Lost Cities versions on the server, together with any biome, terrain, or asset mods required by the pack.
  2. Start the server once so the configuration files are created, wait for startup to finish, and then stop it.
  3. Open config/lostcities-server.toml in the server directory.
  4. In the profiles section, set selectedProfile to the desired profile name. For example:
[profiles]
selectedProfile = "default"
selectedCustomJson = ""
  1. If you prepared customized settings with the in-game configuration screen, copy the generated selectedCustomJson value as well; otherwise leave it empty.
  2. The bootstrap run may already have created a normal world. Set a new level-name in server.properties, or back up and remove that generated world, so the next startup creates a completely fresh world.
  3. Start the server. A non-empty selectedProfile enables Lost Cities generation in the new Overworld; an empty value leaves the normal Overworld unchanged.

For all four current versions, Lost Cities can run only on the server, which permits unmodded clients to connect. Clients still need the mod when they need its configuration GUI or when the modpack contains other content that requires it on both sides.

Legacy Versions

The instructions below are retained for old modpacks. They do not apply to Minecraft 1.20.1 or newer.

Minecraft 1.14 through 1.19.x

Lost Cities is not a separate world type in these versions. In single player, choose the normal world type, open world customization, and use the LC button to enable Lost Cities and select a profile.

For a dedicated server, create and configure a single-player world first. Copy saves/<your-world>/serverconfig/lostcities-server.toml to the server's defaultconfigs directory, then generate a new server world.

Minecraft 1.12.x

Set the following in server.properties before creating the world:

level-type=lostcities
generator-settings={"profile":"nodamage"}

Replace nodamage with the desired profile. When Biomes O' Plenty is installed, use level-type=lostcities_bop for the Biomes O' Plenty variant.

Minecraft 1.12 also provides a separate Lost Cities dimension, using dimension ID 111 by default. This can be disabled for server-side-only use. To travel there, place a bed on two diamond blocks, surround it with six skulls, and try to sleep in it.

For still older releases and historical details, consult the Lost Cities Wiki and the matching branch of the GitHub repository.

Companion Mod

Lost Souls adds more challenge and danger to Lost Cities buildings.

Support

CurseForge comments are disabled because support requests are difficult to track across multiple sites. Please use the Lost Cities issue tracker for bugs and the Lost Cities Discord for discussion.

Modpack policy: Feel free to use Lost Cities in any modpack.
The Lost Cities

The Lost Cities transforms Minecraft's Overworld into a vast, abandoned civilization. Explore ruined skyscrapers, apartment blocks, factories, roads, highways, bridges, tunnels, subway systems, parks, flooded areas, and underground rooms filled with loot and dangers.

Cities are integrated into the normal terrain, so Lost Cities can be combined with other biome and terrain mods. Depending on the selected profile, the world can contain sprawling city regions, rare cities separated by wilderness, heavily damaged ruins, safer buildings, tall skylines, domed cities, or other specialized landscapes.

Features

  • Large procedural cities with streets, buildings, parks, highways, bridges, railways, tunnels, and subways
  • Detailed interiors with loot, spawners, cellars, lighting, and extensive damage and decay options
  • Multiple built-in profiles for very different world-generation styles
  • An in-game configuration screen for selecting a profile and customizing generation
  • Support for biome and terrain-generation mods
  • Data-driven buildings, palettes, city styles, world styles, and other assets for modpack authors
  • Custom profiles for controlling city frequency, building height, damage, explosions, terrain, infrastructure, loot, and much more
  • Server-side-only operation, allowing vanilla clients to connect when no client-side Lost Cities features are required

Note: New Street/Highway layout was commissioned by TqLxQuanZ. Thanks for the support!

Current Version Documentation

The documentation stored in the GitHub branch for your Minecraft version is the most accurate and up-to-date source. The Lost Cities Wiki remains useful for older versions and general background, but it may describe legacy behavior that no longer applies.

Minecraft 1.20.1

Minecraft 1.21.1

Minecraft 1.21.11

Minecraft 26.1.2

Setting Up a Server

Choose the profile before generating the world. Changing the profile later affects only newly generated chunks and can create abrupt borders or an inconsistent world. If the server has already generated the intended world, stop it, make a backup, and use a new level-name or remove the old world before continuing.

The profile name is the identifier shown in the Lost Cities profile selector, such as default, nodamage, or another installed profile. Names are case-sensitive. A custom profile must also be installed in the server's Lost Cities profile configuration before the world is created.

Server Setup for 1.20.1

The safest way to configure a 1.20.1 server is to prepare the settings in single player:

  1. Install the same Minecraft 1.20.1 mod loader, Lost Cities version, and world-generation mods on the client and server.
  2. On the client, create a new single-player world. Open the Lost Cities configuration from the world-creation screen, enable Lost Cities, select the desired profile, and apply any custom settings.
  3. Create the world once so Lost Cities writes its world-specific configuration.
  4. Stop the dedicated server.
  5. Copy saves/<your-world>/serverconfig/lostcities-server.toml from the client instance to defaultconfigs/lostcities-server.toml in the server directory.
  6. Open the copied file and verify that selectedProfile contains the desired profile. Leave selectedCustomJson as generated if the profile was customized in the UI.
  7. Start the server with a new world. The file in defaultconfigs is copied into the new world's serverconfig directory and Lost Cities generates the Overworld using that profile.

For an existing server installation that has not generated its world yet, you can instead place a prepared lostcities-server.toml directly in defaultconfigs. Do not use the old level-type=lostcities setting on 1.20.1; Lost Cities is selected through its configuration.

Server Setup for 1.21.1, 1.21.11, and 26.1.2

These versions use the regular server config directory instead of a per-world serverconfig file:

  1. Install the matching NeoForge and Lost Cities versions on the server, together with any biome, terrain, or asset mods required by the pack.
  2. Start the server once so the configuration files are created, wait for startup to finish, and then stop it.
  3. Open config/lostcities-server.toml in the server directory.
  4. In the profiles section, set selectedProfile to the desired profile name. For example:
[profiles]
selectedProfile = "default"
selectedCustomJson = ""
  1. If you prepared customized settings with the in-game configuration screen, copy the generated selectedCustomJson value as well; otherwise leave it empty.
  2. The bootstrap run may already have created a normal world. Set a new level-name in server.properties, or back up and remove that generated world, so the next startup creates a completely fresh world.
  3. Start the server. A non-empty selectedProfile enables Lost Cities generation in the new Overworld; an empty value leaves the normal Overworld unchanged.

For all four current versions, Lost Cities can run only on the server, which permits unmodded clients to connect. Clients still need the mod when they need its configuration GUI or when the modpack contains other content that requires it on both sides.

Legacy Versions

The instructions below are retained for old modpacks. They do not apply to Minecraft 1.20.1 or newer.

Minecraft 1.14 through 1.19.x

Lost Cities is not a separate world type in these versions. In single player, choose the normal world type, open world customization, and use the LC button to enable Lost Cities and select a profile.

For a dedicated server, create and configure a single-player world first. Copy saves/<your-world>/serverconfig/lostcities-server.toml to the server's defaultconfigs directory, then generate a new server world.

Minecraft 1.12.x

Set the following in server.properties before creating the world:

level-type=lostcities
generator-settings={"profile":"nodamage"}

Replace nodamage with the desired profile. When Biomes O' Plenty is installed, use level-type=lostcities_bop for the Biomes O' Plenty variant.

Minecraft 1.12 also provides a separate Lost Cities dimension, using dimension ID 111 by default. This can be disabled for server-side-only use. To travel there, place a bed on two diamond blocks, surround it with six skulls, and try to sleep in it.

For still older releases and historical details, consult the Lost Cities Wiki and the matching branch of the GitHub repository.

Companion Mod

Lost Souls adds more challenge and danger to Lost Cities buildings.

Support

CurseForge comments are disabled because support requests are difficult to track across multiple sites. Please use the Lost Cities issue tracker for bugs and the Lost Cities Discord for discussion.

Modpack policy: Feel free to use Lost Cities in any modpack.
Screenshots

Gallery

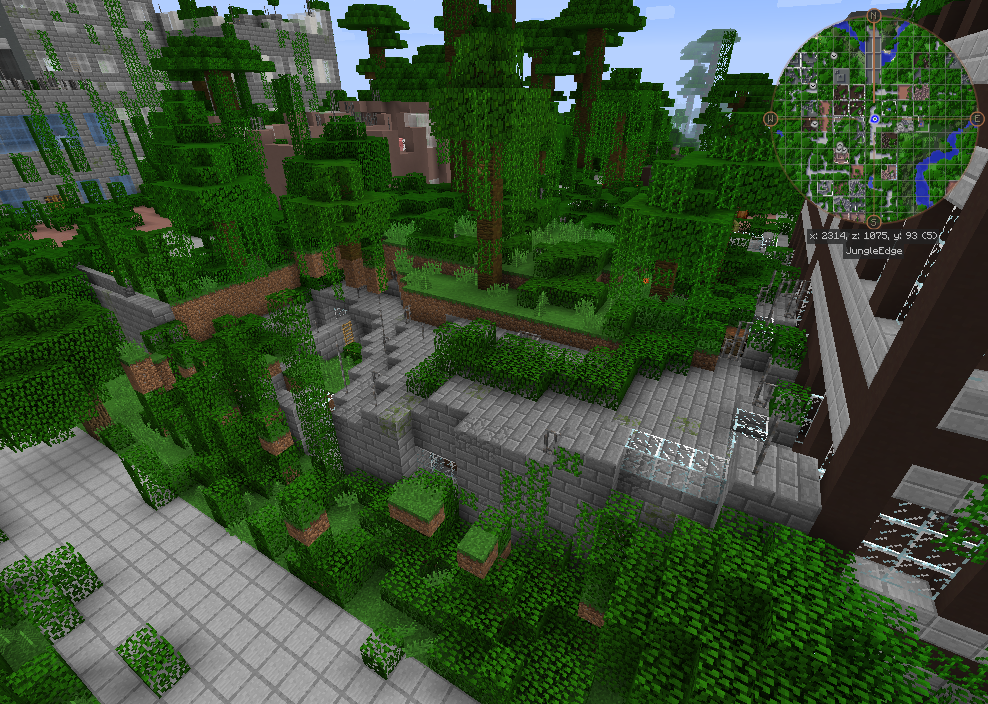
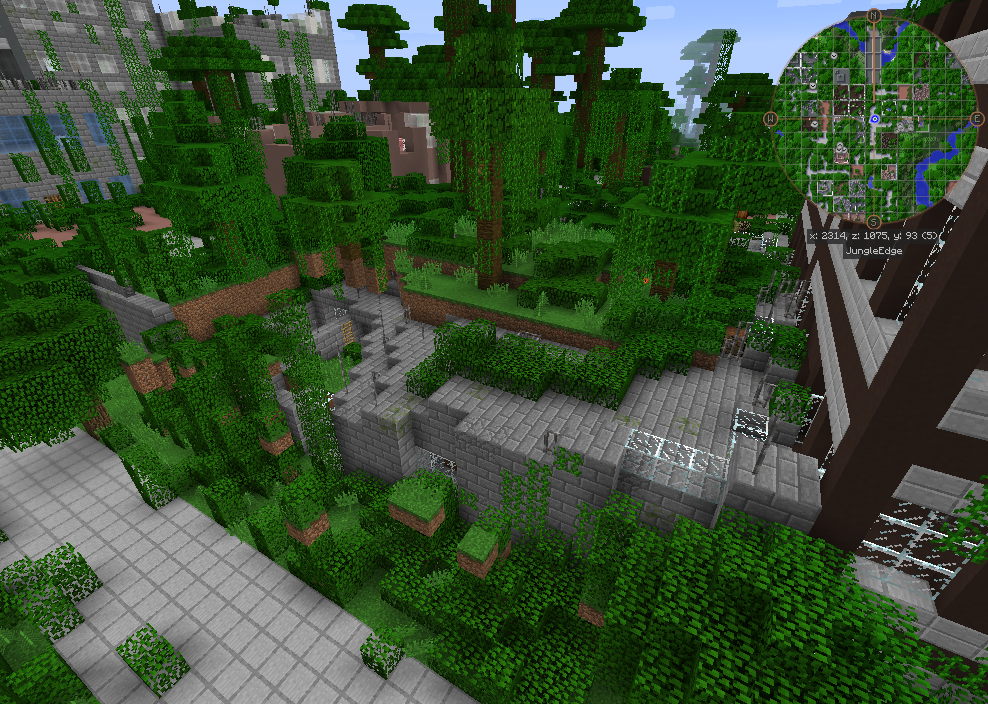
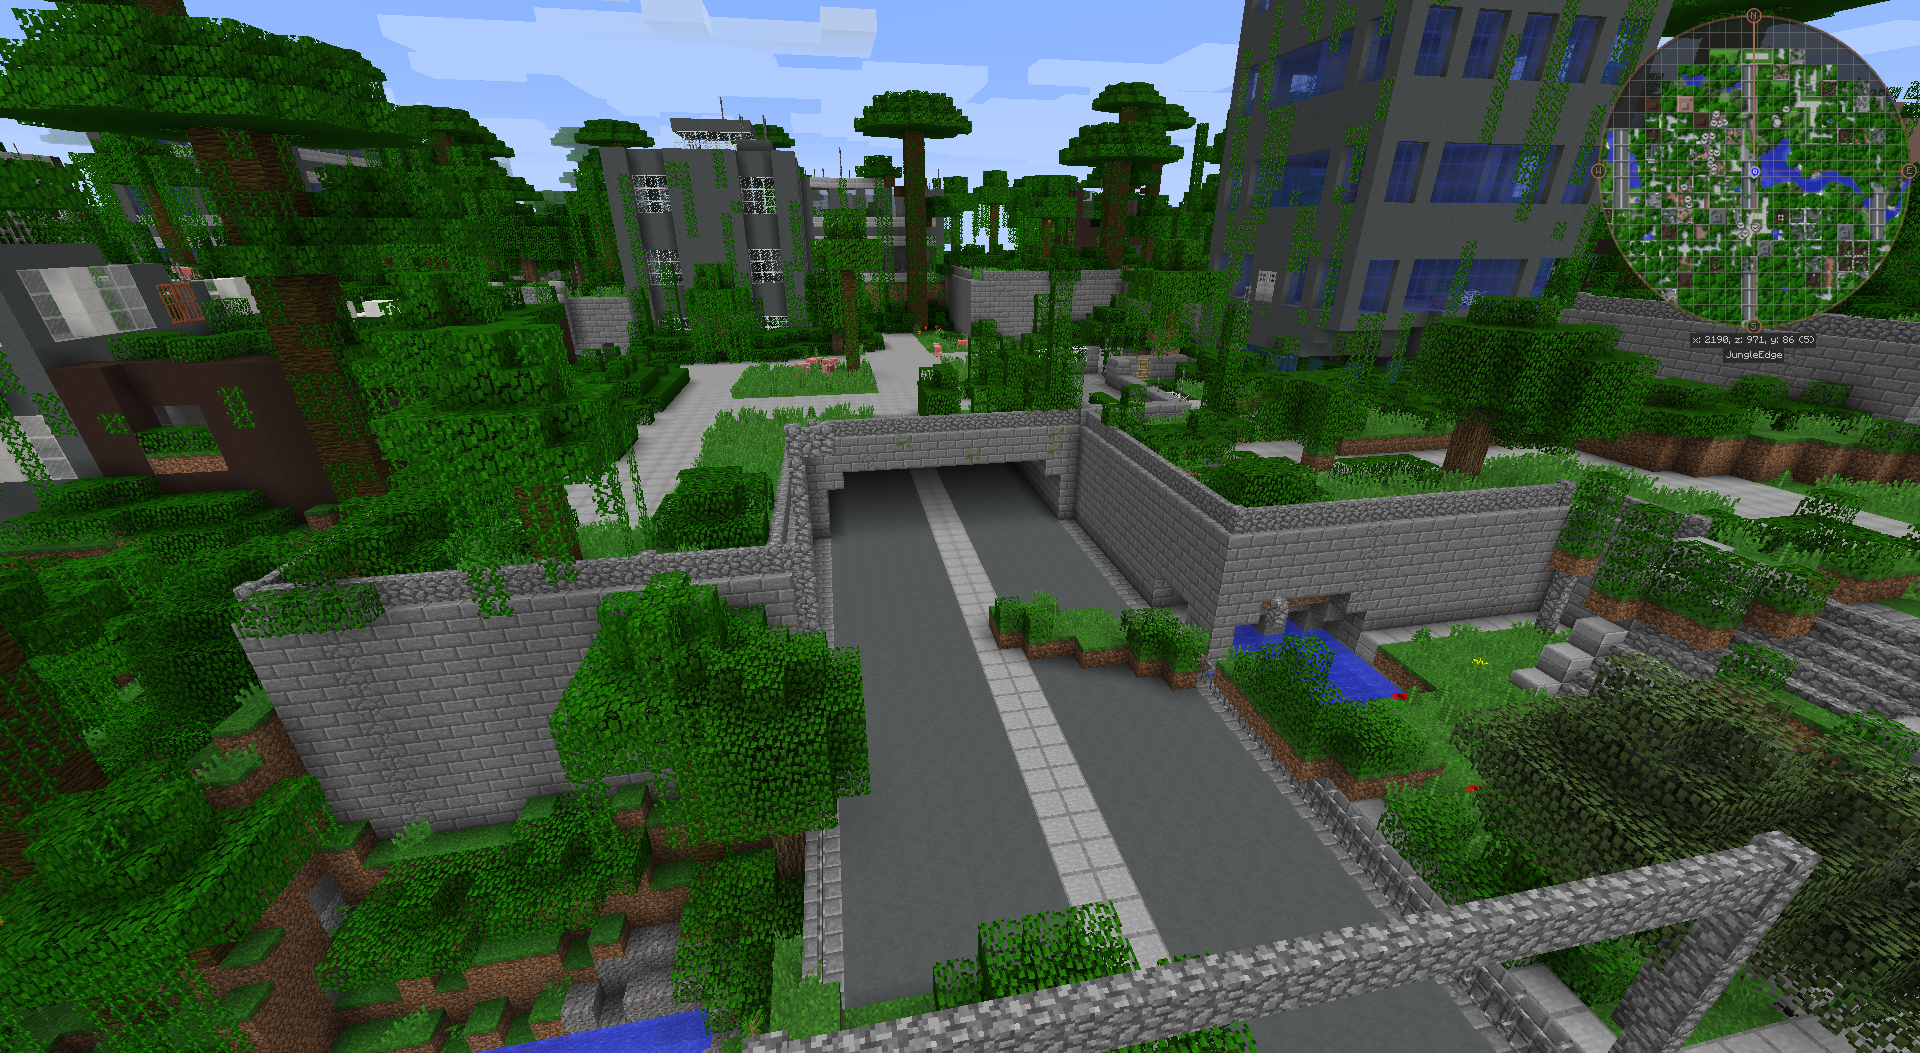
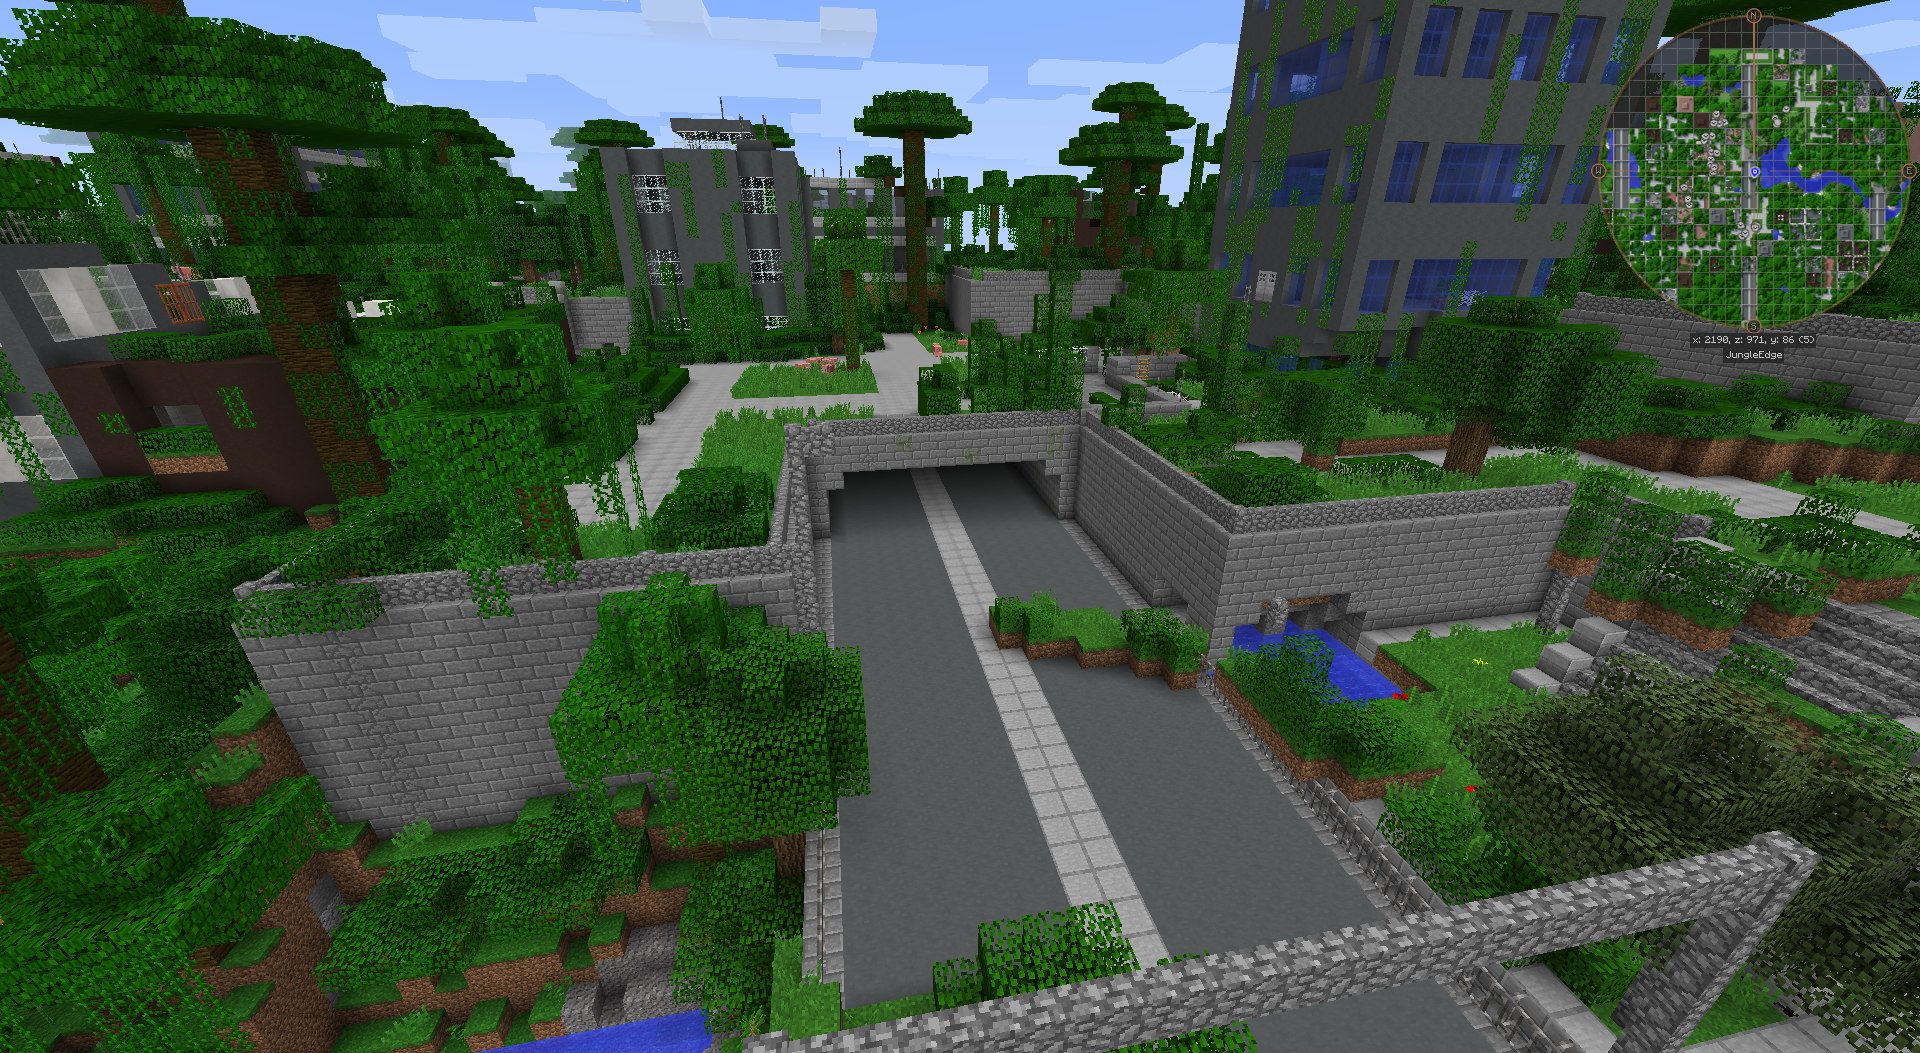
  • Tunnel in the jungle
    Tunnel in the jungle Tunnel in the jungle
  • Ruins
    Ruins Ruins
  • A crossing
    A crossing A crossing
  • The Control Center
    The Control Center The Control Center
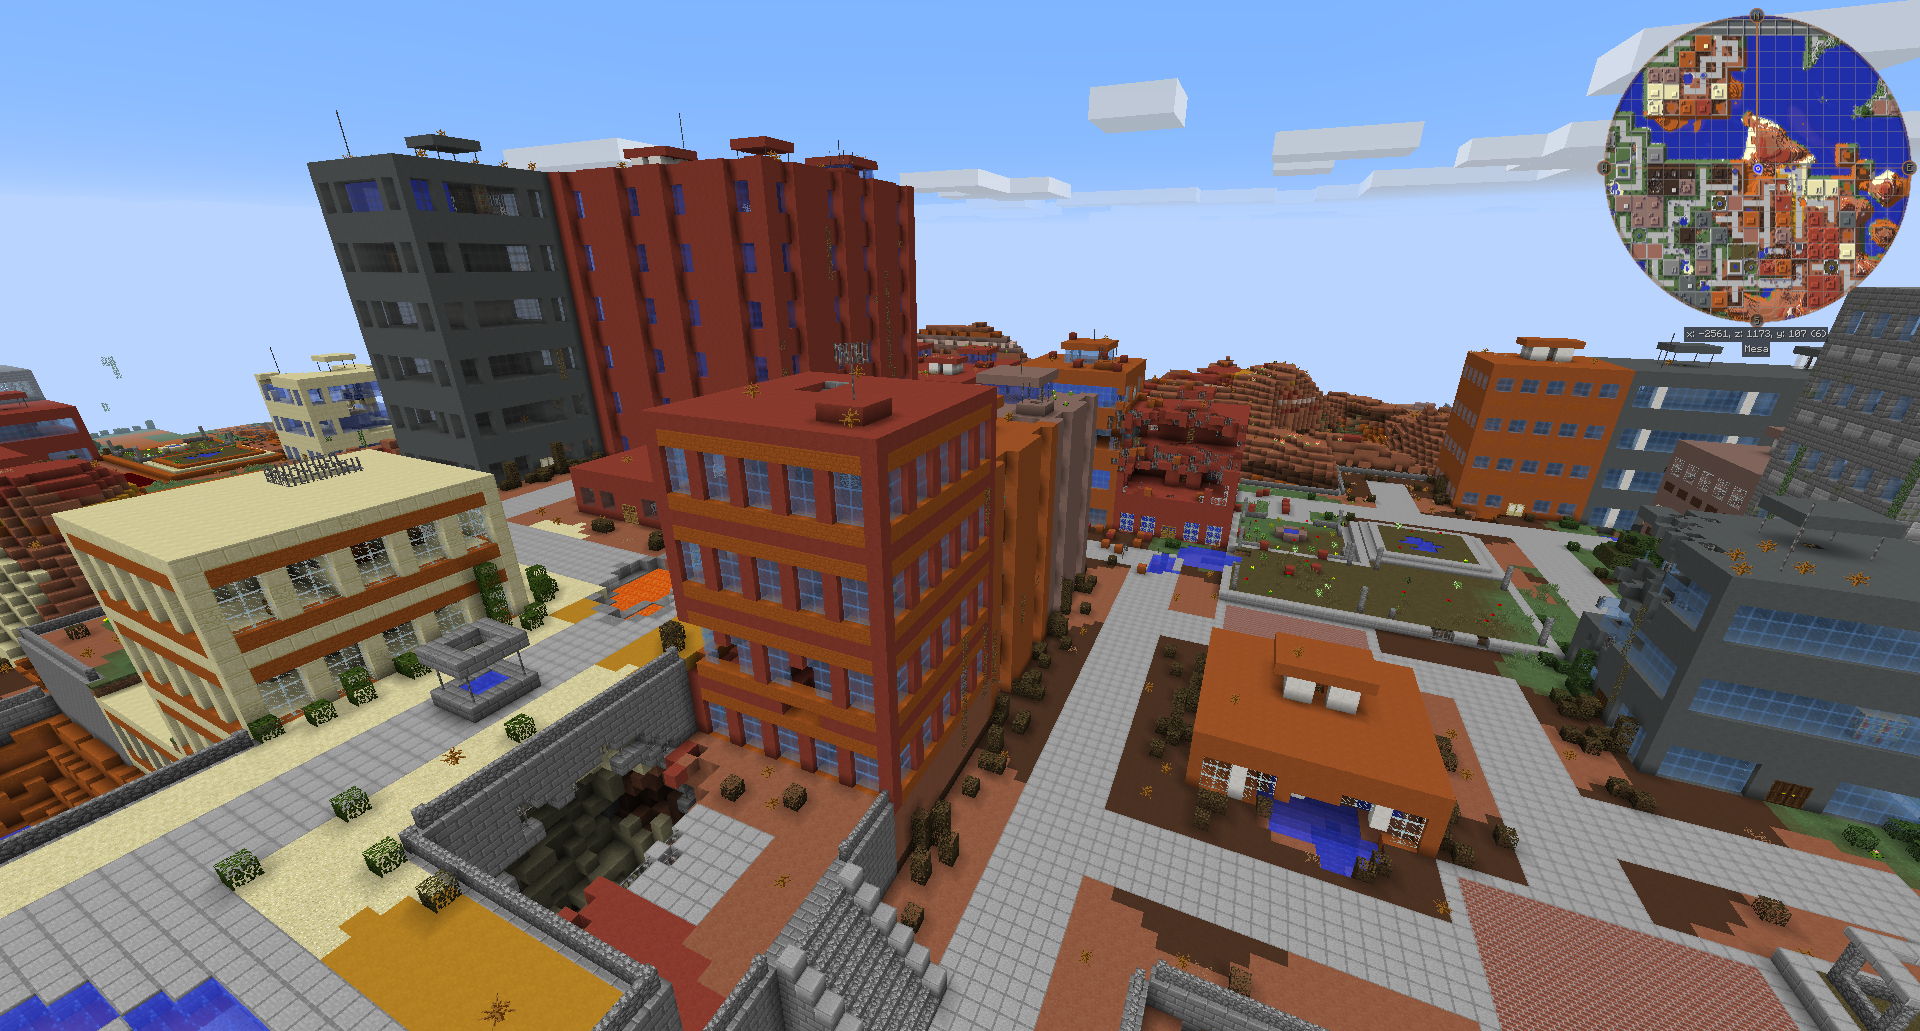
  • In the Desert
    In the Desert In the Desert
  • Country side
    Country side Country side
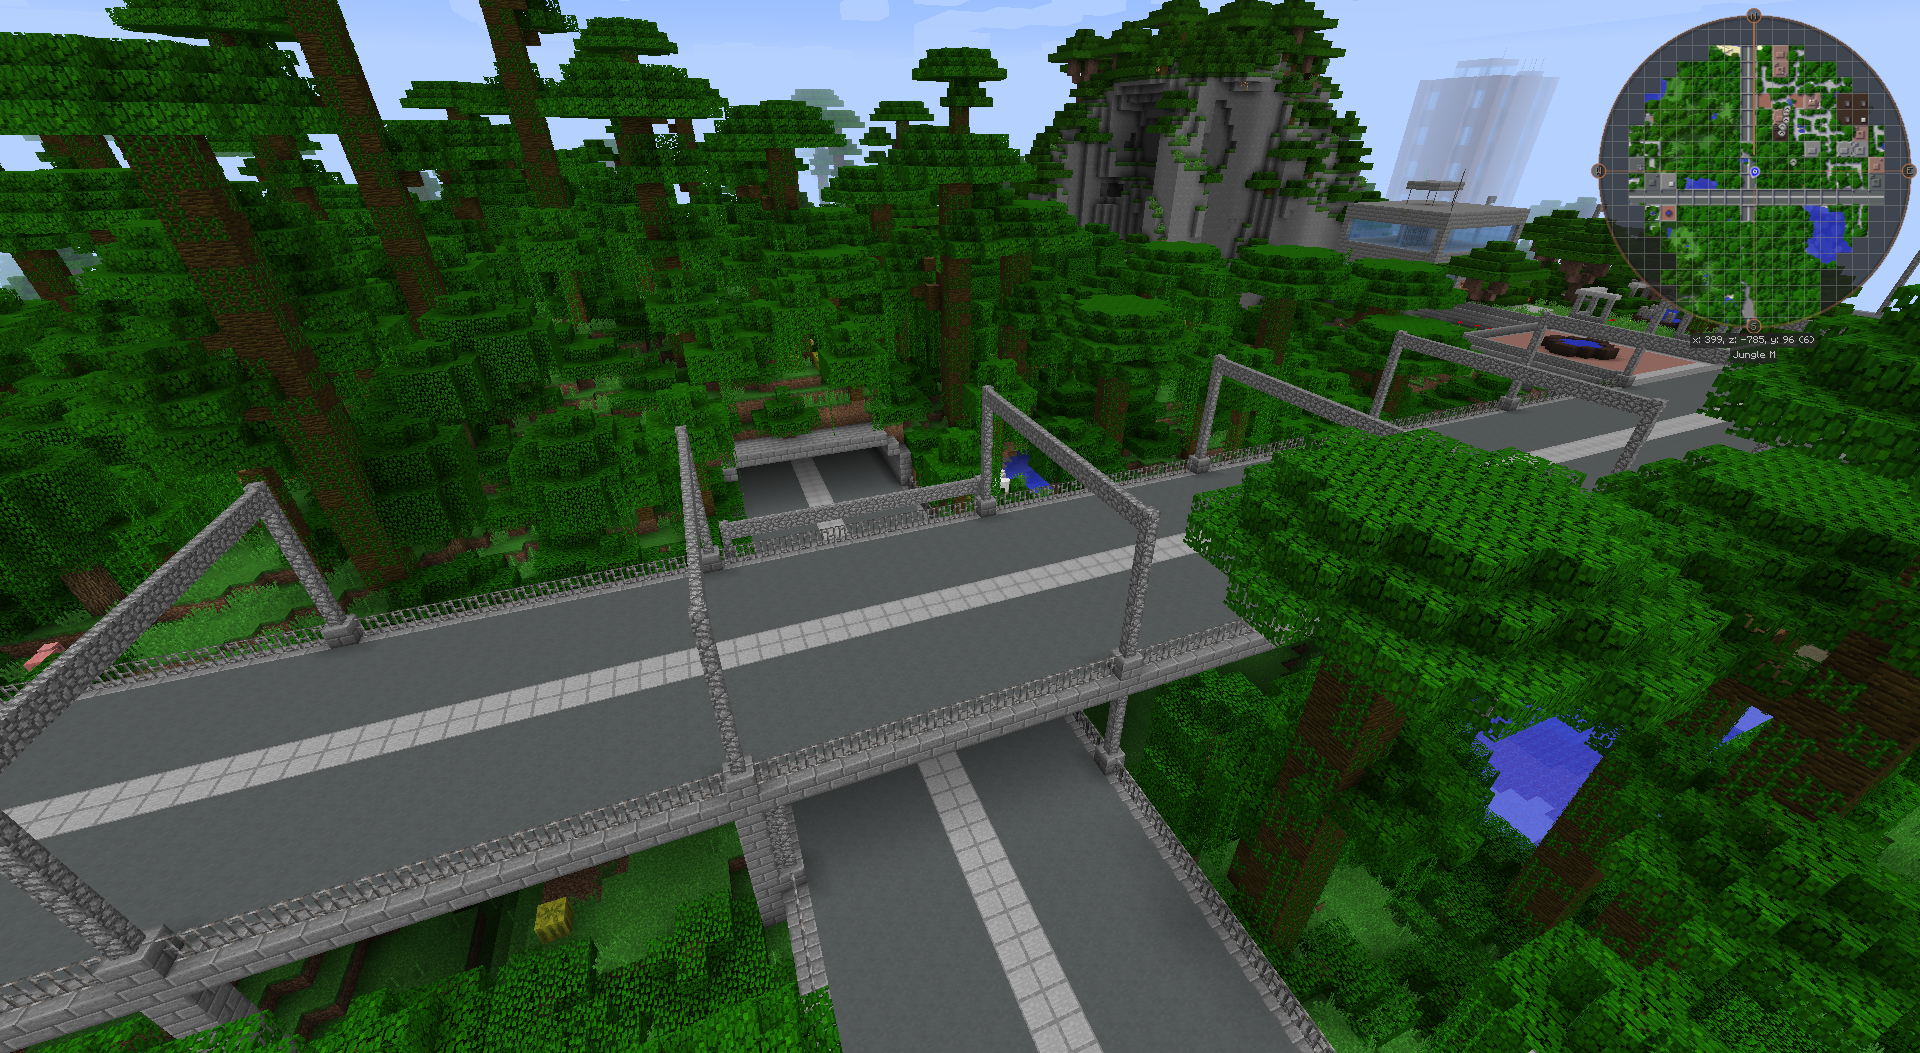
  • Bridge
    Bridge Bridge
  • Into the mountain
    Into the mountain Into the mountain
  • In the city
    In the city In the city
  • Tall bridge
    Tall bridge Tall bridge
  • Very tall bridge
    Very tall bridge Very tall bridge
  • Crossing
    Crossing Crossing
  • Tunnel
    Tunnel Tunnel
  • Highway
    Highway Highway
  • Highway
    Highway Highway
  • The Jungle
    The Jungle The Jungle
  • BoP
    BoP BoP
  • City by night
    City by night City by night
  • Biomes O Plenty support
    Biomes O Plenty support Biomes O Plenty support
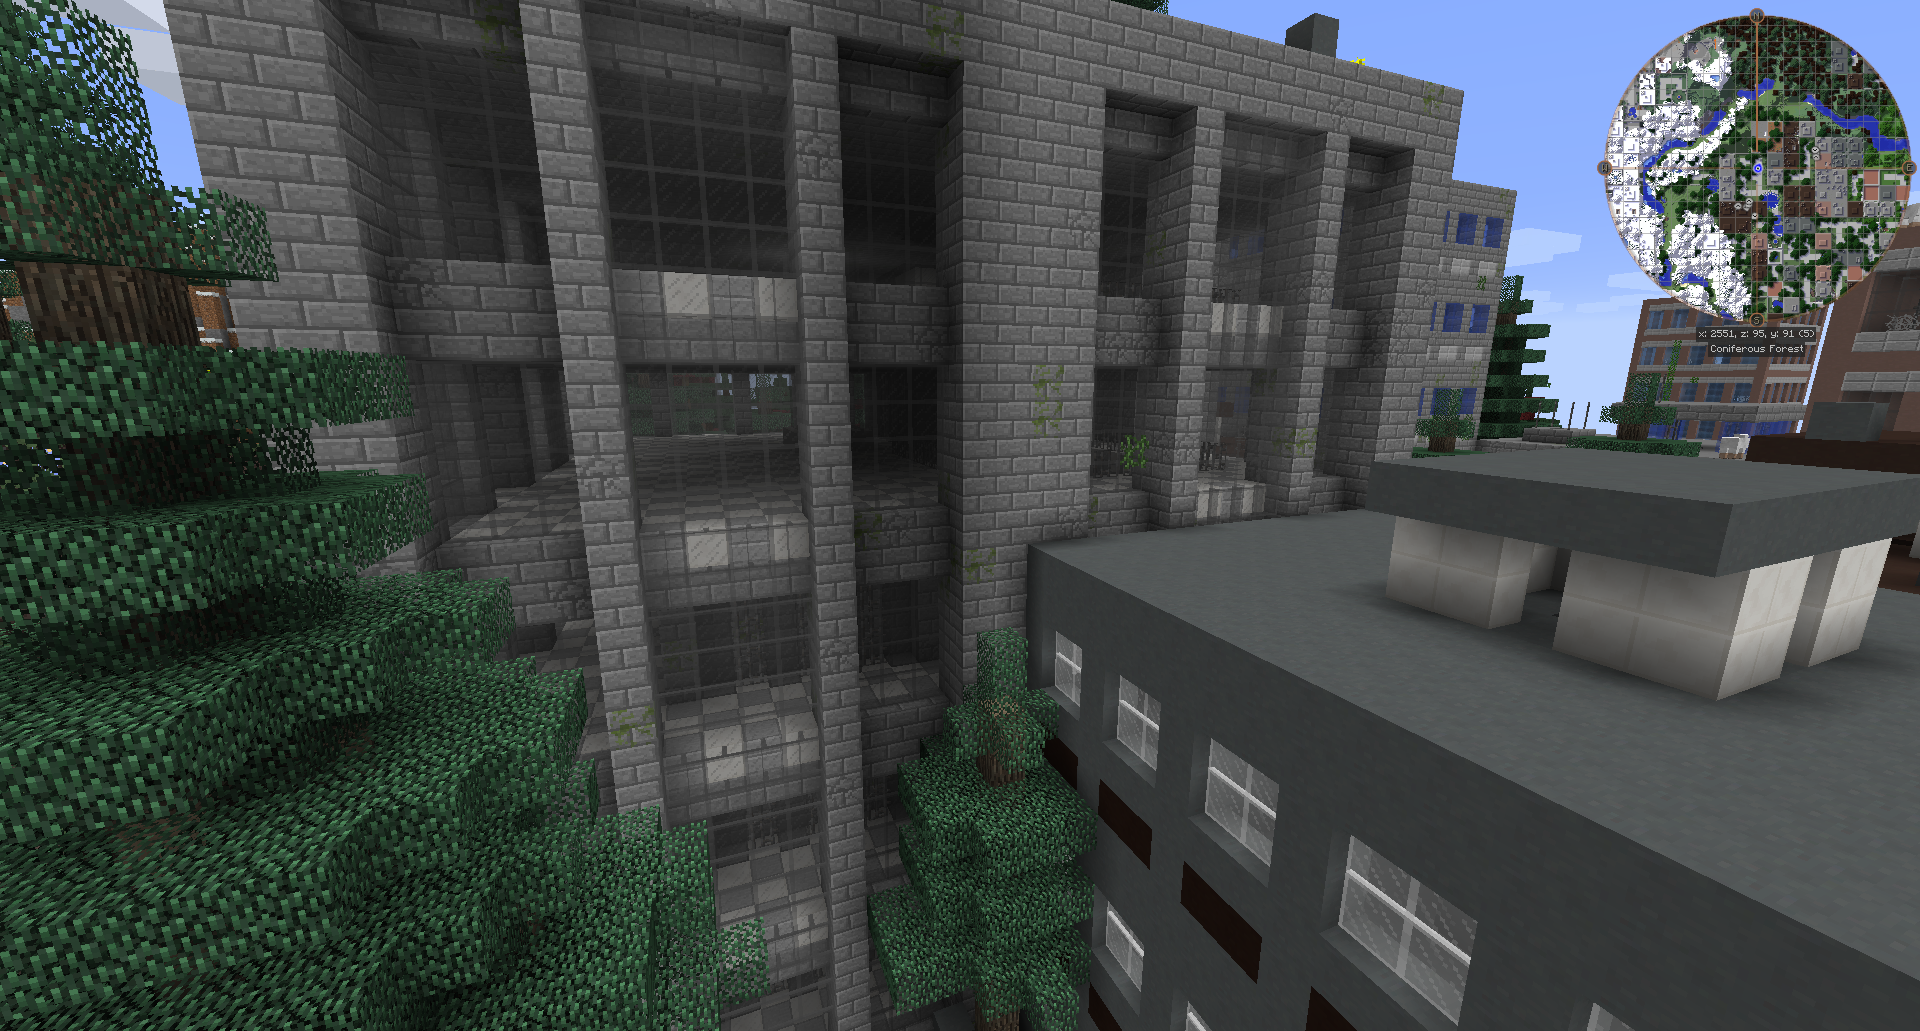
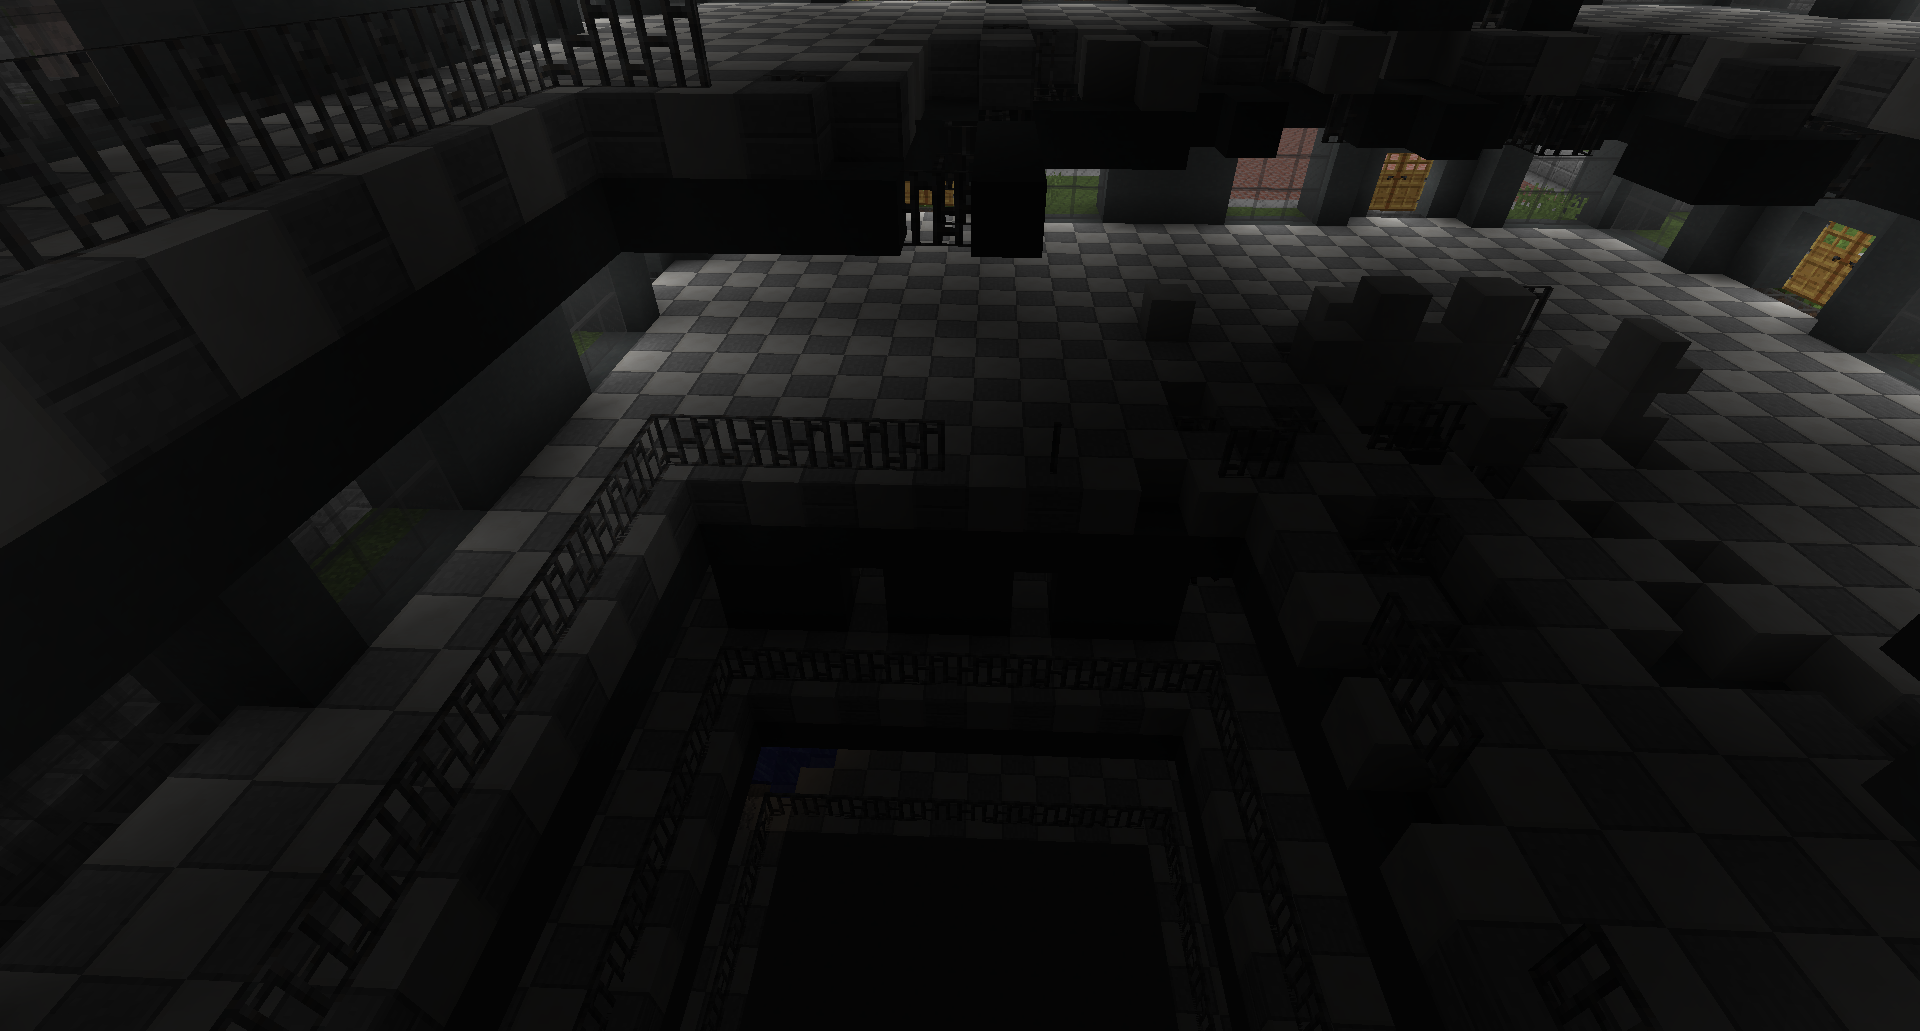
  • Inside
    Inside Inside
  • Into the mountain
    Into the mountain Into the mountain
  • A crossing
    A crossing A crossing
  • Tunnel
    Tunnel Tunnel
  • In the city
    In the city In the city
  • Tall bridge
    Tall bridge Tall bridge
  • Very tall bridge
    Very tall bridge Very tall bridge
  • In the Desert
    In the Desert In the Desert
  • Country side
    Country side Country side
  • City by night
    City by night City by night
  • City View
    City View City View
  • BoP
    BoP BoP
  • The Control Center
    The Control Center The Control Center
  • The Jungle
    The Jungle The Jungle
  • Highway
    Highway Highway
  • Inside
    Inside Inside
  • Highway
    Highway Highway
  • Ruins
    Ruins Ruins
  • Tunnel in the jungle
    Tunnel in the jungle Tunnel in the jungle
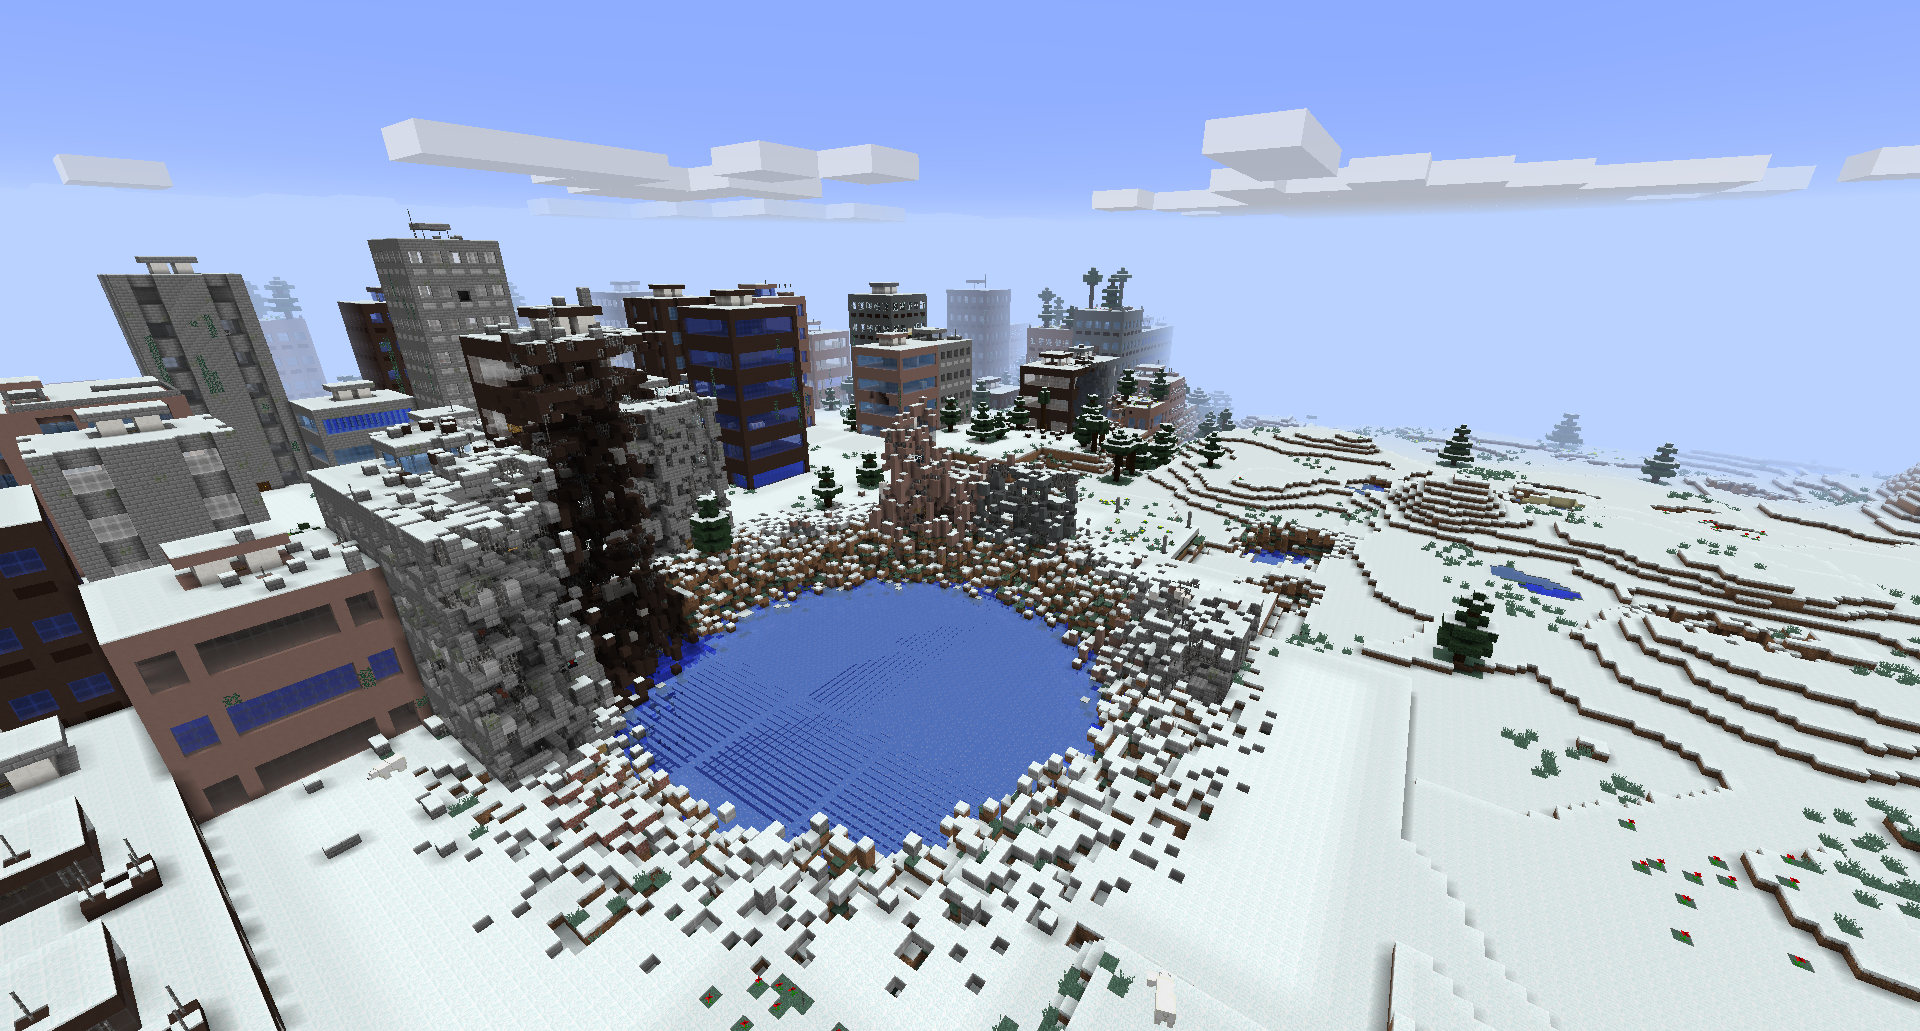
  • Crater in ice
    Crater in ice Crater in ice
  • Bridge
    Bridge Bridge
  • Crossing
    Crossing Crossing
  • A Bridge
    A Bridge A Bridge
  • Biomes O Plenty support
    Biomes O Plenty support Biomes O Plenty support
  • City View
    City View City View
  • City View in Ice
    City View in Ice City View in Ice

Versions

Files

Relations

Project Relations

More like this

Similar Mods

Suggestions use data such as tags, dependencies, dependents, descriptions, titles, and more to rank how much they overlap with this mod.
On ModDex

Community snapshot

0
Ratings
0
Followers
0
In stacks

By the numbers

Statistics

99m
Total Downloads
CurseForge
88.9m
Modrinth
10.1m
Last Updated
CurseForge
Created
CurseForge
Modrinth
Last synced
When ModDex last fetched this project from CurseForge or Modrinth. Every project is re-checked on a schedule, and any project that ships a new file is synced automatically within hours of the release.
New file updates sync automatically
How syncing works